Professional, scroll-stopping photos of makeup and skincare products are in demand more than ever. If you’re taking photos for your blog, your social media platforms, or a client, then you need to know a few makeup and skincare product photography tips to get the best shots possible.
We’ve got the lowdown on the ways to make your cosmetic content creation stand out for the right reasons!
Light it Up

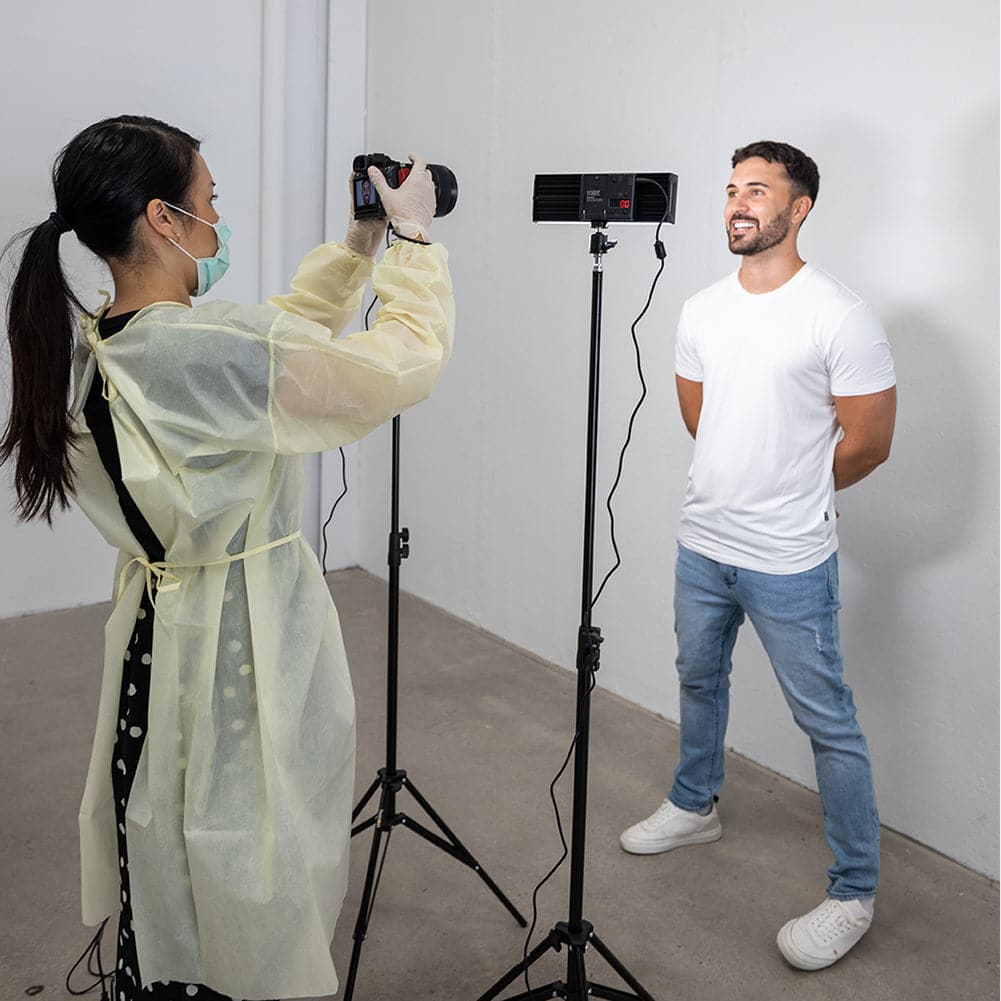
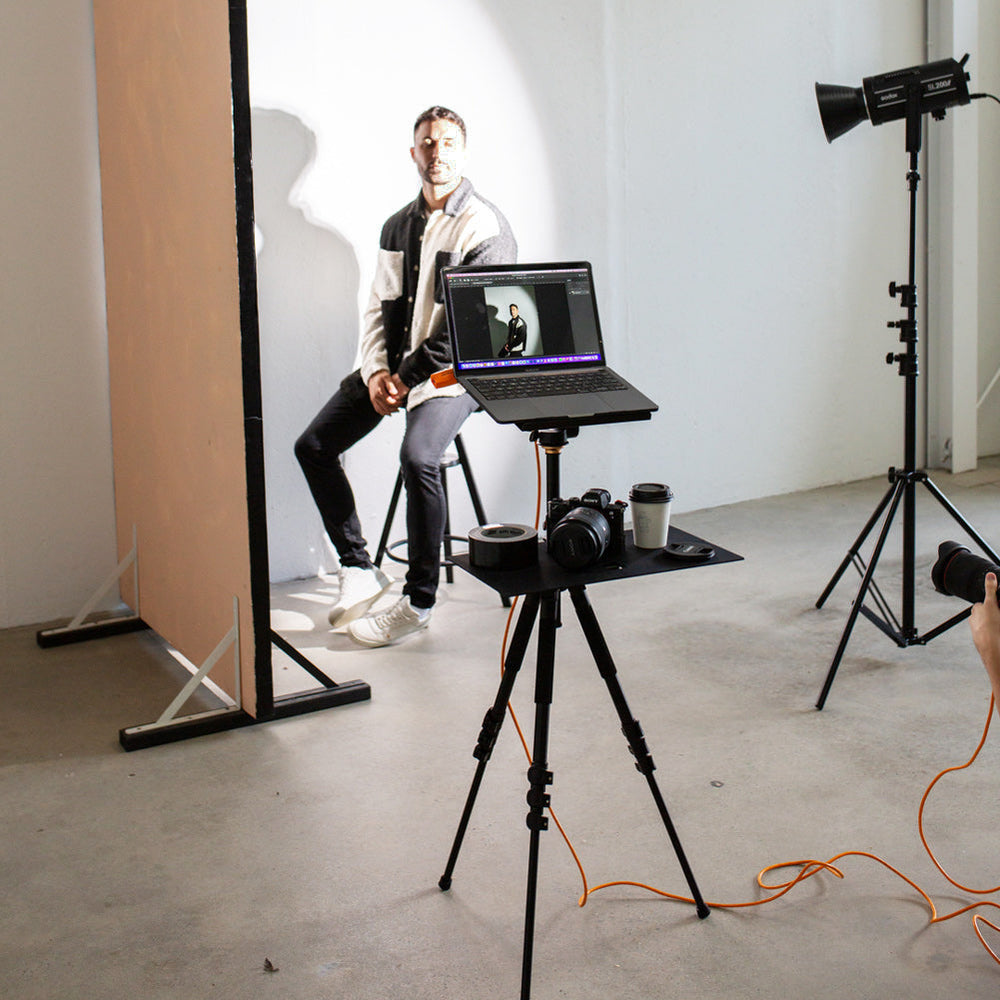
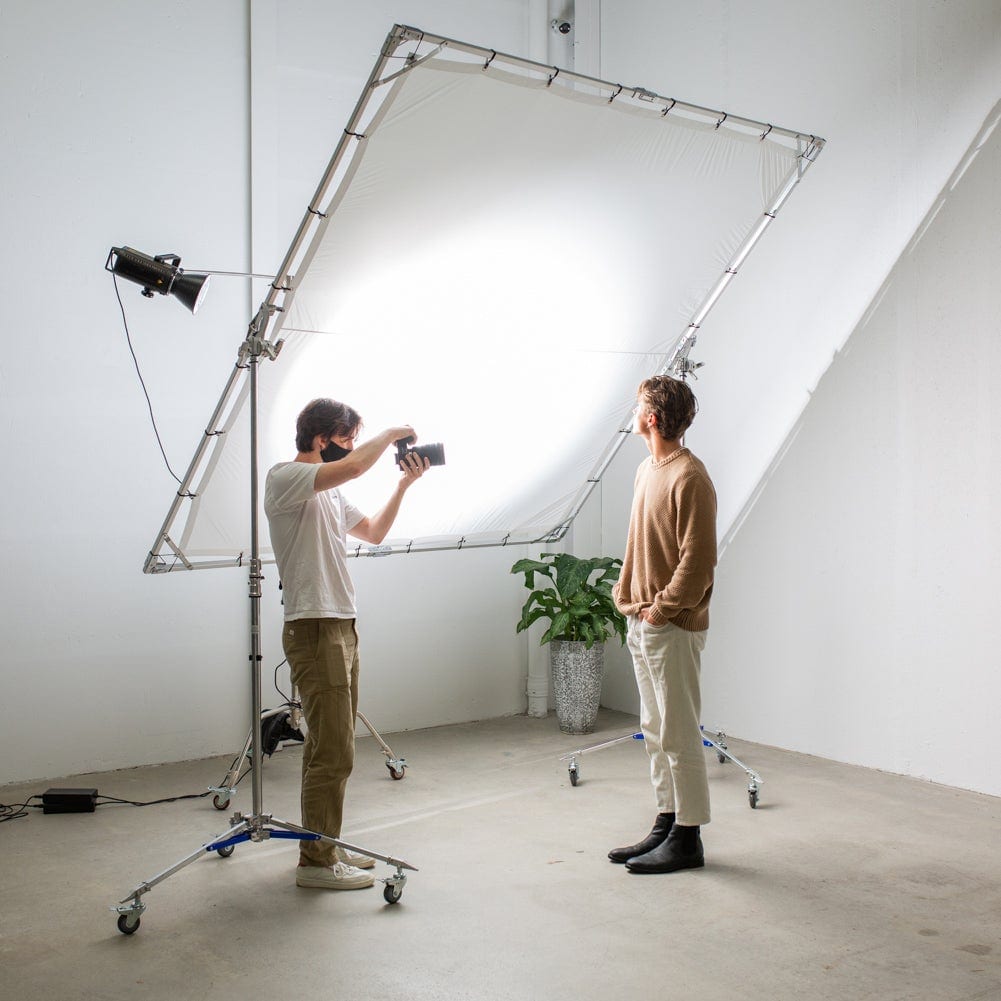
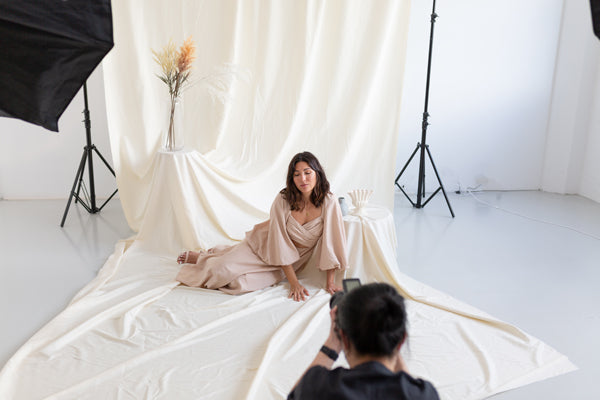
Lighting is one of the most important aspects of makeup photography, so it’s important to know how best to use it. Natural light is great, but not always reliable, so it’s a good idea to have some studio lighting on hand.
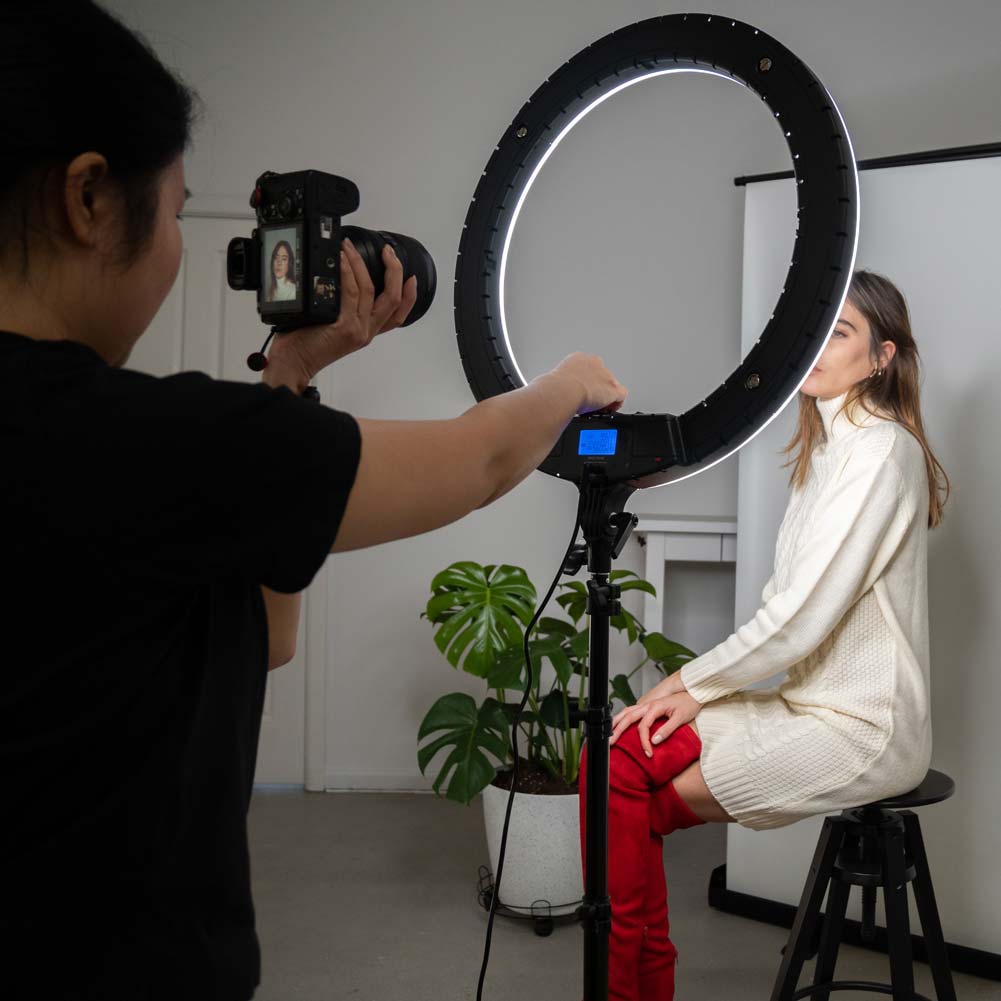
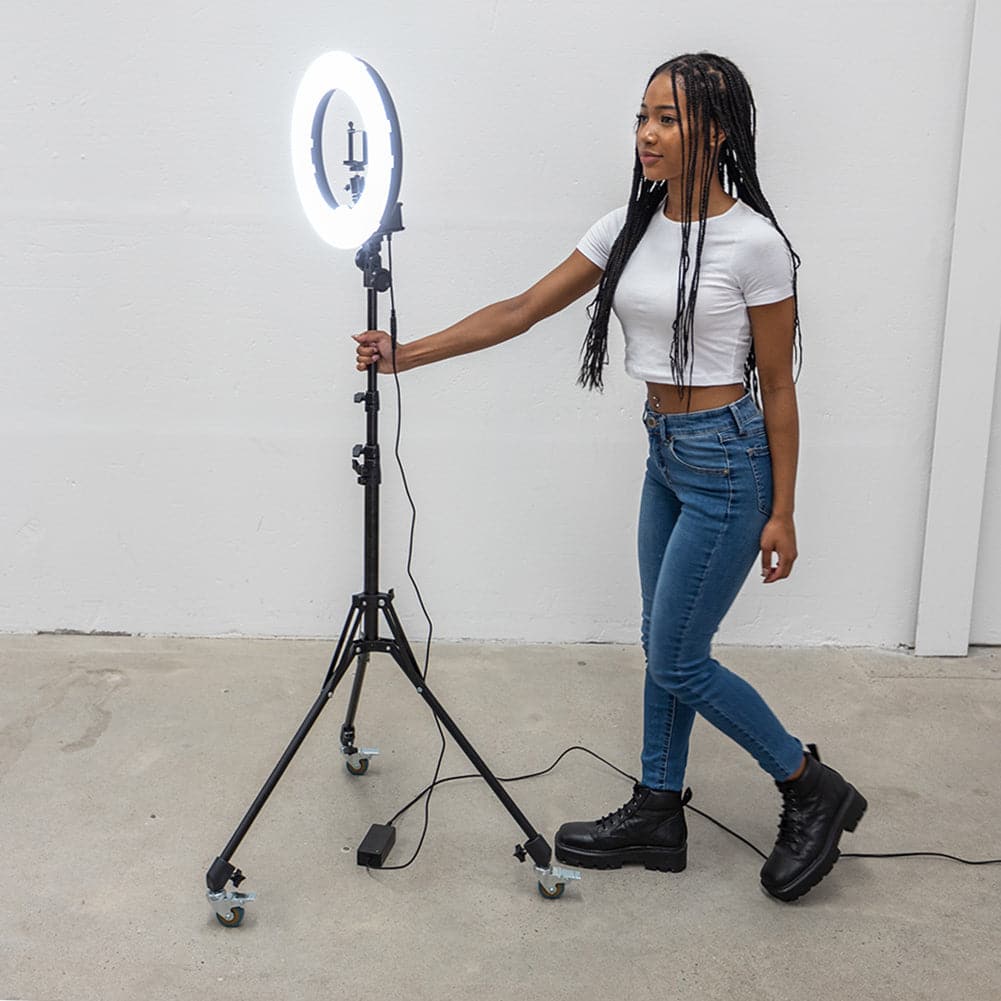
Ring lights like the 18" Diamond Luxe III are great for makeup and skincare photography because they give off a soft, even light that helps to minimize blemishes and harsh shadows on a model’s face. You can also use large ring lights for flat lay product photography too.
Another versatile lighting system is the Allurelite Lighting Kit, which has two LED light wands on one stand. Both the Diamond Luxe III and the Allurelite have flexible goosenecks that enable you to transition them from editorial-style shoots to flat lays quickly and easily. Both lighting systems are multi-use and allow you to adjust the light temperature to see what works best.
As a general rule, warmer and daylight light temperatures tend to look better with models, while the cooler temperatures are good for product photography. It’s worth watching a few tutorial videos online to understand the different lighting techniques and also how to use artificial or natural lighting.
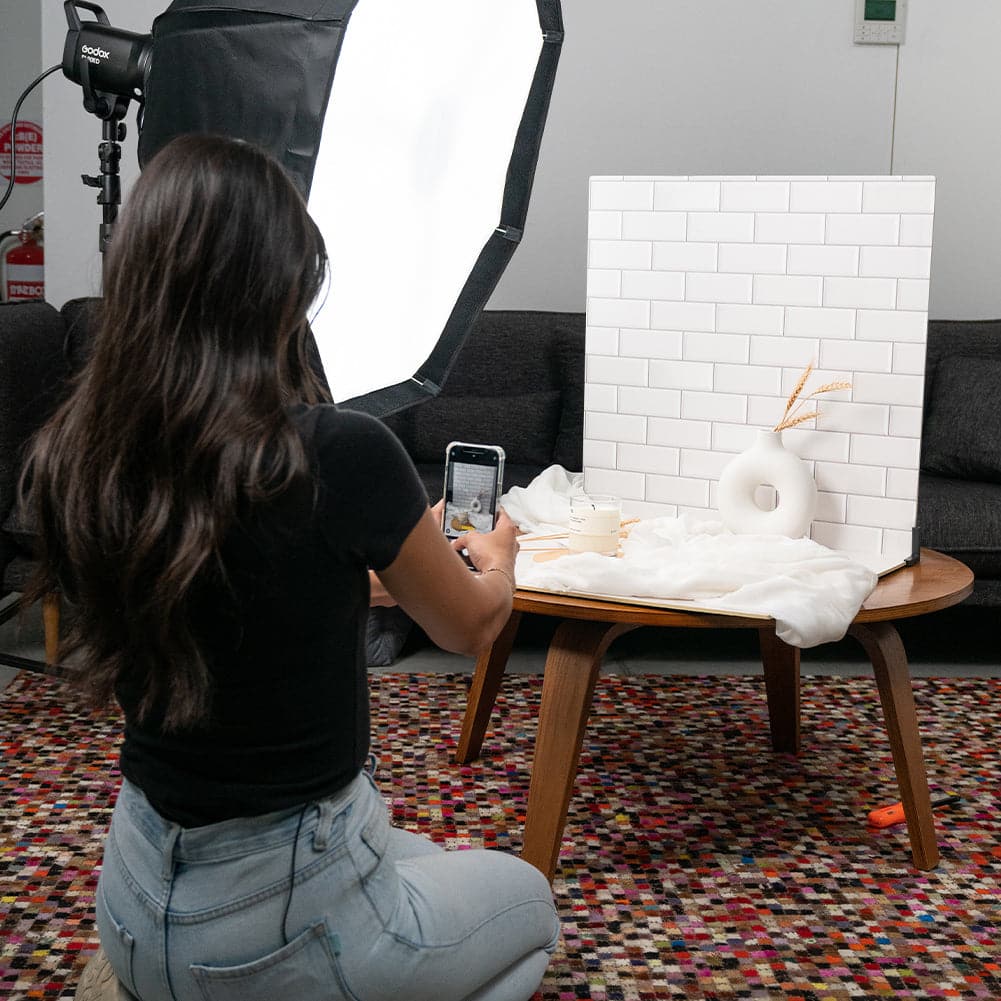
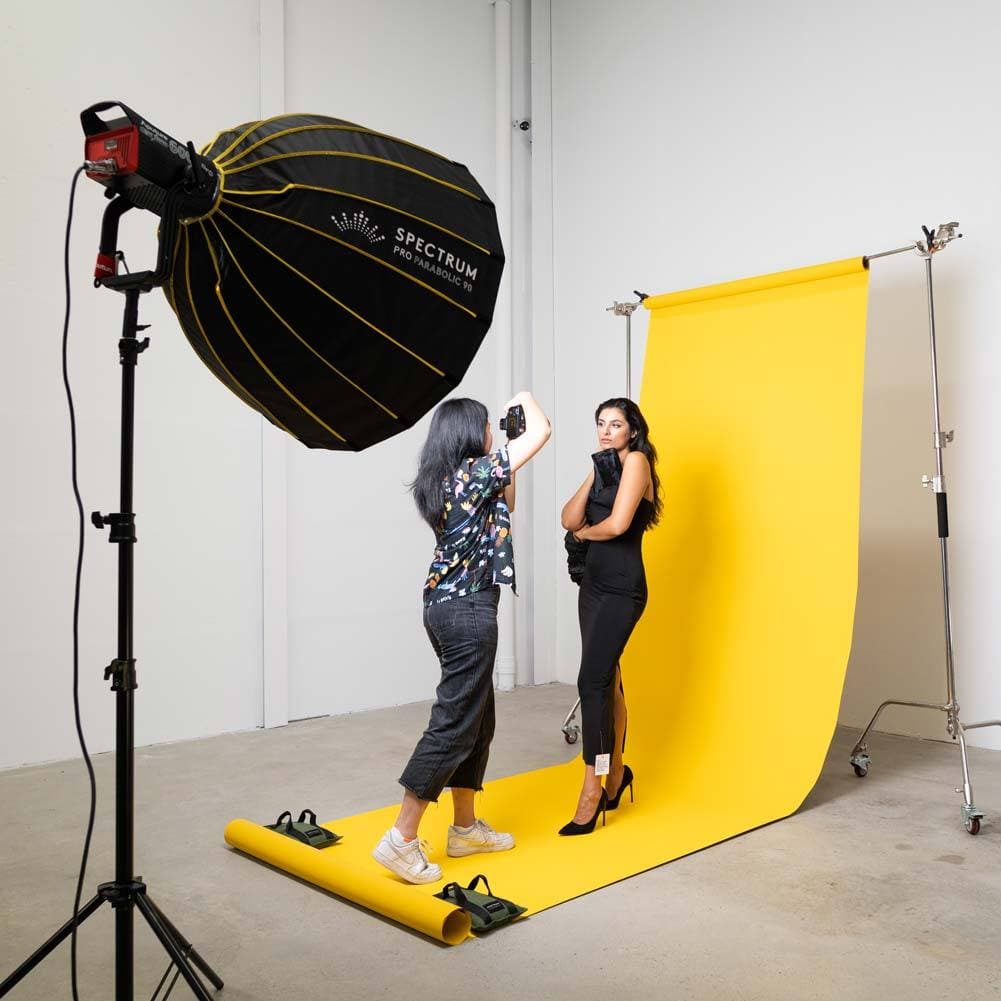
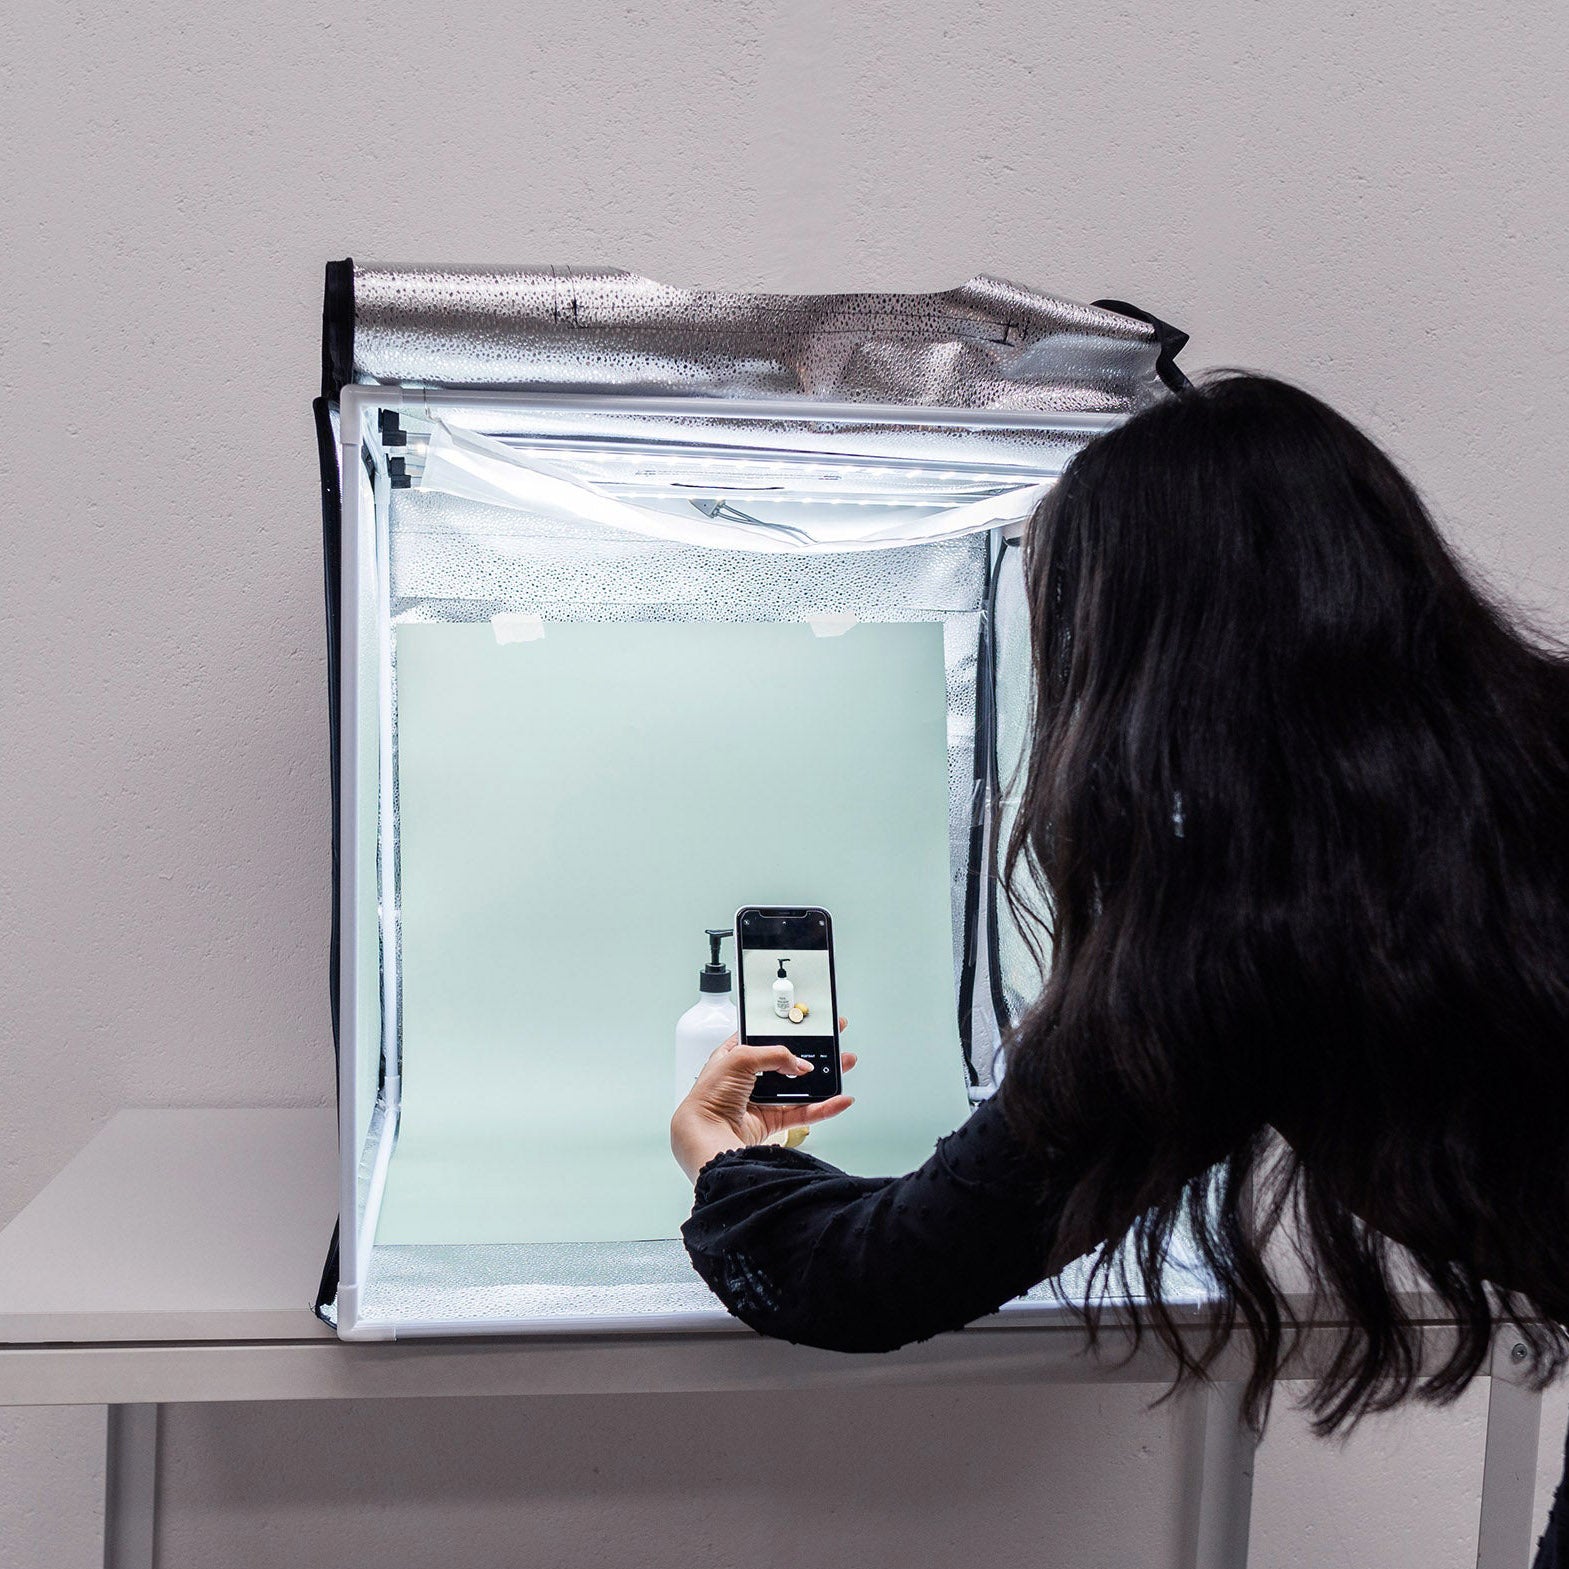
Softbox lighting kits like the 'Illuminate Mate' allow you to use multiple lights for more control over your shoot. These are great for model and product photography, while a light tent like the Studio Buddy II is a great way to shoot products when space is limited.
Placement is Everything

What makes the difference between a good photo and a bad one? One of the key factors is composition and product placement. The product is the hero, so it should be in or near the centre of each image. Most smartphone cameras and DSLR cameras will have a ‘rule of thirds’ grid that you can superimpose over the screen. This divides your screen into thirds, with the idea being that subjects placed on one of the lines, or where two lines intersect, will catch the eye with a pleasing composition.
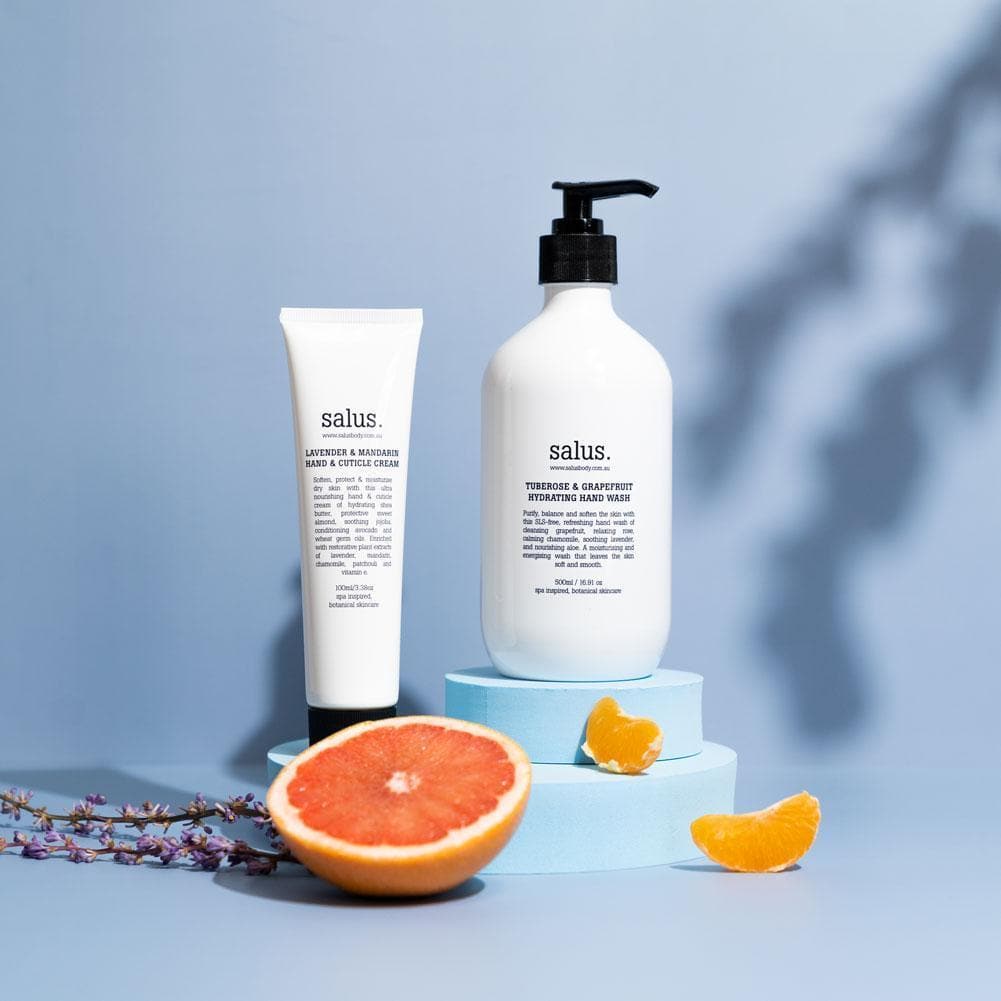
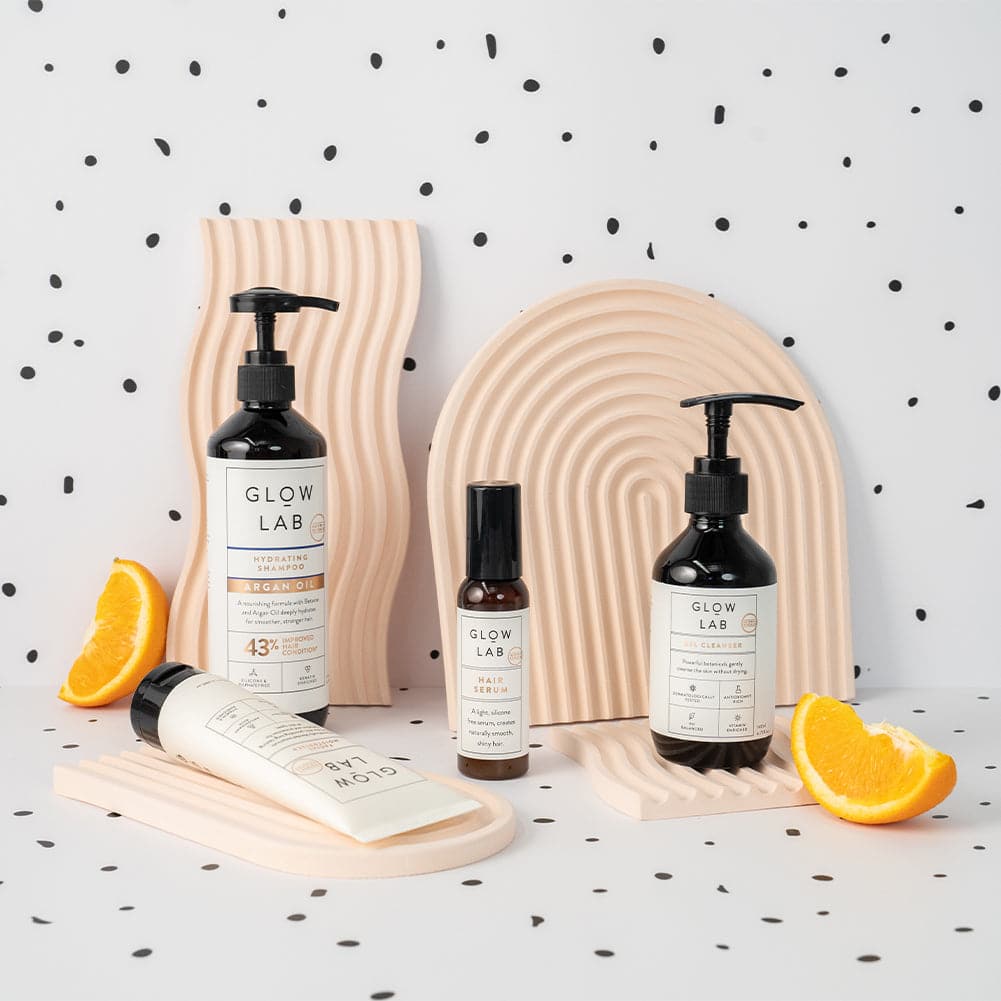
To break up the one-dimensional look of a flat lay or product shot, consider using some Acrylic Styling Props to raise products up or position them at an angle to add visual interest. You can use the 8cm Square Acrylic Prop, or the 8cm Triangle Acrylic Prop to get the best layout. You can also use them for displaying product samples to show what the makeup or skincare product looks like out of the packaging. Also consider our new 10cm Square Mint Green Foam Styling Prop to add an extra splash of colour and shape.
If you want to showcase the product from every angle, use multiples of the same product and create a repetitive pattern effect.
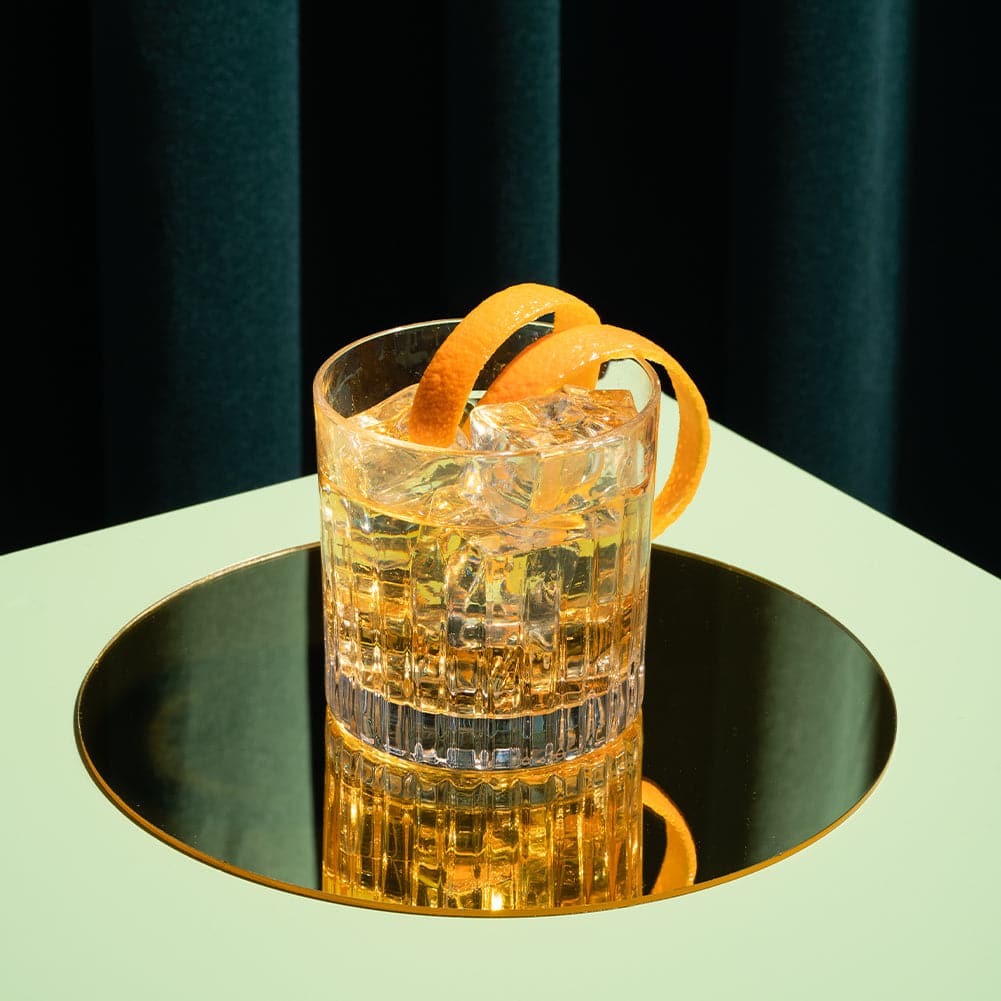
Use Eye-Catching Colours

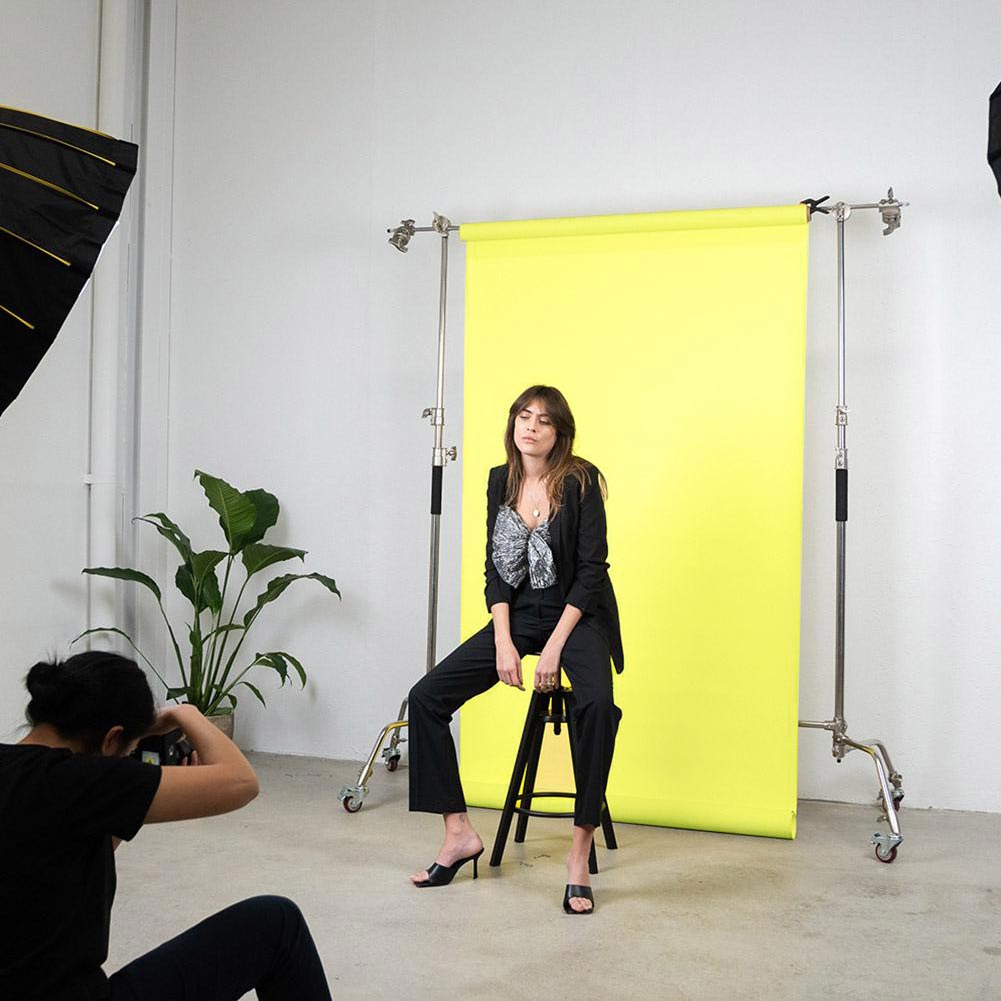
Vibrant backdrops catch the attention of your audience when used with both model and product shots. Read up on colour theory to find out which colours work well together, and avoid backgrounds that are too similar to the product colour or the model’s skin tone.
For models, consider using brightly coloured accents like bright orange eyeliner, or fun, vibrant jewellery, etc.
Our Half-width Paper Backdrops and Full Paper Backdrops come in a wide range of colours and there are also custom sizes available. For flat lays, we have textured or plain coloured Flat Lay Backdrops, as well as our special curated four packs of flat lay backdrops for cosmetics, product, and food photography.
Textures are a Make or Break

Textures are great, but they can overpower a shoot if used incorrectly. Pick just one or two textures that work together, and stick with it. Textured backdrops and fabrics look great paired with luxurious skincare and makeup products, but do keep in mind that textures can look softer or harder depending on the type of lighting you choose.
Our textured Flat Lay Backdrops are all double-sided, with different designs on both sides. They also come in plain coloured or handy 4 packs. Another option is to use Cotton Backdrops to create ripples around the product or to create interesting textured flat lay effects.
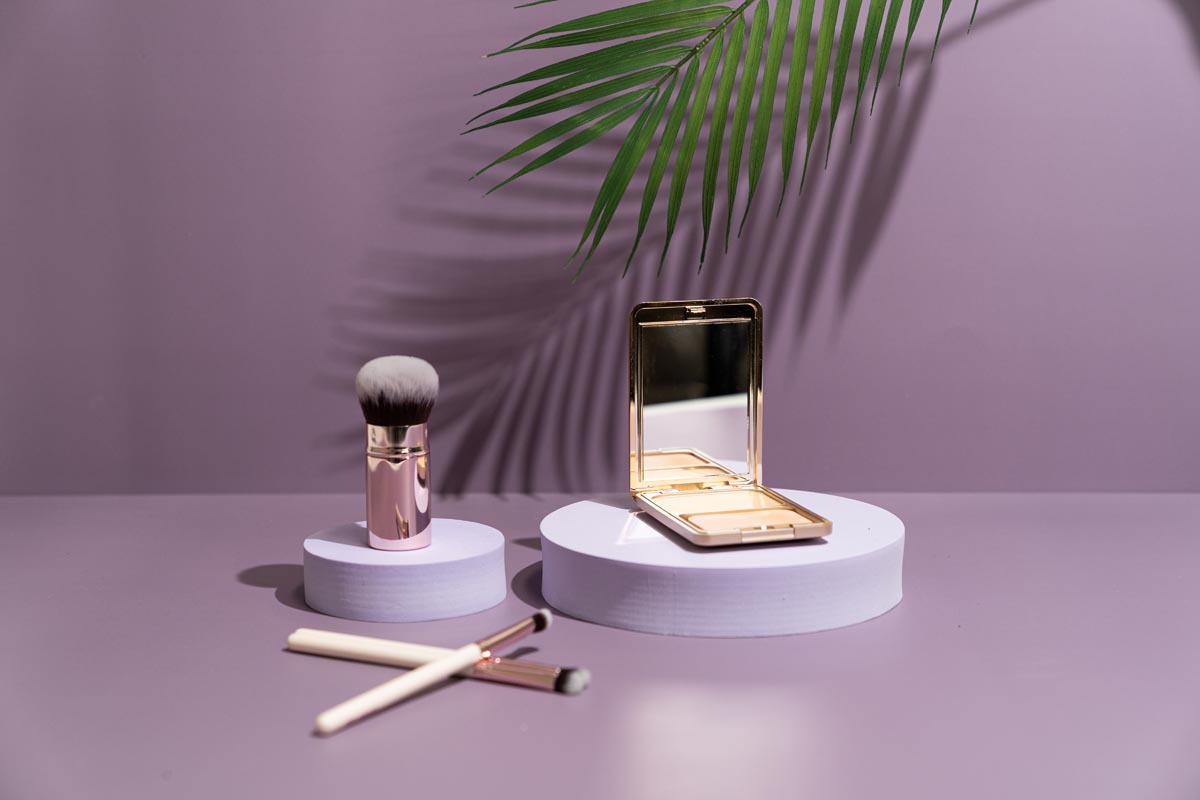
Go Green

Greenery Props like our Palm Leaf, Monstera Leaf, and Eucalyptus Leaf can be used very effectively as a shadow prop in a model or product shoot to give the illusion of an exotic location. For instance, sunscreen can be shot with a palm leaf shadow and sand to give the illusion of a beach theme.
Another reason to use greenery as props is to subtly communicate to the audience that the skincare or cosmetic product is natural.
Elevate Your Shoot (Literally)

If you’re photographing one product, putting it on a lightweight prop like the 10cm Square Mint Green Foam Styling Prop for height can make it stand out more. Also, if you’re shooting more than one product, adding height makes it easy to create a neat display - it gives a high-end feel and texture to your photographs.
Fall in Love With Simplicity

Sometimes less is more, and that goes for product shots too. Try not to include too many props and products in each photo, or it will end up looking crowded and cluttered.
Find 2-3 key design elements that work well together, such as colours, shapes, and textures in each shoot. Take note of the design elements of the product you want to shoot. Is it perfume, skincare, or makeup? Look at the shapes and lines, as well as the colours.
What does the branding represent or communicate? Is it feminine, masculine, natural, high-end? Use colours, props, and textures that work well with the product and the branding.
A Venetian Blind Shadow Prop is a good way to add depth to shoots without compromising on simplicity.
Capture those Angles

For both product and model shoots, experiment with different angles and not just the normal shot types that everyone does. A 20 or 40cm Mirror Prop is a great way to show off multiple angles in one photo, and you can get models to hold mirrors in shoots to give fascinating abstract effects.
Reflections from mirrors create dynamic content, and you can play around with adding subjects on and off-screen for extra visual interest and perspective.
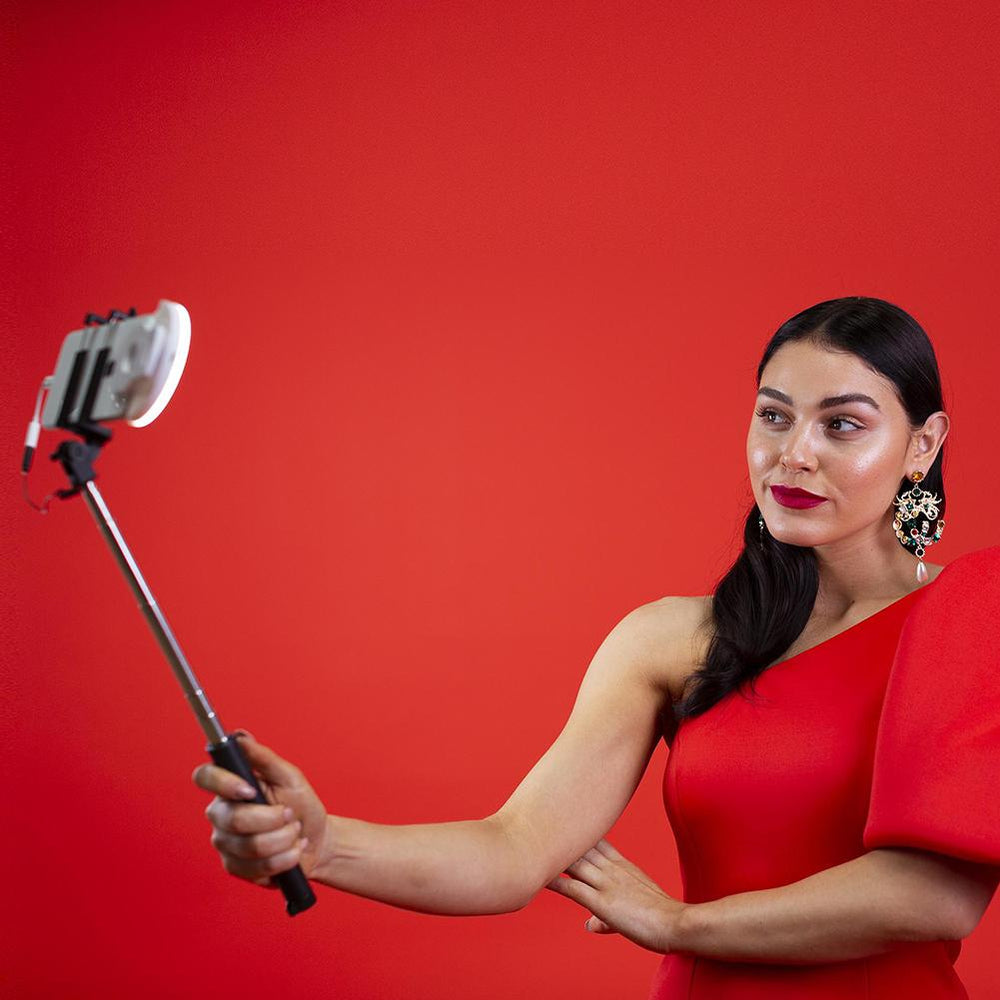
Show a Bit of Skin

Models can help to show off the scale of a product, as well as how the product looks and/or performs on skin. They also allow you to show a diverse range of faces and skin tones with the makeup and skincare products in use.
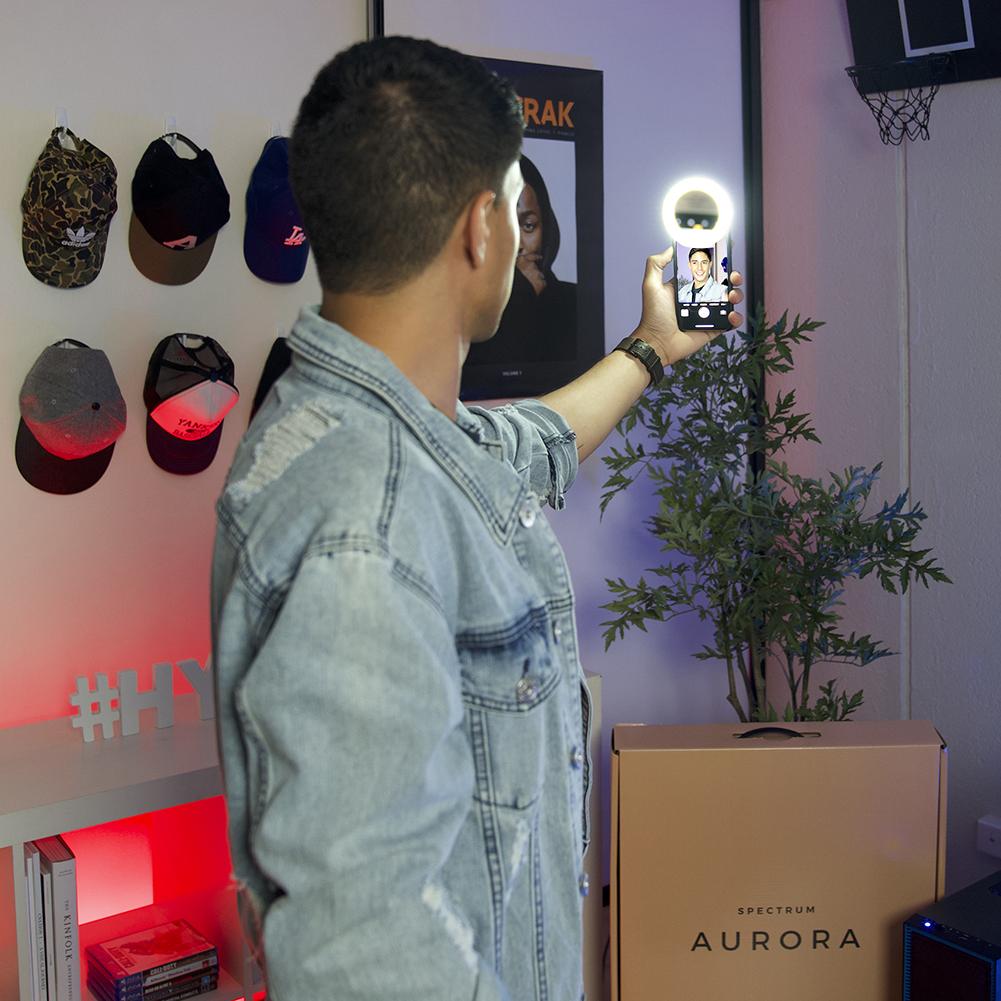
Before and after images of your models are the perfect way to demonstrate how effective your product is. Use a ring light like one from the Aurora LED Ring Light range to make sure your models are lit well and looking their best in every shoot.
If you’re going to use portraiture as a way of showing off your products or cosmetics, then don’t overdo the filters or edits. However, you may need to remove any dark circles or blemishes, so use an app like Facetune or Photo Wonder to do some subtle editing.
You Can’t go Wrong with Swatches

Audiences love to see what texture and consistency a skincare product or lipstick is, and swatches are a great way to show the contents and/or colour of your products.
For makeup, swatches give a better look at how the product will appear on different skin tones, and it will also show the level of coverage it has. Get creative with our Transparent Acrylic Props, available in an 8cm Circle, 8cm Square, Scallop, and Triangle. They are easy to clean and using them with swatches creates dynamic layering and visual interest.
Final Thoughts

We hope you found some useful tips in our makeup and skincare photography advice, and that you can put them to good use in your next product shoot for social media, Shopify, Squarespace, Instagram, or Pinterest.
Don’t forget, planning your shoot first will help you get things done much quicker, and it’s essential for client shoots so you have everything you need on hand. We would also recommend doing a lighting test before the shoot, to decide on what type of light you want to use, and the camera settings that you will need for bright, well-exposed images.
Once you’ve done that, it’s time to get creative and produce compelling beauty photos for your business!
