


Taking photos of a patient’s teeth helps modern dental professionals see things that are not easily visible to the naked eye, such as small cavities, cracks in teeth, and gum disease. This information is used to make accurate diagnoses and develop treatment plans. Photographs also provide a visual record of a patient’s condition. Having detailed images is a result of good equipment and reliable lighting. Good lighting provides accurate colour representation and enhances the before and after shots, enabling the dentist to track changes over time. Appropriate lighting techniques also minimise shadows, reducing the risk of obscuring important details.

Understanding the Different Types of Lighting
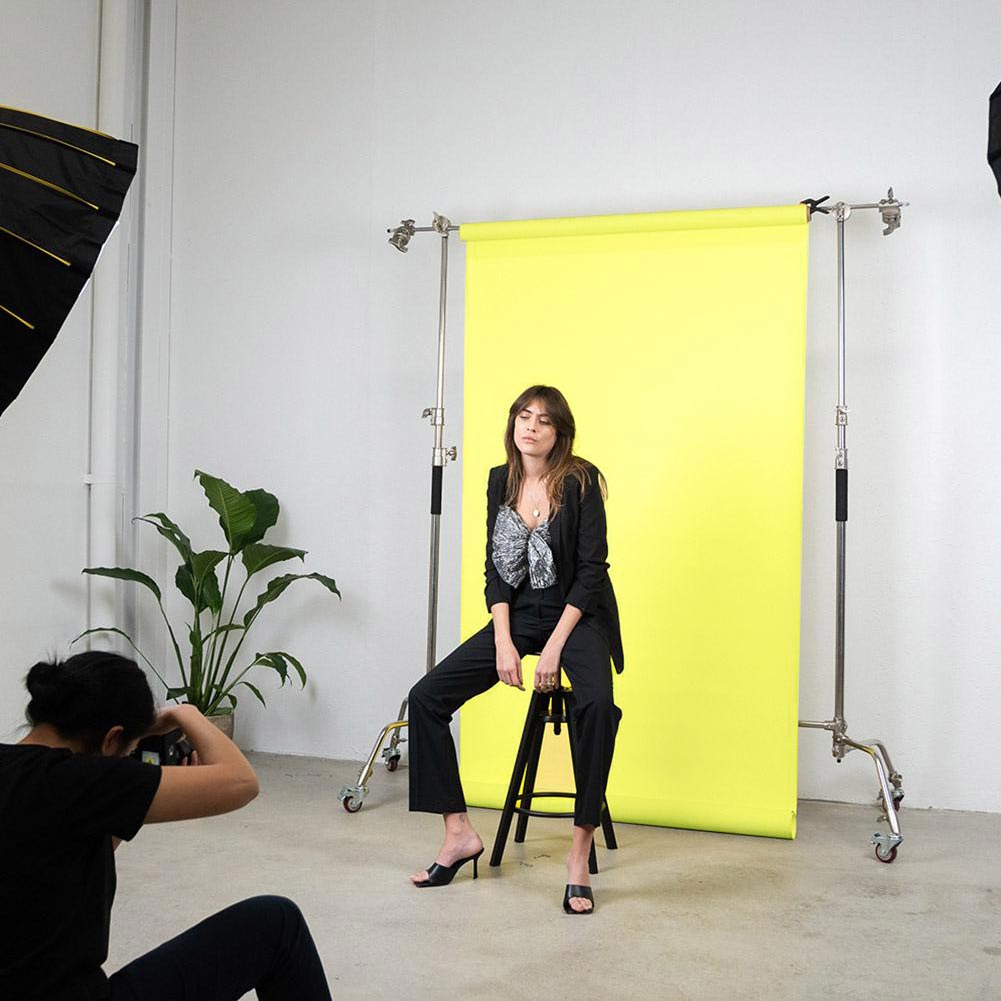
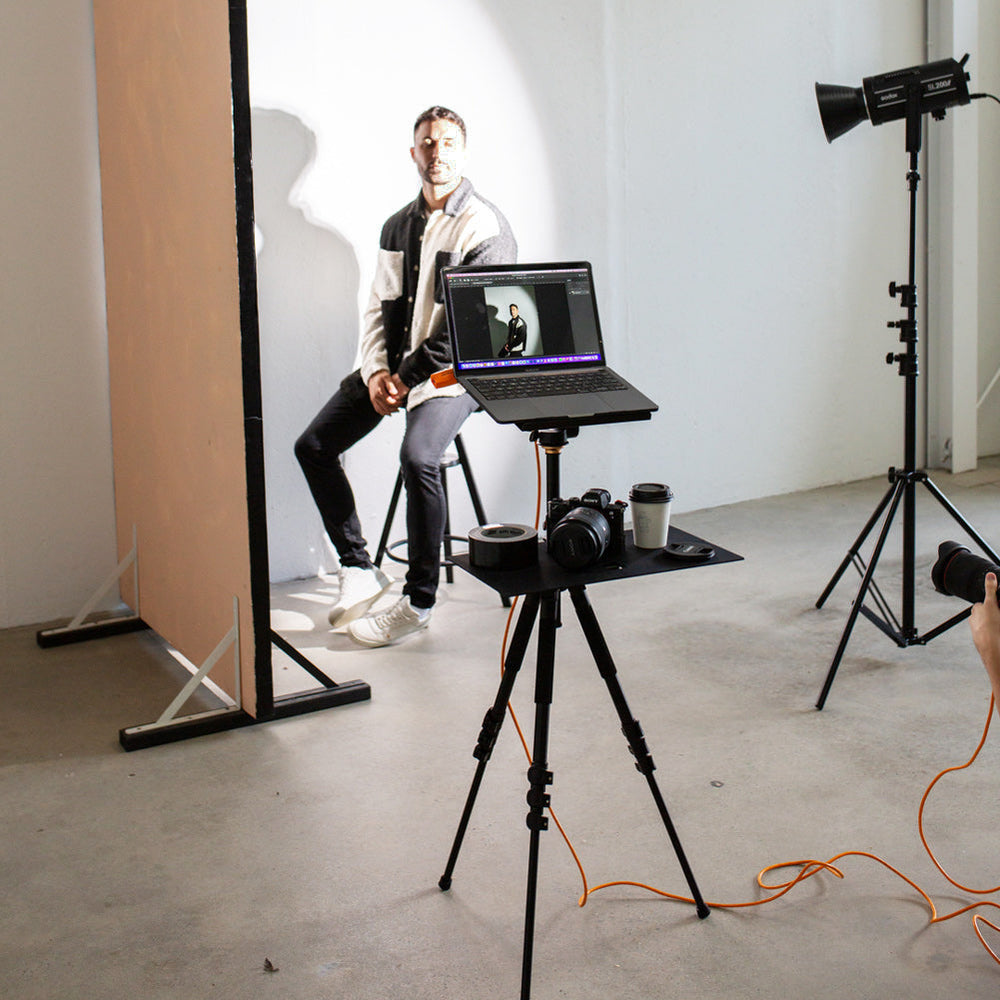
Photographers use natural light or artificial light depending on the style of images they are trying to create. Natural light comes from the sun, while artificial light is from man-made sources such as studio lights and flash units. The advantage of natural light is that it supplies accurate colours, which is essential in dental photography. The disadvantage is that it comes from a single direction, which can create harsh shadows. Photographers have less control over natural light than artificial light because the quality of light can change depending on the weather and time of day. It’s also impossible to angle natural light inside a mouth. However, artificial light can be positioned in multiple directions to eliminate shadows.
Good illumination and recording of dental structures, restorations, and soft tissues can be achieved with artificial lighting as long as daylight-balanced LEDs are used. To have a consistent quality of artificial light requires the purchase of professional-grade equipment. The main options for this type of photography are LED wands, ring lights, and ring flashes. These offer control over the light’s intensity, direction, and colour temperature.

Essential Lighting Equipment for Dental Professionals
Instead of sourcing individual items for dental photography and trying to link them together, many dentists choose studio lighting kits for their clinics. The Illuminate Wands have a 180-degree tilt that allows the perfect angle for the photo. The two strong LED light sticks in this kit have an easy-to-use dimming knob for intensity adjustment. The Allurelite system has a 360° rotation and bendable double arms for positioning the lights precisely where they are needed. Wands are off-camera lighting options that are an affordable way to achieve professional results.
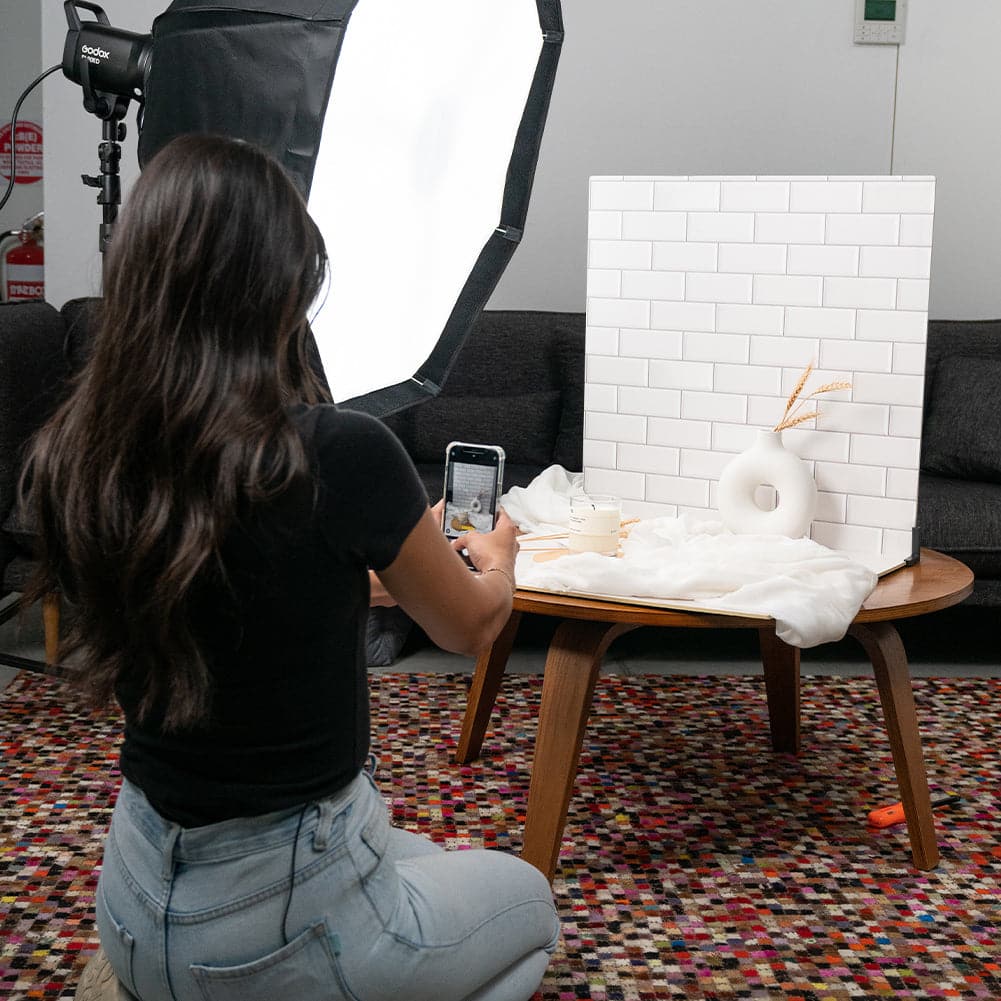
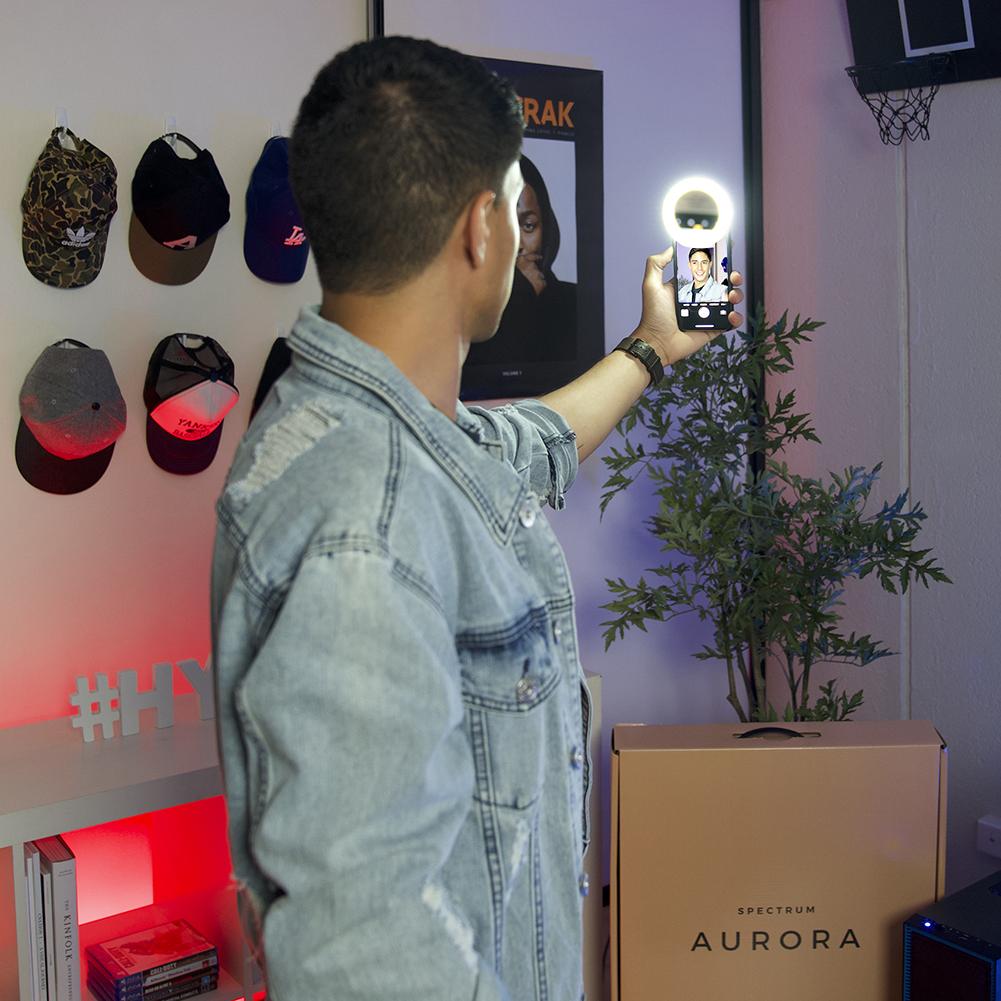
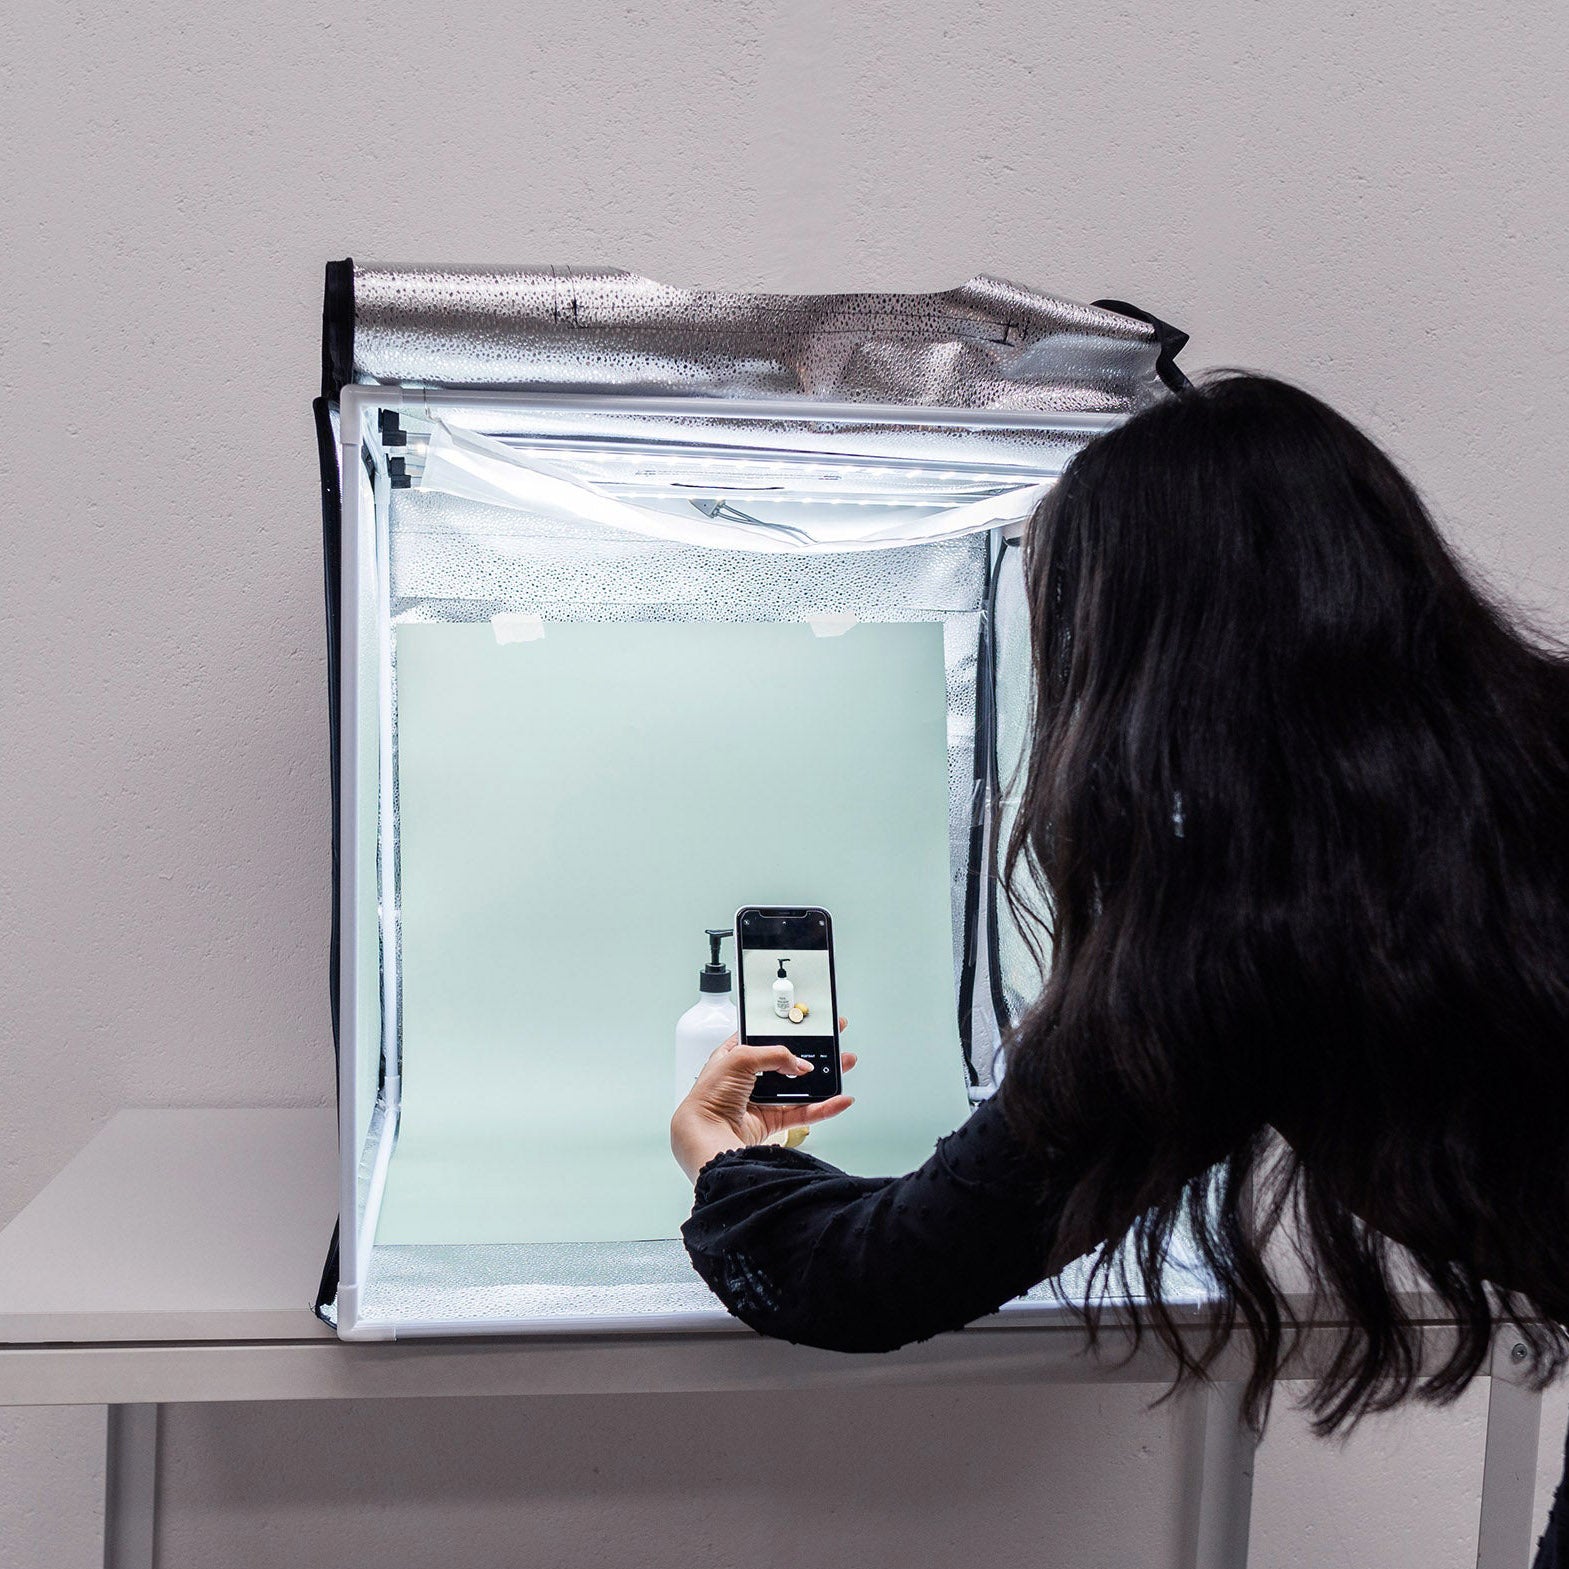
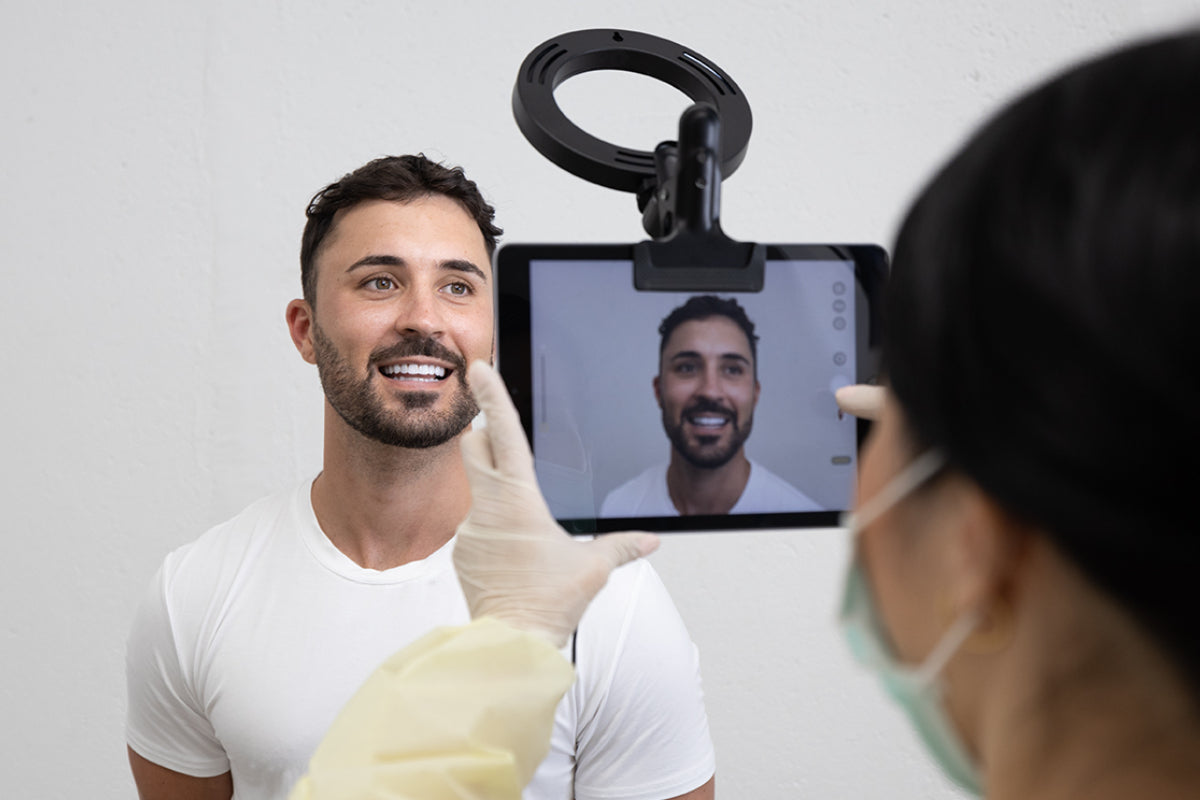
Dental practitioners who are on the go require a portable lighting solution. With the advanced photographic capabilities of modern smartphones, many dentists and orthodontists prefer to use these lightweight and compact devices instead of DSLRs. The simplest lighting solution for smartphone users is the GlowGo. It features a clip that can be mounted directly to a smartphone. It also includes three cold shoe mounts that can connect multiple lights to create a larger light surface. The magnetic surface can be attached to any area of metal. Smartphones can also be combined with wands and ring lights to produce excellent results without the demands of traditional lighting equipment.
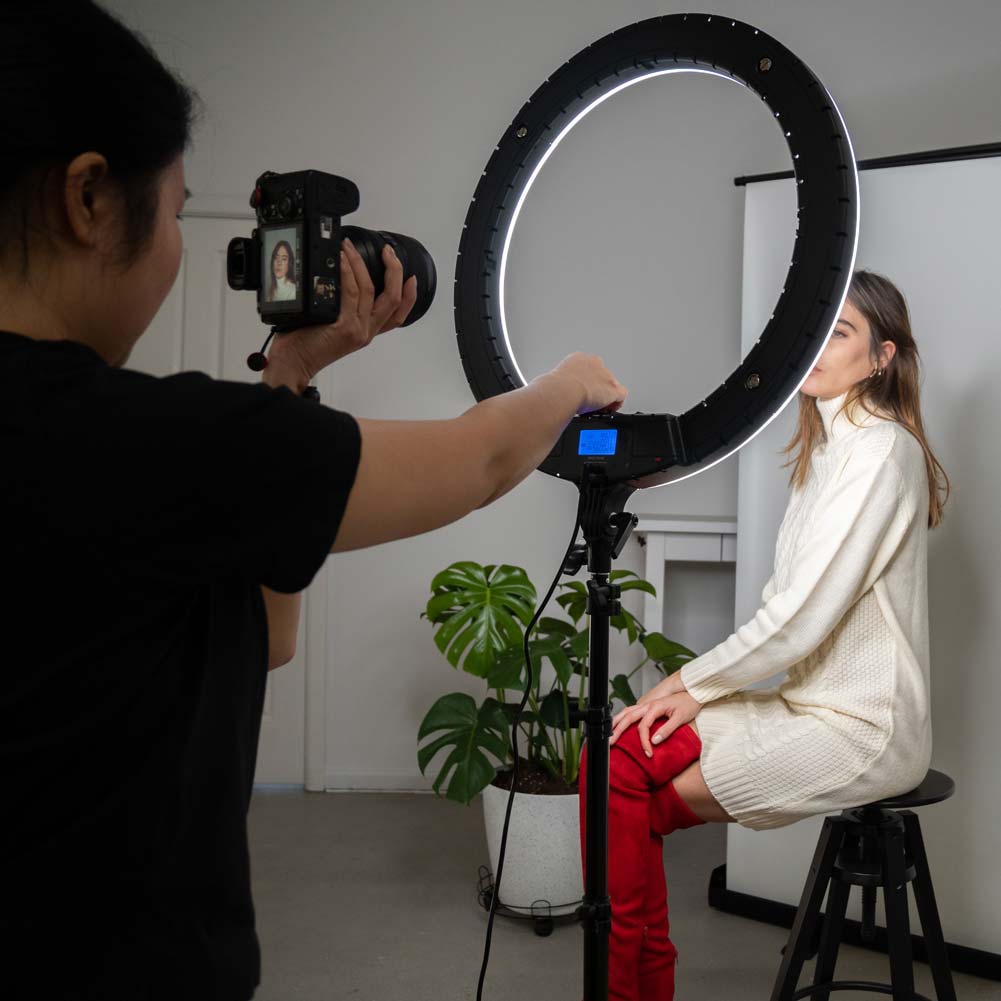
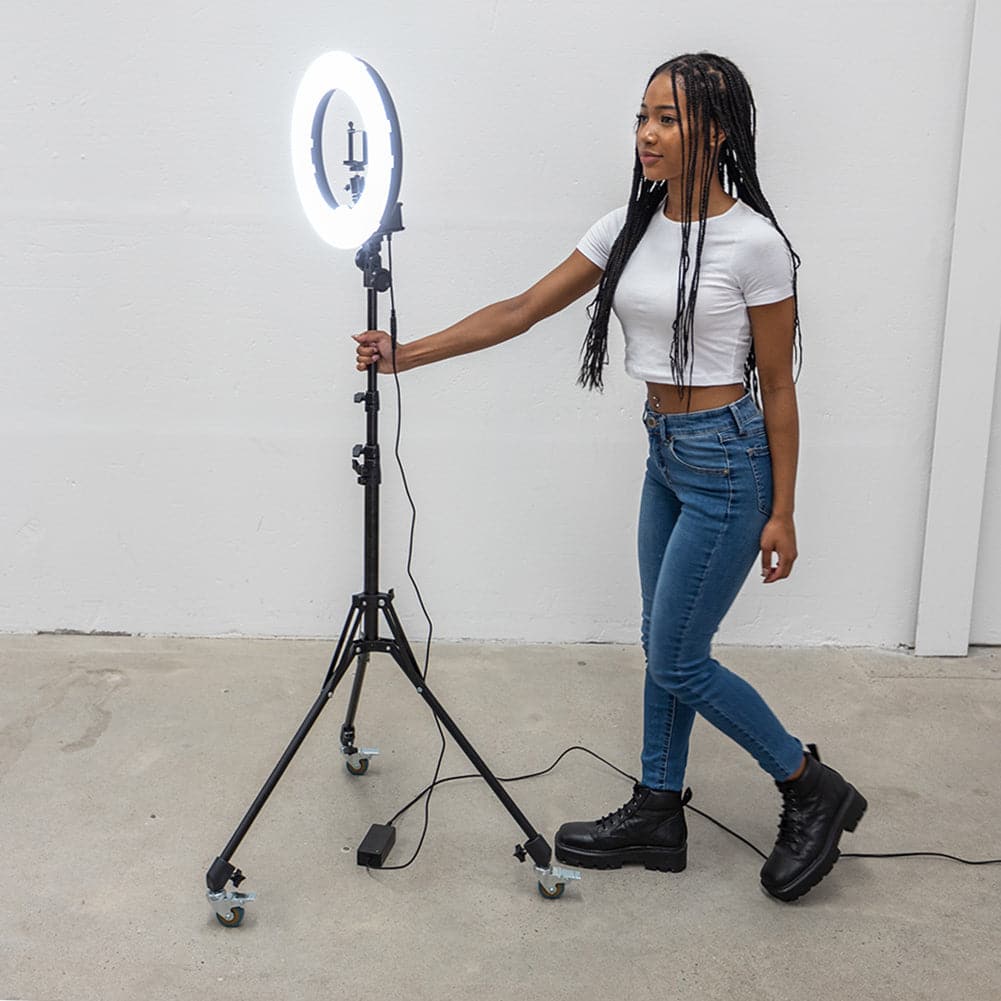
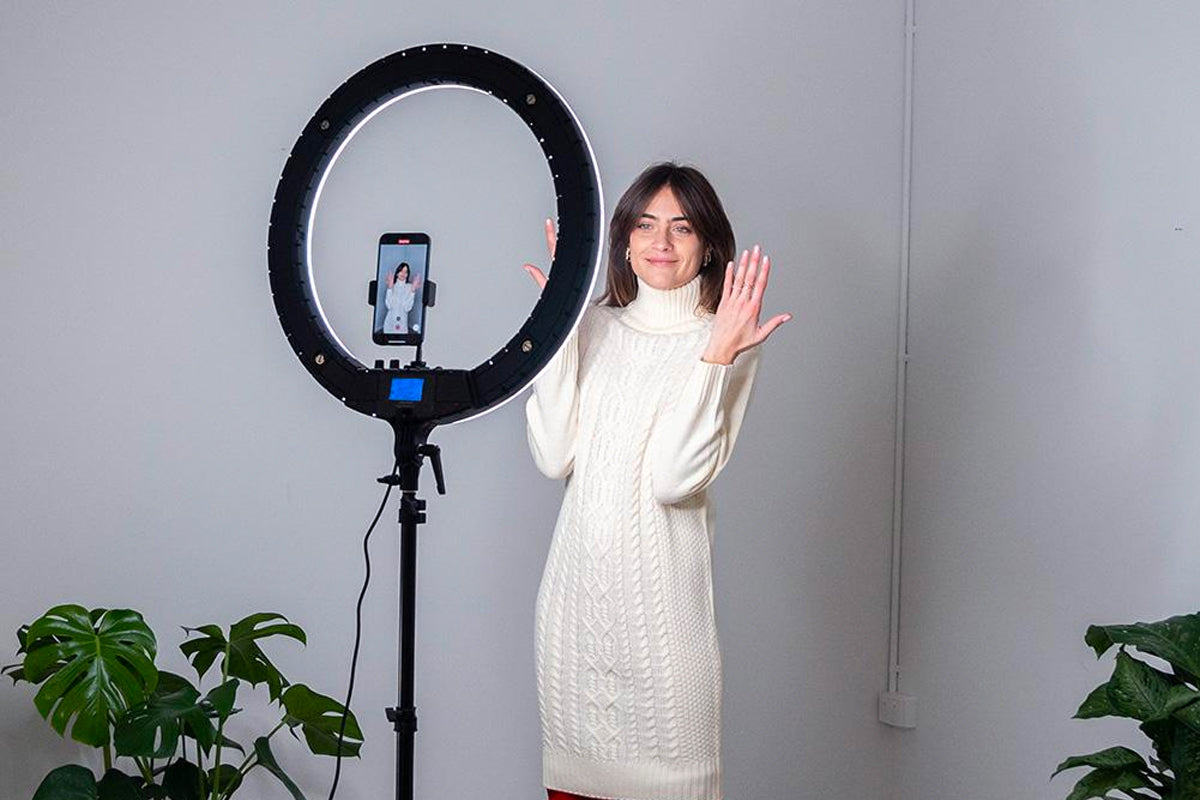
Ring lights are a popular choice for dental photography because they offer a soft, even light that is evenly distributed around the mouth. This form of illumination reduces harsh shadows and hot spots. They are available as on-camera lighting options or off-camera systems. These lights are portable and easy to use in a variety of settings. Ring lights are also affordable, making them a good choice for dentists on a budget. And they do not require any special skills or knowledge to set up and use. Being a consistent and continuous light source, they have the advantage over traditional flashes because the operator can see where reflections occur, and they can change the angle of the lights accordingly. Ring flash photography is less popular amongst dentists because it forms strong shadows. The photographer doesn’t know where those shadows will land until the shot is taken. And because ring flashes are positioned close to the patient’s face, the intensity of the light can be uncomfortable for them.
For those with limited space, Ruby is a 6-inch ring light that can be clipped to a lighting stand or positioned on the side table next to the dental chair. When a greater area is available, the Spectrum Aurora 18" Diamond Luxe III LED ring light could be more appropriate. It has an 18-inch diameter with a flexible gooseneck that allows the light to shine from any angle. The ultimate lighting experience is achieved with the Platinum Pro. This is a 22-inch ring light that is larger and brighter. Its circular light creates a ‘wrap-around effect’ of soft light across the subject’s face.

Key Factors to Consider in Lighting Setup
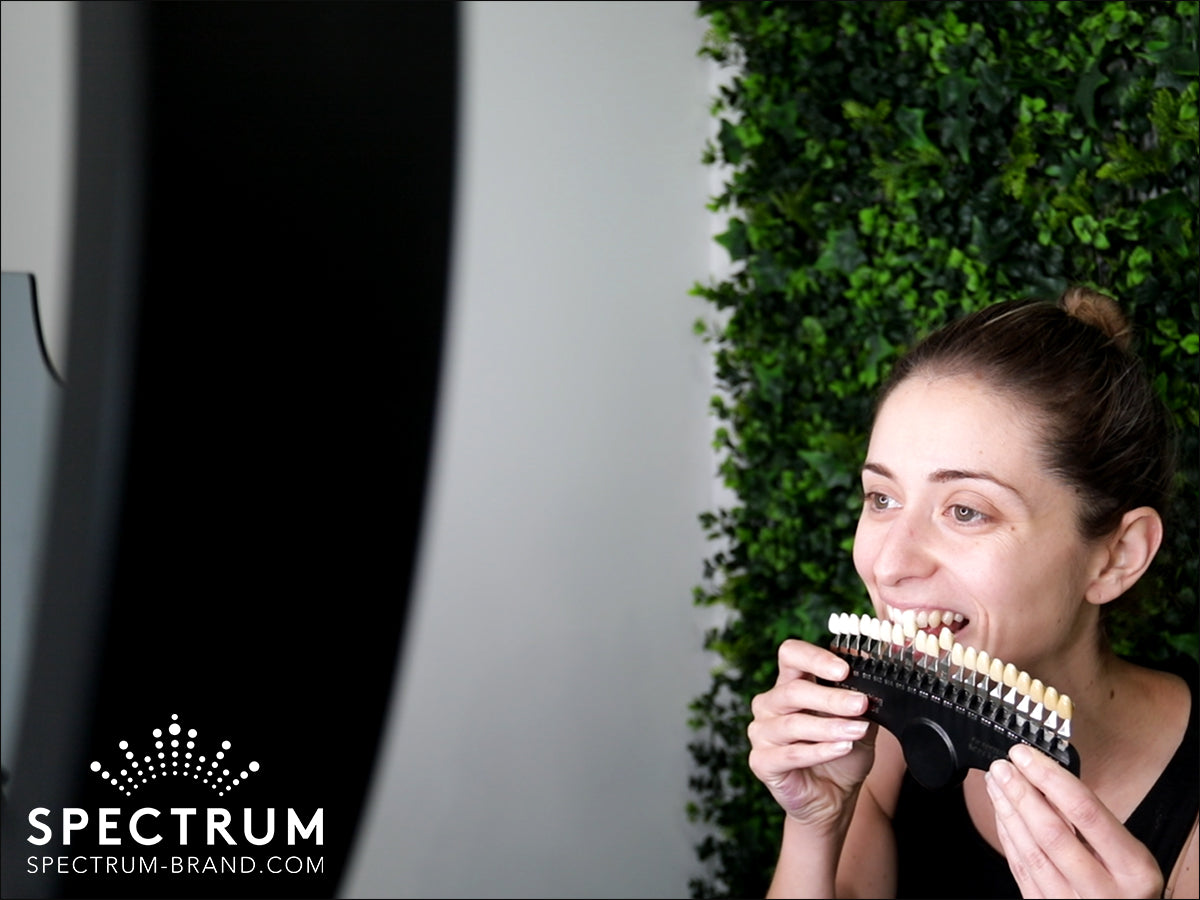
When shopping for lights for a dental clinic, consider the colour temperature of the equipment. Colour temperature is the measure of how warm or cool a light source appears. It is measured in Kelvin (K). Daylight has a colour temperature of around 5500K, which is considered to be a neutral white. Light sources with a lower colour temperature, such as tungsten bulbs, appear warmer, while light sources with a higher colour temperature appear cooler. It’s important to be aware of colour temperature in dental photography because it can affect how teeth appear in photos. If the light source’s colour temperature is incorrect, diagnosing dental problems becomes challenging.
Light intensity is another quality that must be taken into consideration. The light source’s intensity will affect how the teeth appear in photos. If the light is too low, the teeth will seem dark. The teeth appear washed out if the light intensity is too high. The ideal light intensity for dental photography is between 500 and 1000 lumens. This provides enough light to illuminate the teeth without creating harsh shadows or overexposure. This will help to ensure that the teeth are recorded in a natural state and that the details are visible.
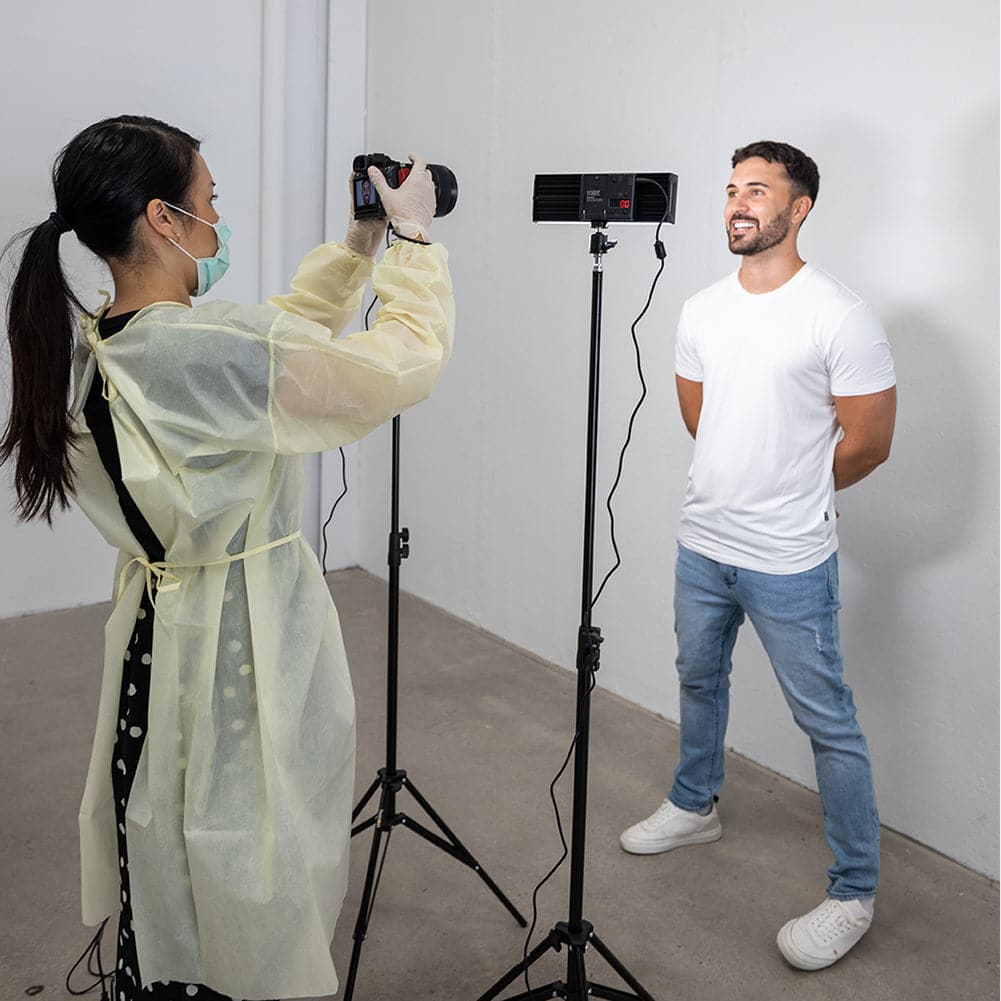
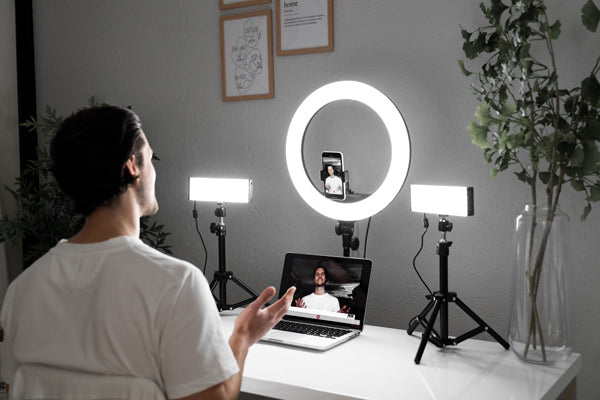
For ring light photography, position the unit above the patient’s head to create a more even light and to reduce shadows. The ring light should be about 12-18 inches from their face. When using two lights, they should be positioned on either side of the patient’s head at a 45-degree angle to the camera.

Tips and Techniques for Achieving Perfect Before and After Shots
Balancing ambient light with artificial lighting helps achieve high-quality results and ensures that the colours, tones, and details of the teeth and oral tissues are captured without any inaccuracies. Ambient light refers to the existing light in the room or environment where dental photography occurs. To achieve proper balance, adjust the intensity of the ring light LEDs to a level that complements the ambient light without overpowering it. Many ring light LEDs offer adjustable colour temperature settings to match the ambient light.
To have the best representation of teeth, ensure an appropriate distance between the ring light and the subject to reduce shadows and highlights. Tilting the ring light slightly can alter the direction of the light and change the way shadows fall on the subject’s teeth and oral tissues. Continuously evaluate the results and make minor adjustments to achieve the desired lighting effects.
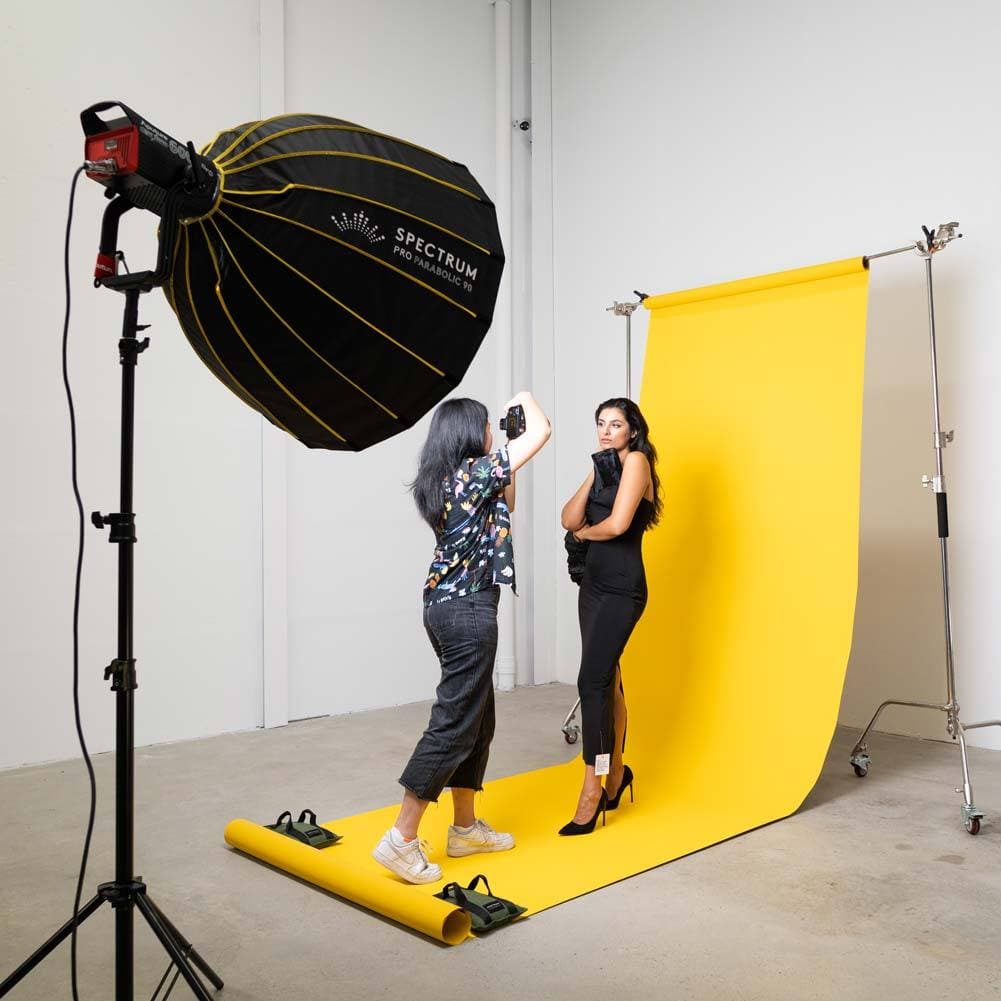
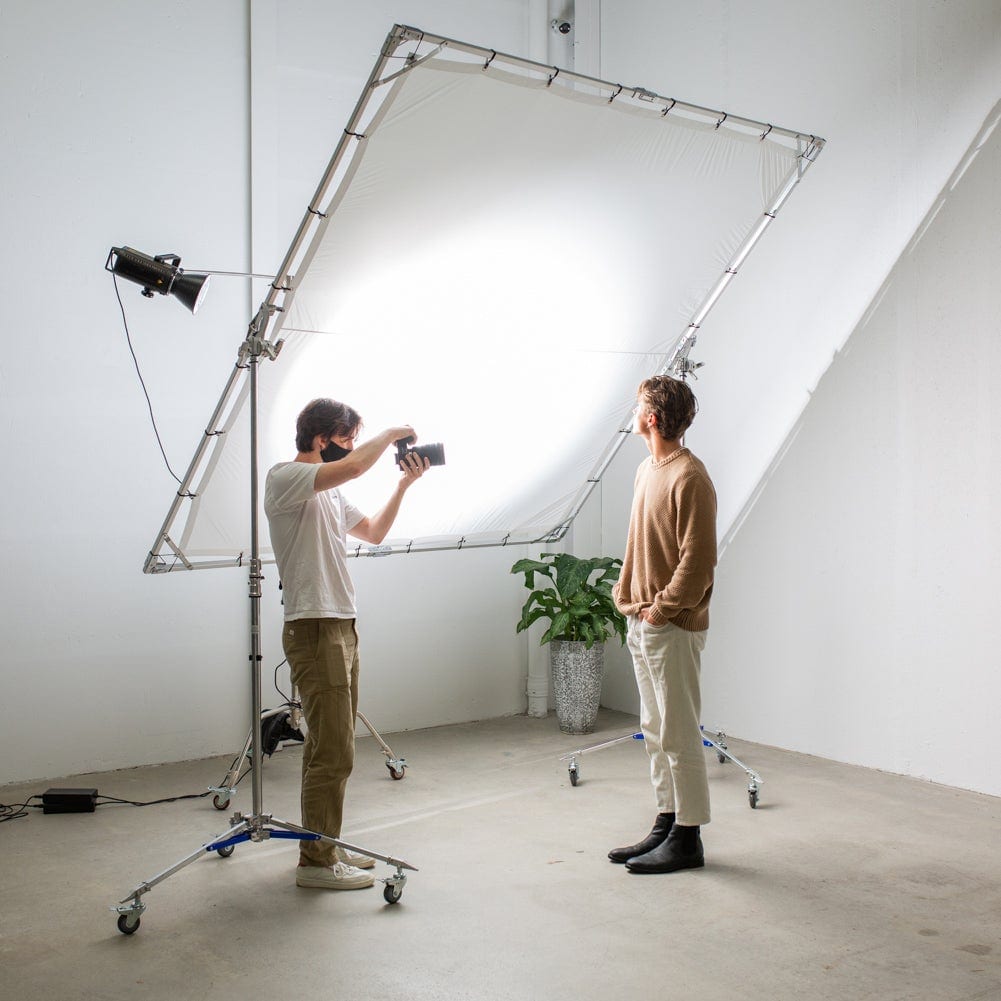
When creating advertising images, ring lights can be strategically placed to enhance the subject’s features and provide a pleasing aesthetic. Position the ring light in front of the subject, ensuring it encircles the camera lens. This offers appealing lighting across the face. Ring lights produce distinctive circular catchlights in the subject’s eyes, adding interest to the overall image. These catchlights draw attention to the eyes and create a more engaging portrait.
Adjust the intensity and distance of the ring light to achieve the desired catchlight effect. While ring lights are known for their frontal lighting, the lighting direction can be manipulated to enhance specific features. Slight adjustments in the angle of the ring light will create subtle shadows, adding depth and dimension to the subject’s face. Portrait lighting options such as ring lights can also create professional images of team members for the clinic’s website.

Maintenance and Care for Lighting Equipment
If photographic lighting equipment is used daily in the dental clinic, occasionally wipe it with a lint-free cloth to avoid dust buildup. Dust on lights can interfere with their performance. Unplug the lights at the end of the day to prevent damage from power surges. When a dental clinic has limited room and photography lighting equipment has to be stored away between use, place it in an area that is neither humid nor dusty. Use a protective case to avoid dust and the possibility of damage from mishandling. Cleaning equipment regularly will help to keep it functioning correctly and extends its lifespan.
Check the settings often to ensure the colour temperature range is at the usual setting, otherwise, there will be inconsistent results. Inspect the equipment regularly for any signs of wear or damage to ensure consistent performance. This includes checking the cables, connectors, and housing for cracks or breaks. And finally, don’t kink the power cords, as this can damage them.

Final Thoughts
Dentists use lights to obtain clear and detailed images of the teeth. Ring lights and wands are designed to provide a soft beam of light that eliminates shadows and enhances visibility within the mouth. This form of lighting allows dentists to accurately capture the colour, texture, and structural characteristics of teeth so they can monitor their patients’ oral health effectively.