


Nowadays, building a portfolio for your dental practice is critical to the success of your career as a dentist. Gone were the days when you just have to establish a dental clinic and clients will flock from everywhere in order to obtain your services. Competition among dentist has been tight these past few years and the only way to stand out among the rest is to create an outstanding clinical portfolio that you can use to advertise your skills and competence in the field of dentistry.
Despite that fact, some of the skilled dentists in the field are having a hard time in their career just because they do not have the knowledge in taking quality pictures of their work and thus are unable to properly showcase their talent and expertise in their field.
How to Take Dental Photos for Your Social Media Portfolio
Taking photos for your social media and clinical portfolio should not be difficult if you have the right equipment and the proper knowledge to use them in order to obtain high-quality pictures that you can use to correctly represent your work.
The basic equipment that you need in order to take quality photos are the following:
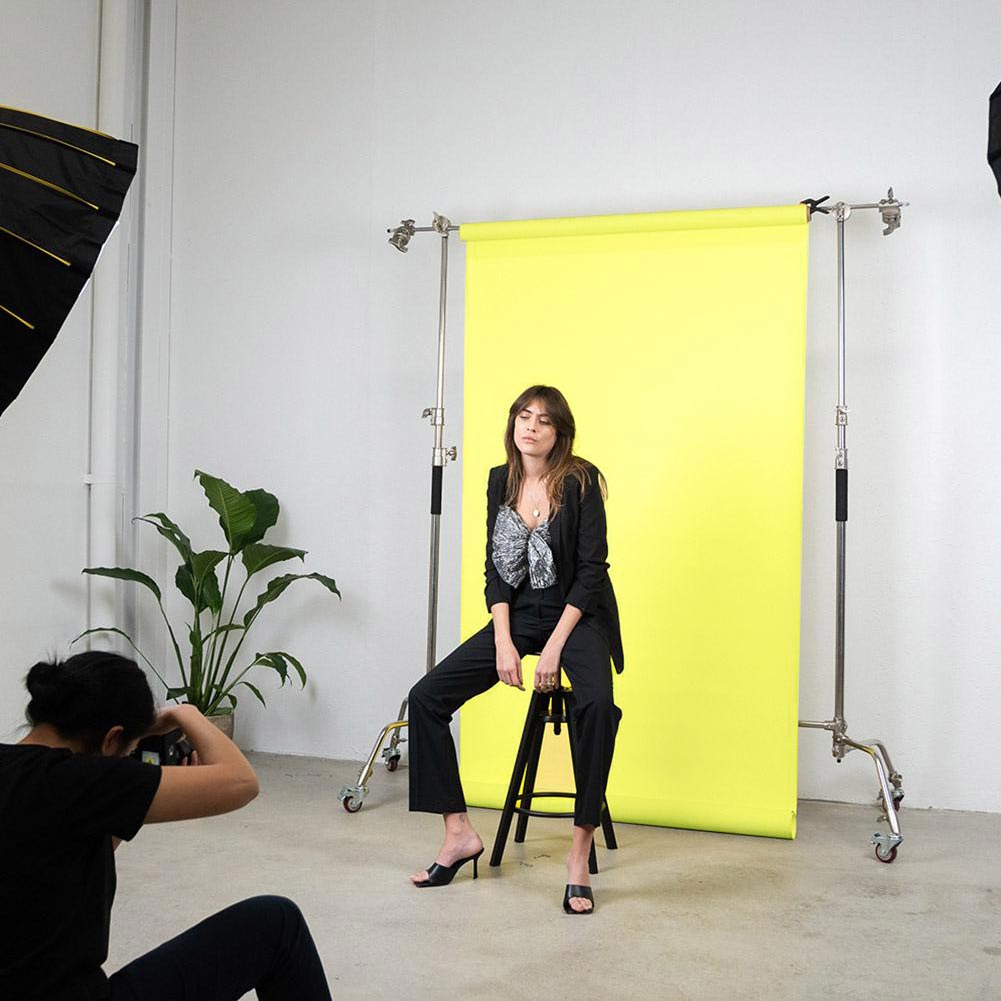
- A plain blue or black background board that you can hang on your wall (for taking patient’s profile photos that you can use for your presentations)
- A camera or a phone that takes high-quality pictures
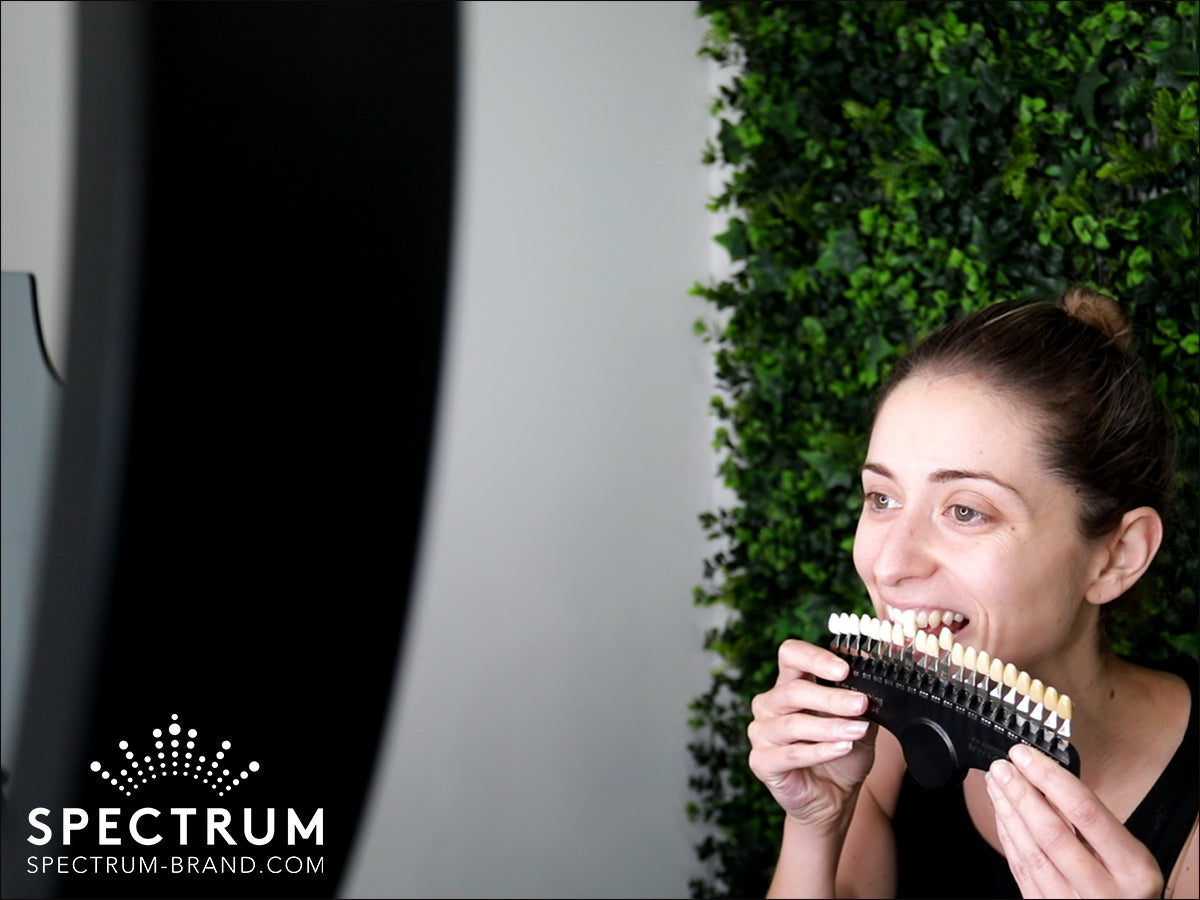
- Dental mirrors
- Retractors
- Dental contrasters
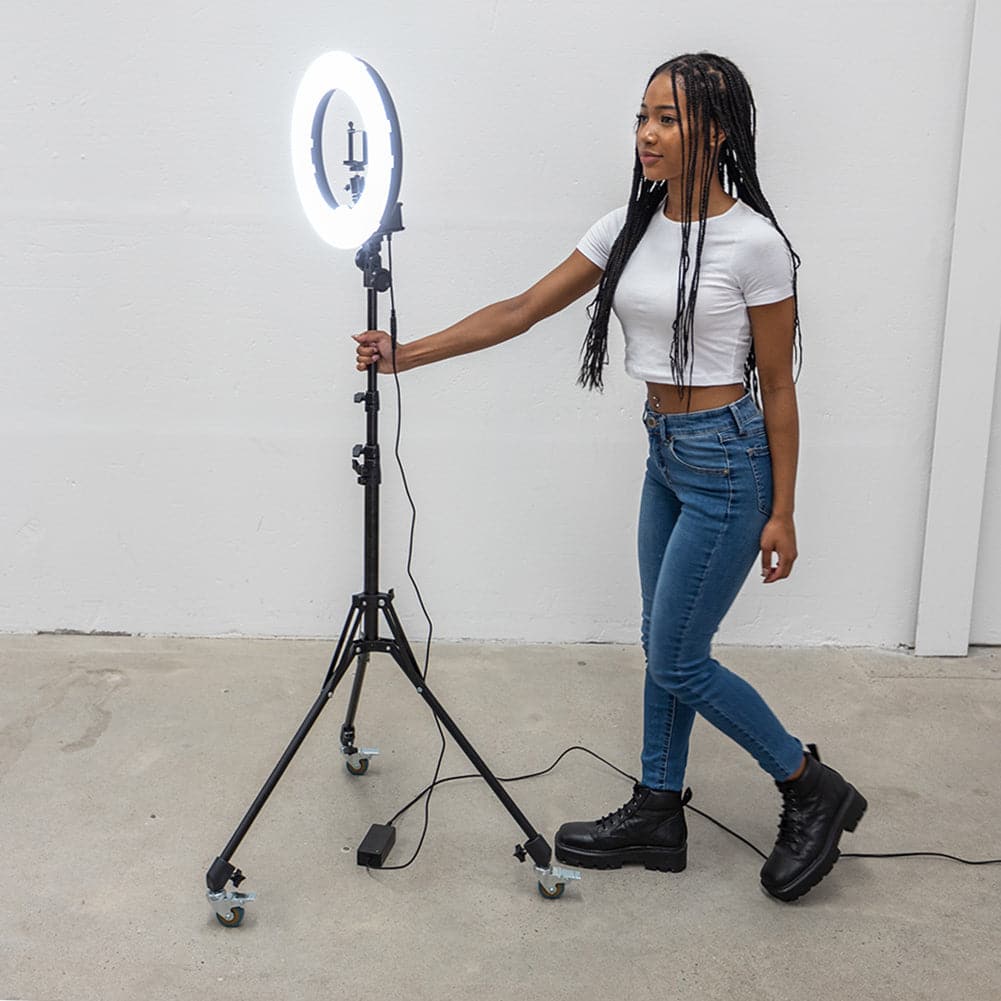
- A good lighting source
Make sure that all your equipment and gear are properly sanitised for the safety and hygiene of your patients.
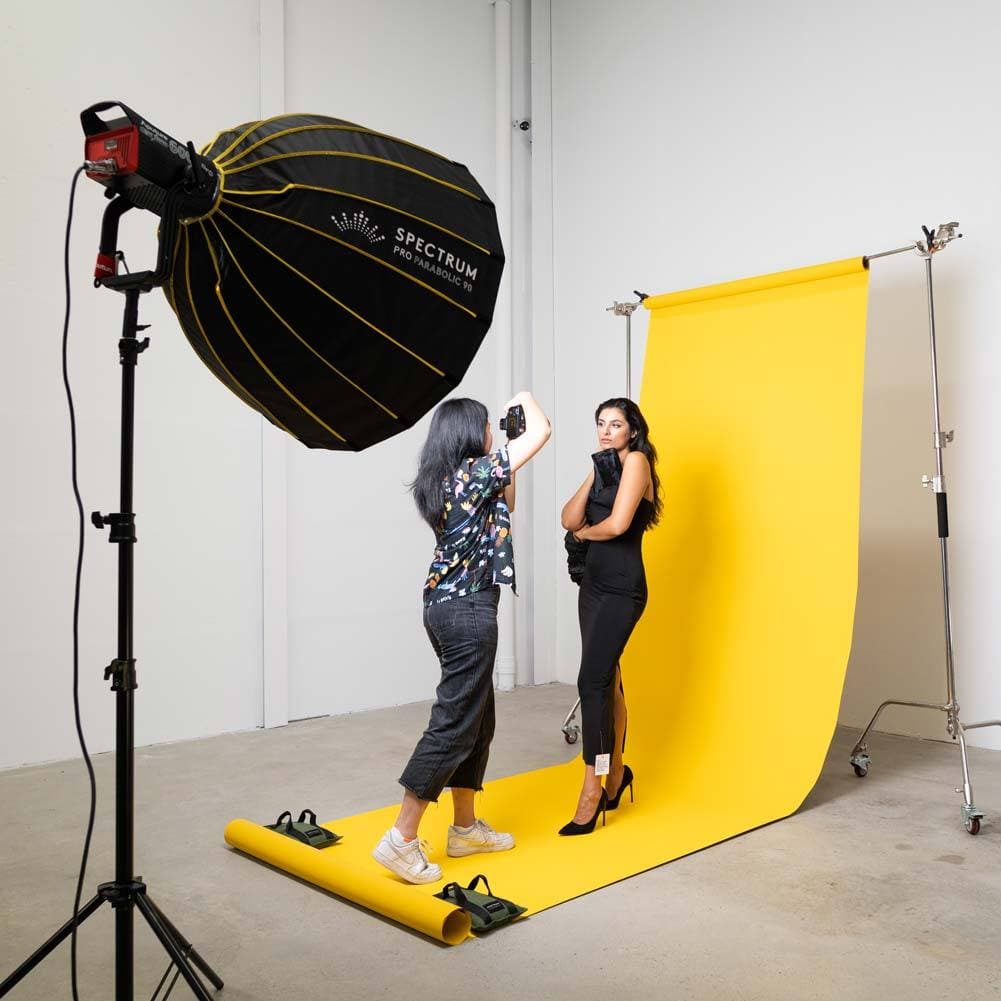
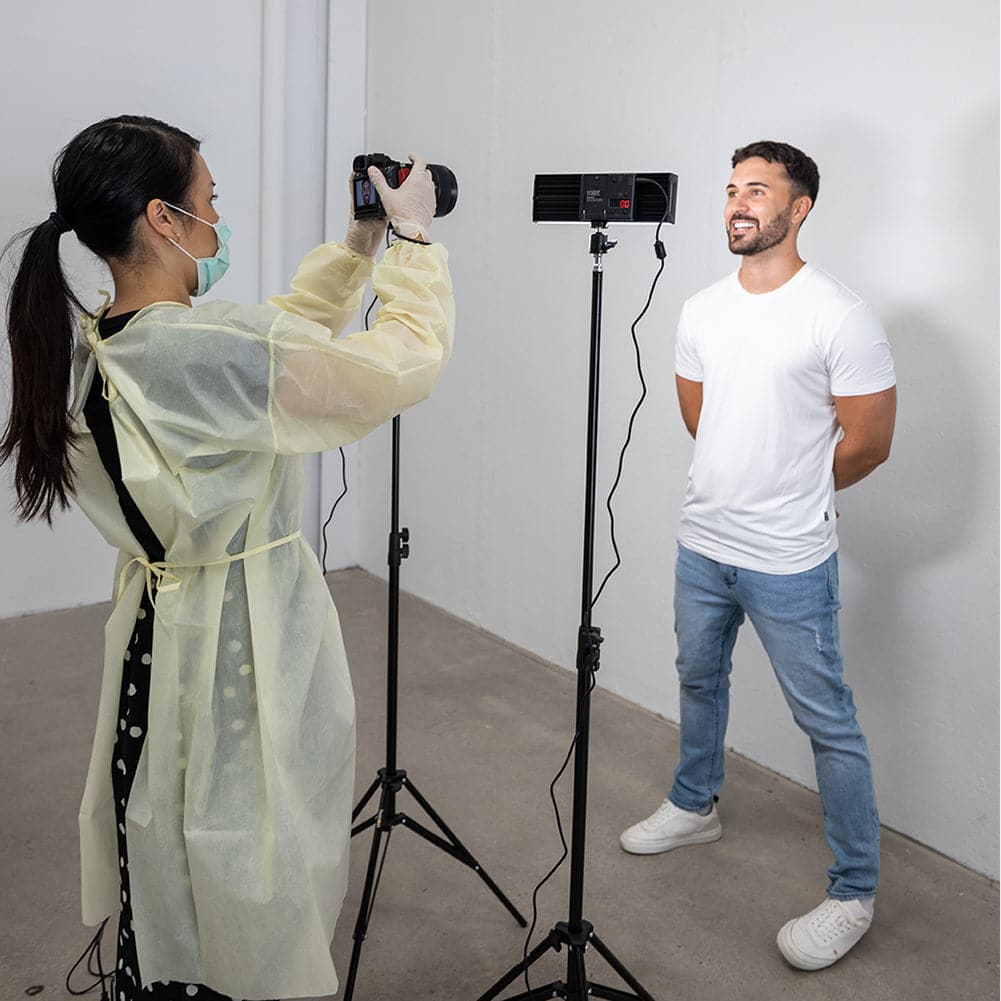
Taking a Patient’s Profile Photo
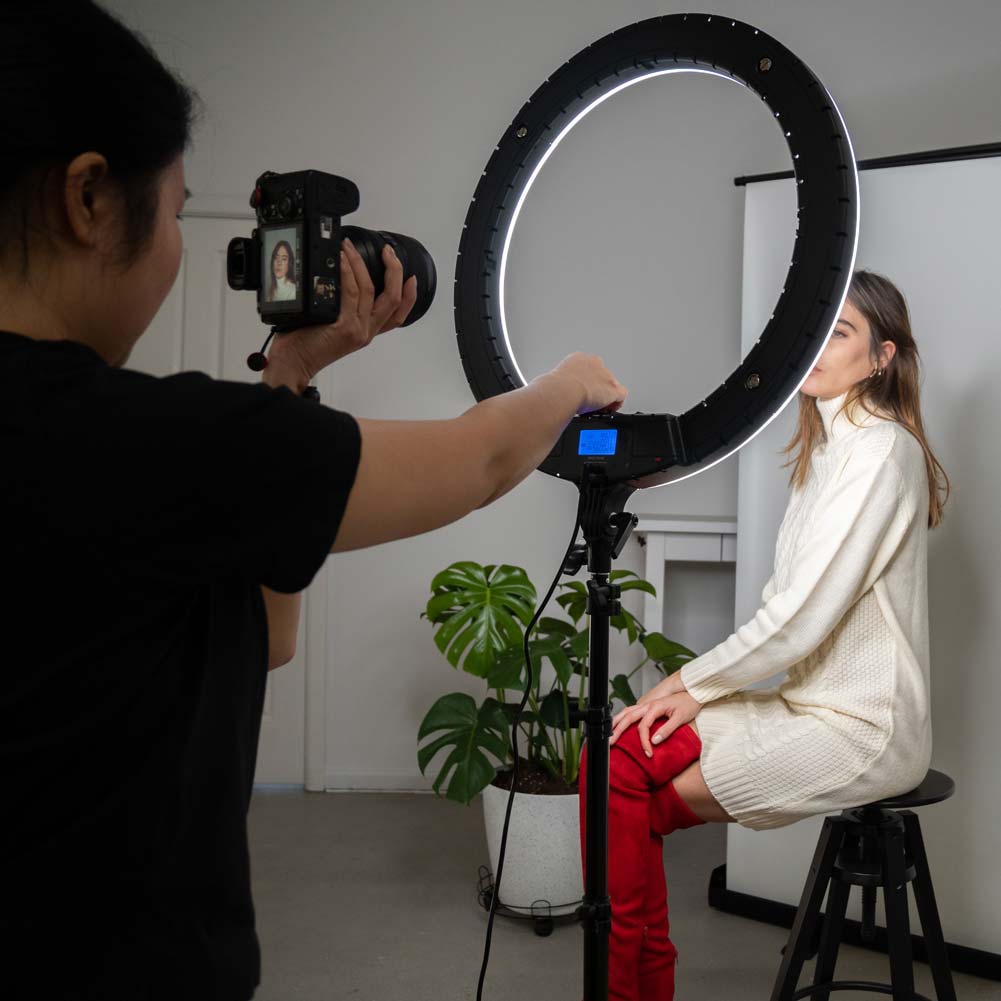
To take a patient’s profile photo for your presentations and clinical portfolio, make the subject stand against the black or blue background board and use your lighting source to provide lighting for the photo shoot. Adjust the position of your light (Spectrum Aurora ring light, softbox or any other lighting source) to ensure that the subject is well lit.
Adjust the angle of your camera and compensate for any glares or shadows that you may see on your camera screen. Take multiple shots from your camera and adjust your camera settings and angle if needed until you get the shot that you are looking for.

Taking Photos of Your Patient’s Teeth
Now for taking the actual photos of your patient’s teeth, instruct your patient to sit comfortably in the dental chair and position your light above the subject’s mouth. You can use a cloth, a paper or a clear plastic bag to cover your light source if you want to diffuse the light coming from it.

Use the retractors to widely open the subject’s mouth, so that you can take accurate shots of the teeth that you want to take a photo of. You can alternatively cut a plastic retractor at 45 degrees angle to make it easier to use.

Position your camera above the patient’s mouth and adjust your angle in order to capture the teeth that you want to take a photo of. Use mirrors and dental contrasters to get a better shot of the teeth and adjust your lighting and camera accordingly to avoid glares and shadows. Review the photos that you take every time that you take a picture and retake the photo if needed.

Taking photos for your clinical and social media portfolio should not be difficult as long as you have the proper gear and knowledge to accomplish it.
One important thing to put into mind is that the secret to taking quality photos of your patient’s teeth is not always about the gear and equipment that you use but the lighting that you get when you take your photo.

