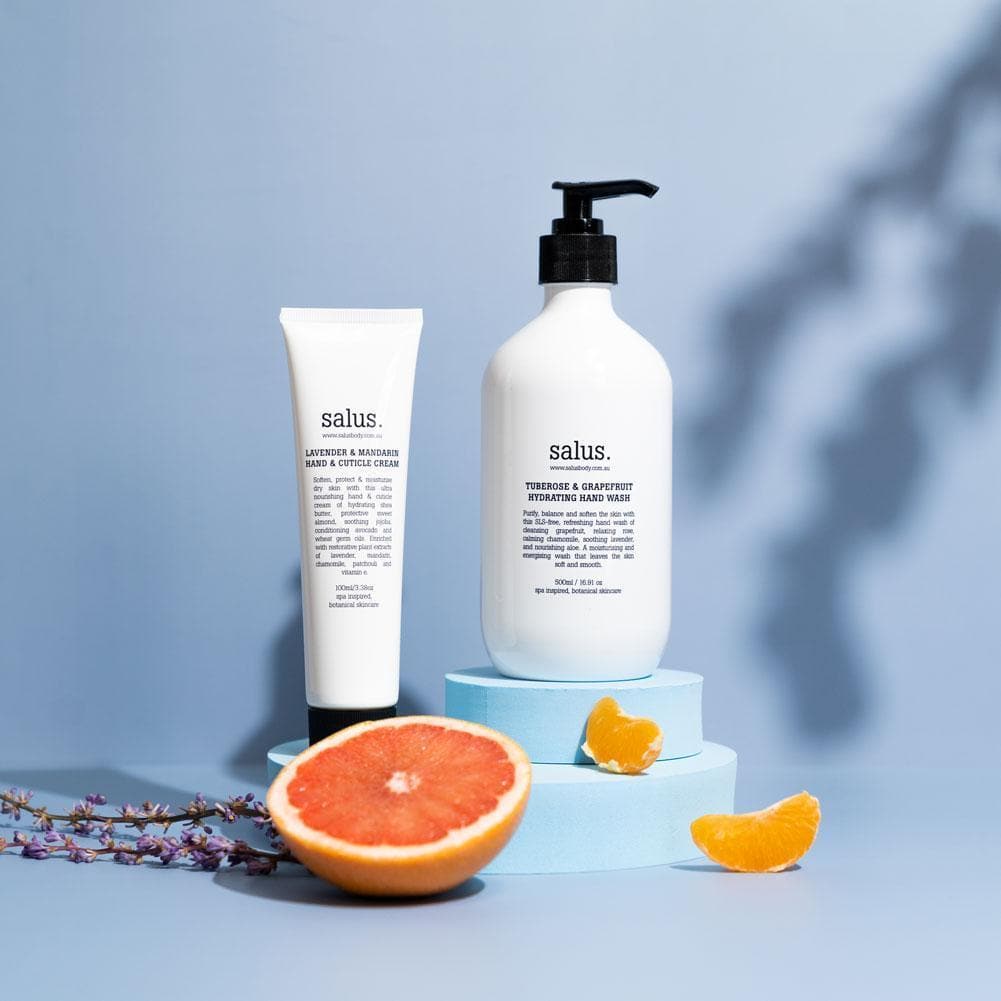
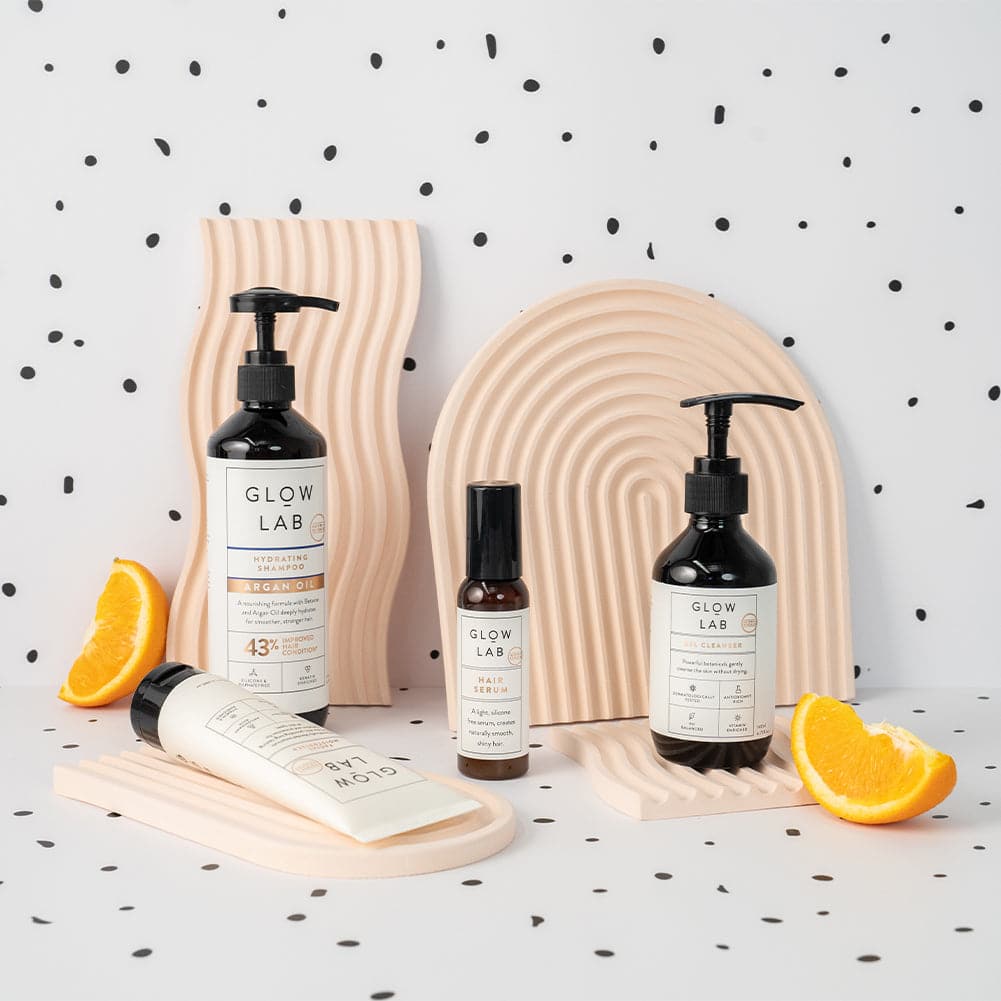
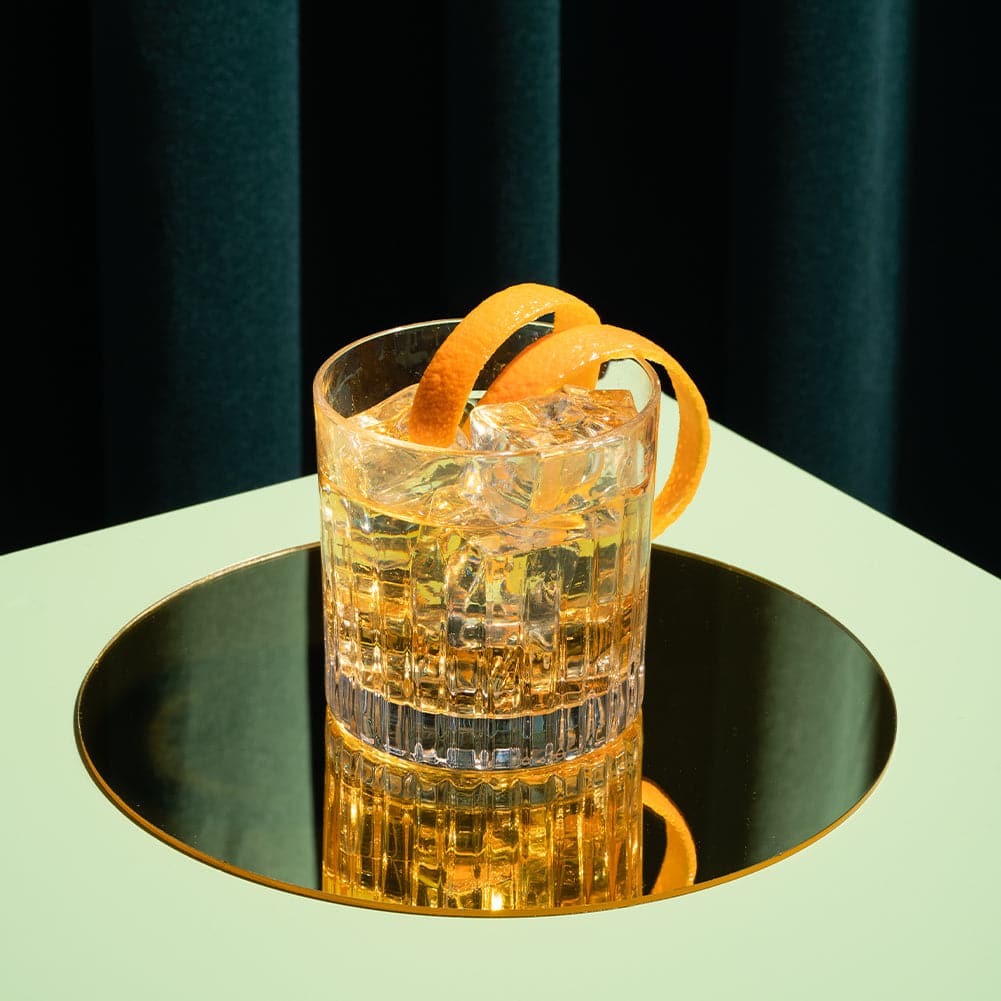
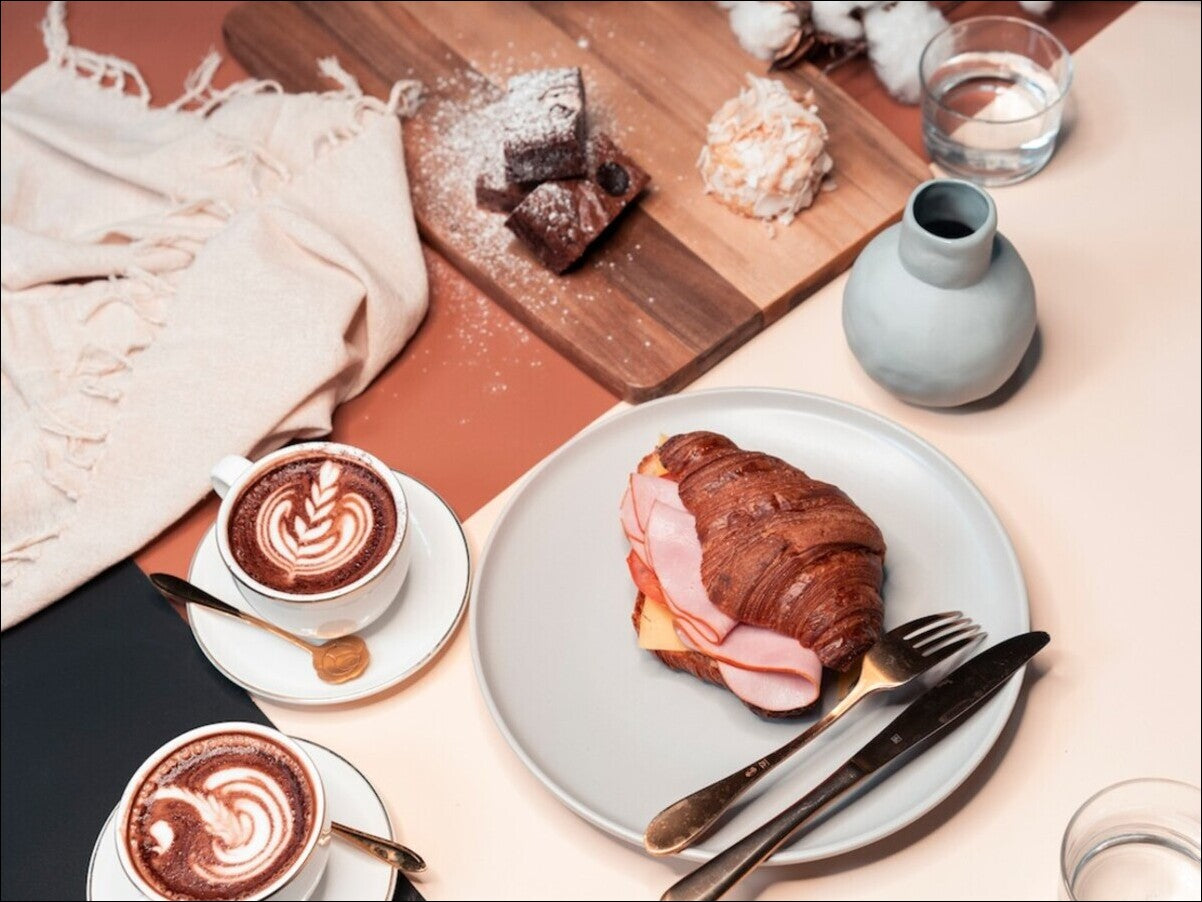
Food porn on Instagram - amazing, isn’t it! Are you wondering how you can get Insta-worthy food photography like that with just a smartphone? Maybe you want to start a food blog or get your restaurant’s menu dishes standing out on Deliveroo, Ubereats, etc, but aren’t sure how to start?
We’re here to show you that you don’t need an expensive DSLR camera or an entourage of assistants and food stylists to get the money shots! Pro food photographers would like you to believe that a beginner with a smartphone can’t take food photography that gets folk drooling - not true!
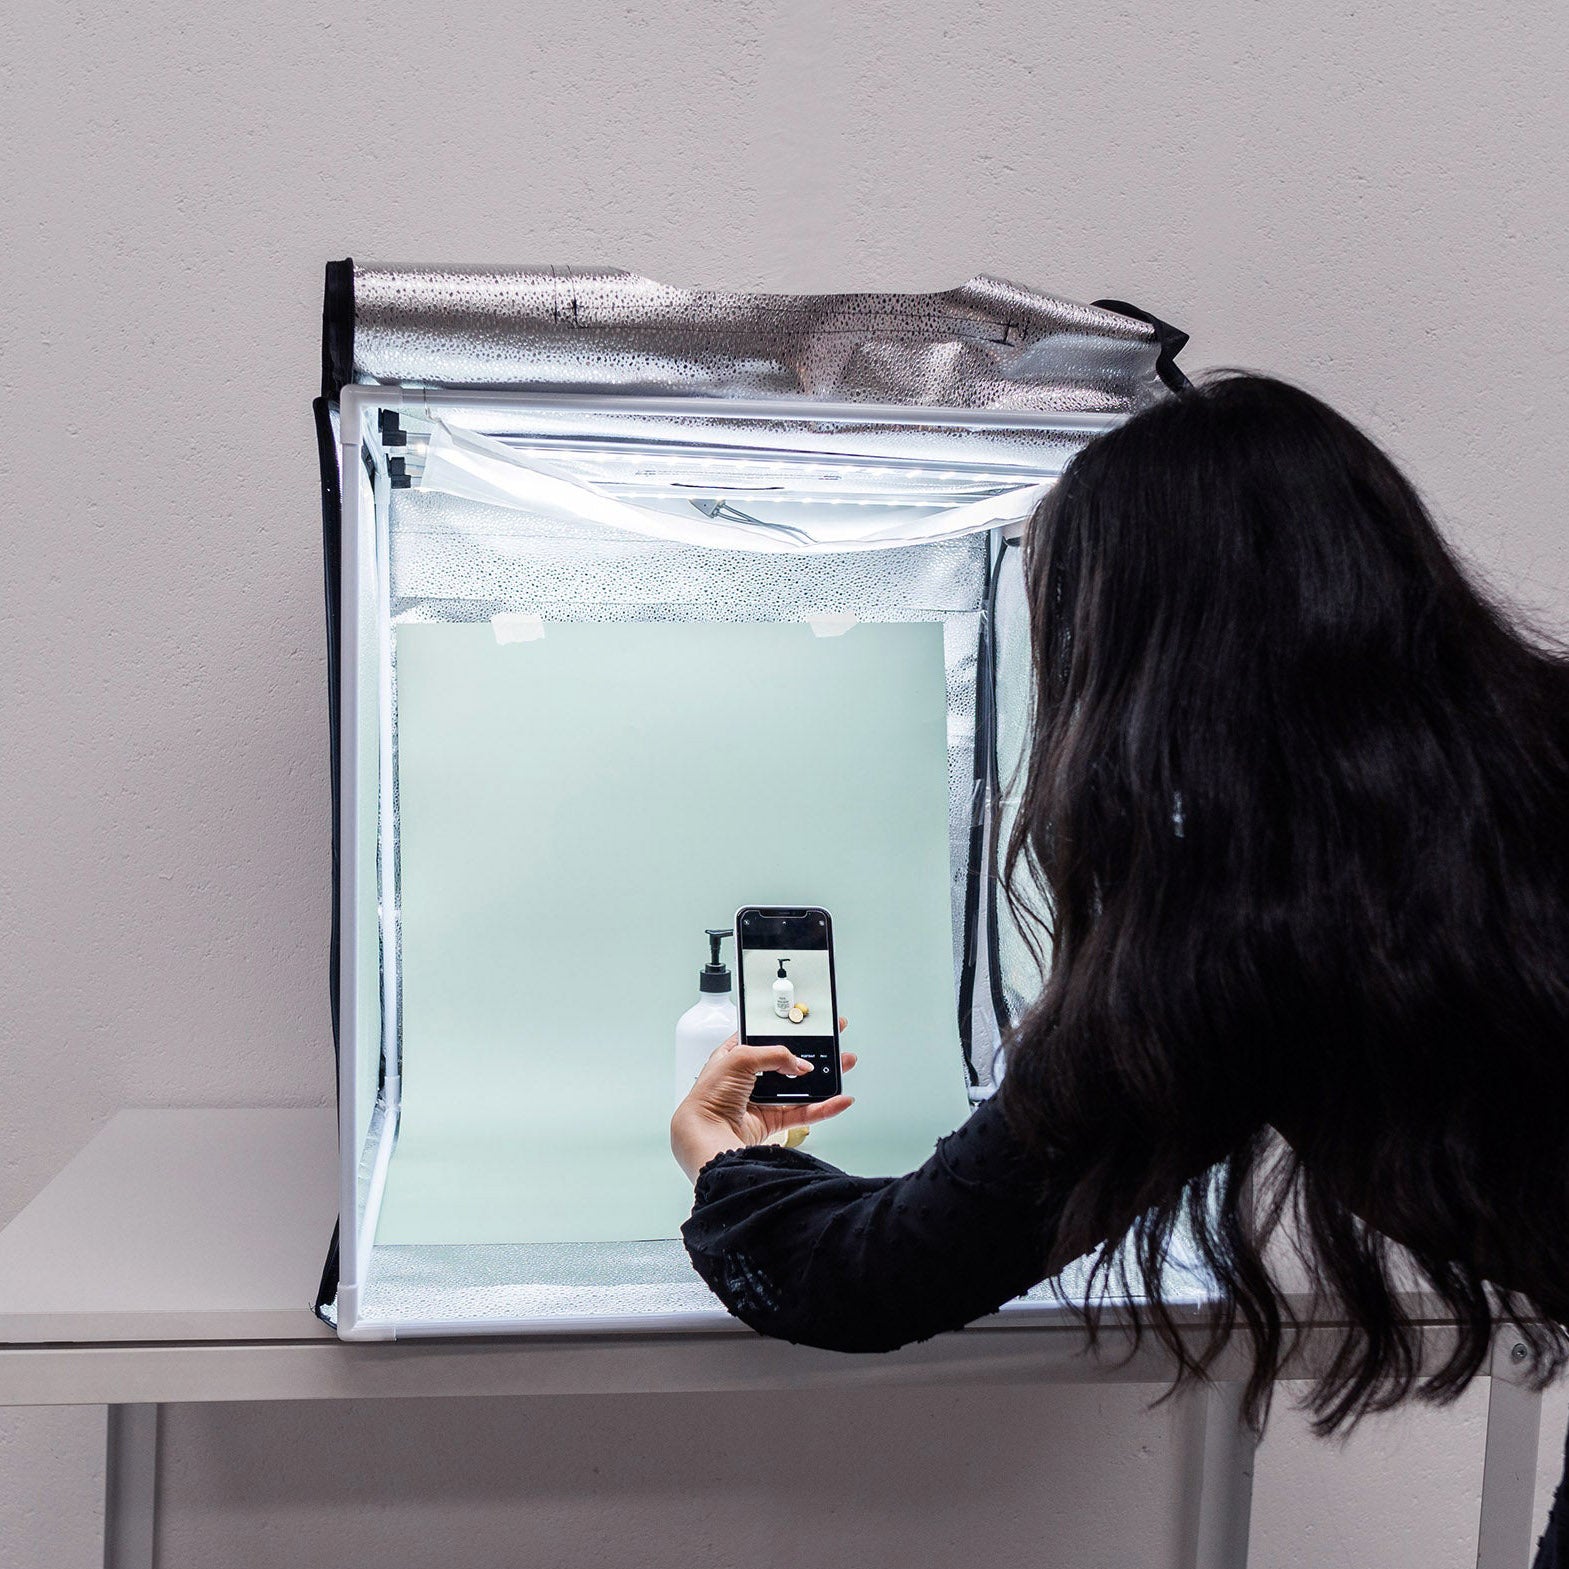
Our food photography tips will get you off to the races in no time. All you need is your phone, some decent lighting, food photography backgrounds, a bit of knowledge, and (of course), some well-styled food dishes! (Bonus - you get to eat those tasty delights you’ve just cooked up, too!)
Ready to rock some amazing food photography? Let’s get to it, then!
Shooting Food for Social Media (Instagram, Facebook, Pinterest, etc.)

Lighting
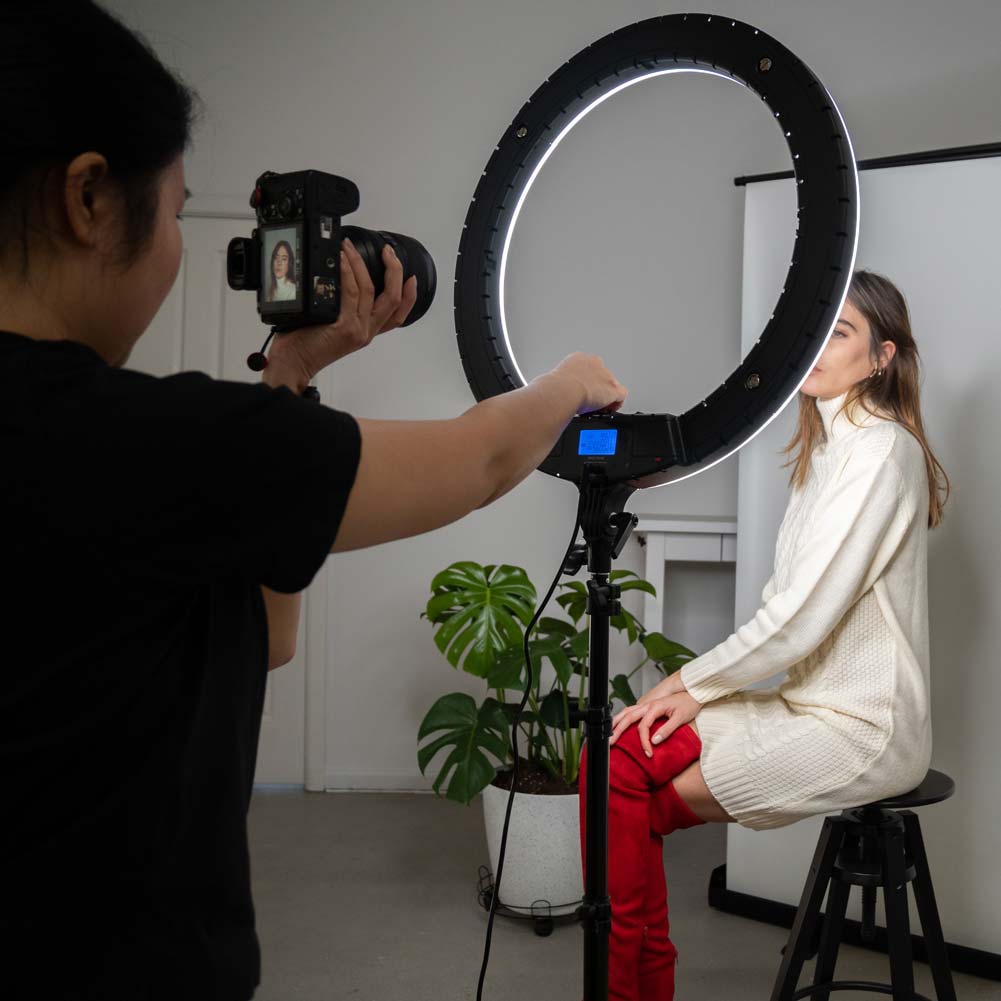
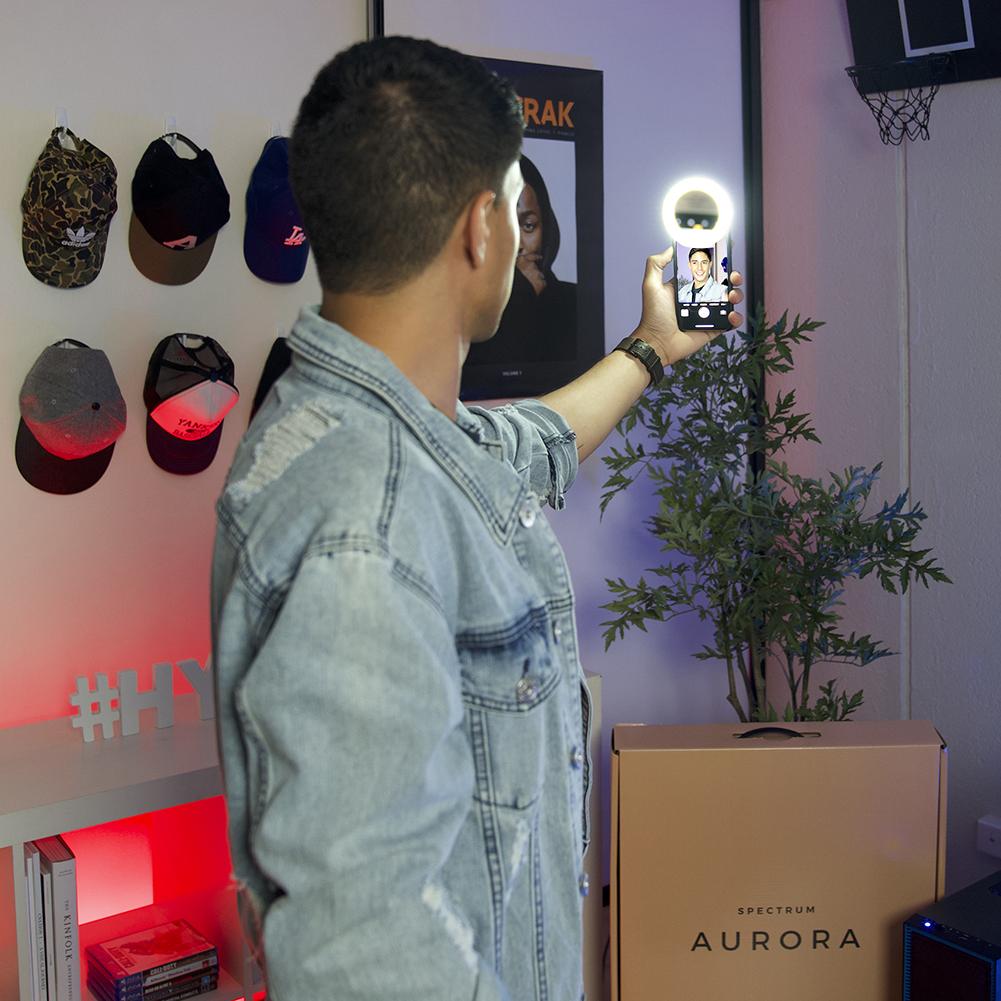
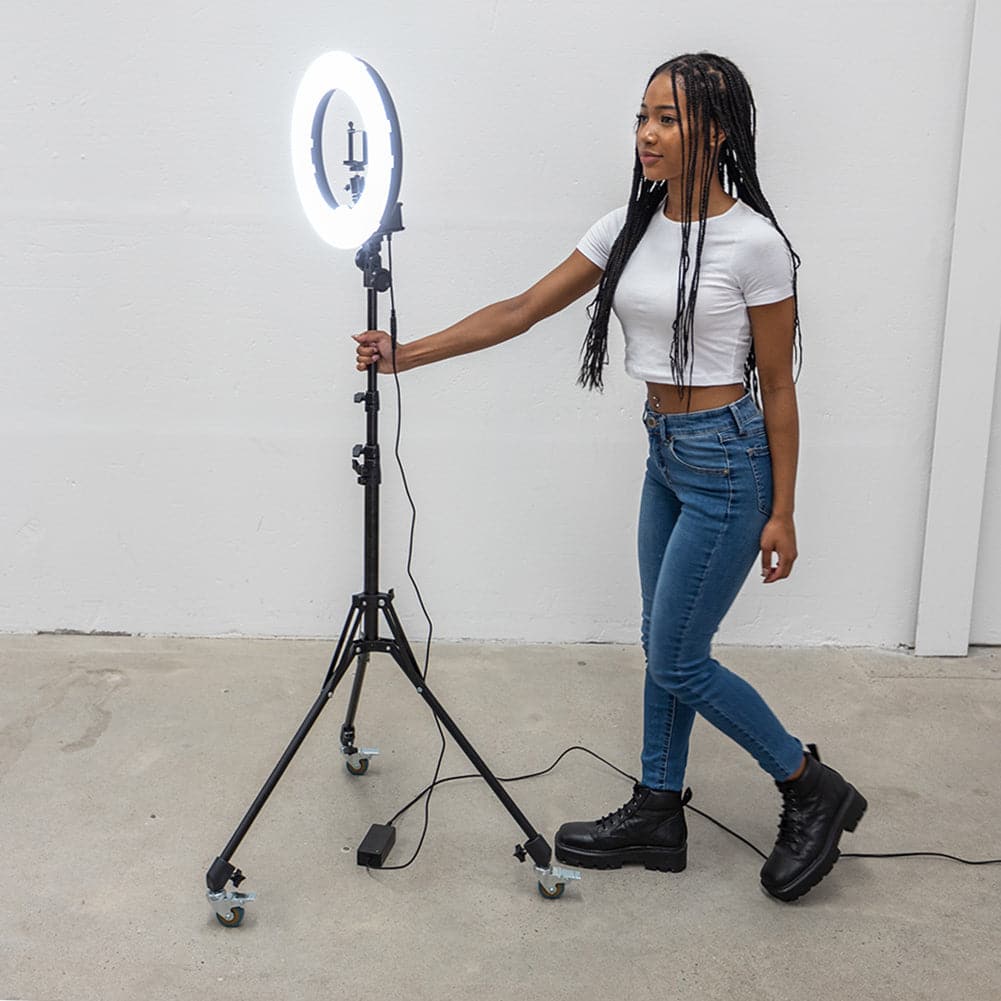
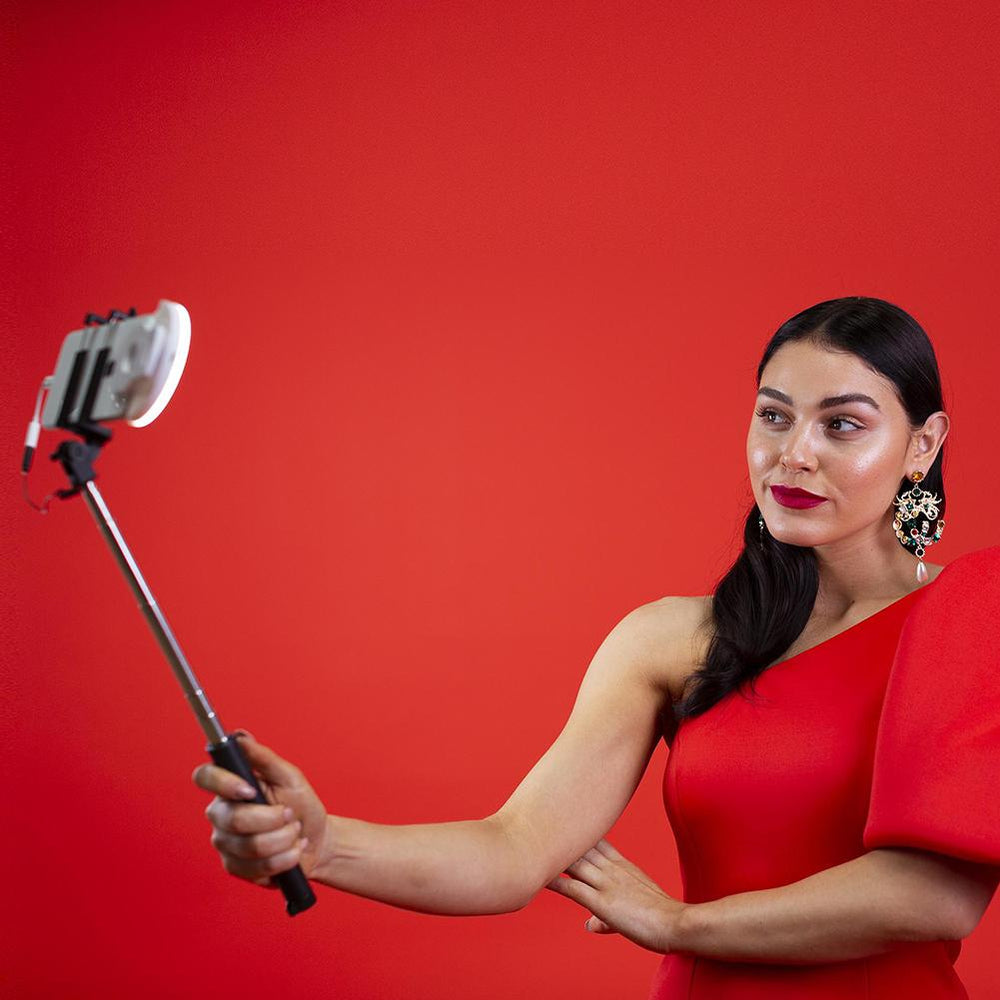
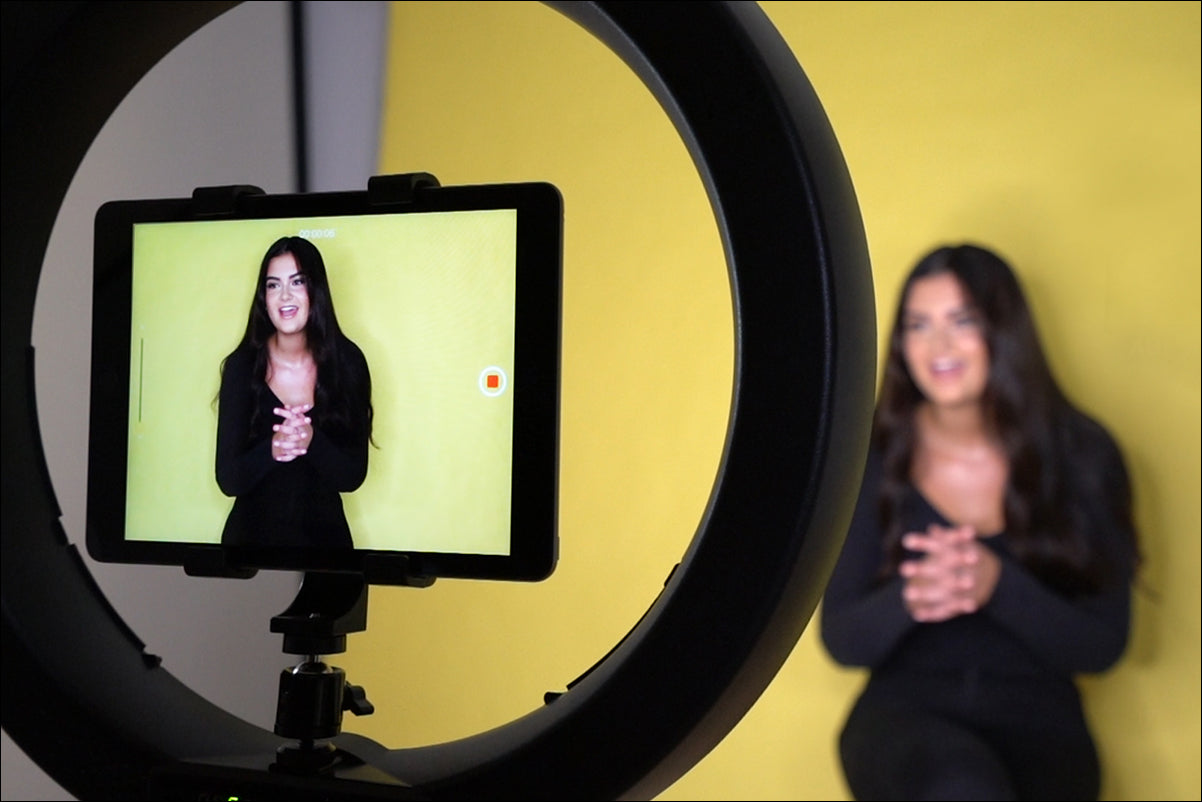
You may have heard that daylight is best for shooting food photography, but sometimes nature needs a helping hand - a ring light like the Spectrum Aurora 19" Gold Luxe II LED Ring Light Kit will give your dishes that beautiful shadowless light that really makes your food pop with colour and texture. The Gold Luxe ring light also has a bendable gooseneck that makes it much easier to angle over your food when it’s on a table.

Background

You’ll also need some food photography backgrounds that you can change out regularly to keep things interesting. If your branding has specific colours involved, then you can find matching or complementary colours to suit it (have a look for a free colour wheel app for your phone - it’s a fab tool for those of us who aren’t natural colouristas!).

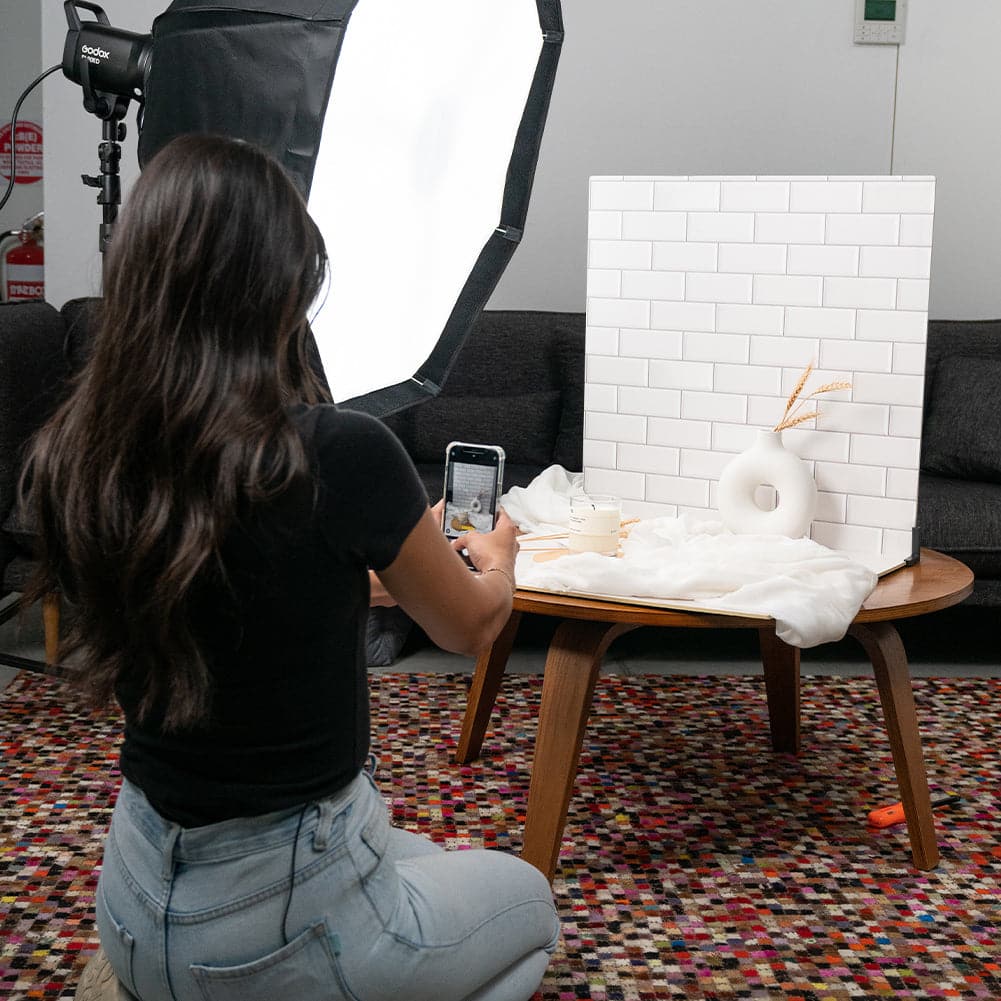
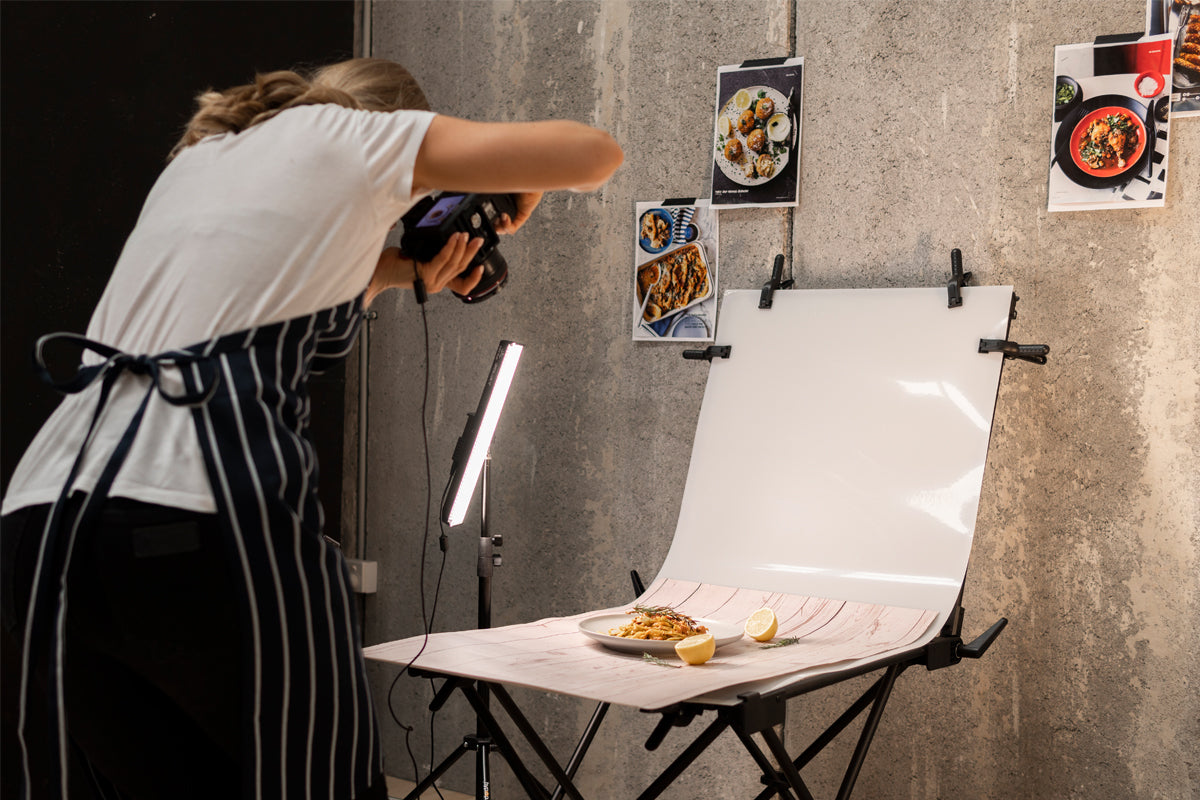
Flat Lay backdrops are a big trend a lot of content creators like to use to achieve a certain look for their shots. The white marble aesthetic like the 'Balmain' White Marble Flat Lay Instagram Backdrop (56cm x 87cm) is big at the moment because it’s a timeless classic and doesn’t distract from the food. You can also switch things up with the Flat Lay Instagram Backdrop - 'Clovelly' Pink Square Tiles (56cm x 87cm) for a cute, contemporary textured look, or go for a classy weathered wood number, like the Flat Lay Instagram Backdrop - 'Palm' White Wash Wooden (56cm x 87cm). These backdrops are an ideal choice for teaming with the ring light for a ready-to-go setup. You can check out our Flat Lay Instagram Backdrops here to see which texture suits your feed!

Another inexpensive but essential secret weapon for food photography is a reflector, like the Large 5-in-1 Reflector Diffuser Disc (43"/110cm). Reflectors bounce diffused light back onto your dishes, which lifts any shadows that are left and lets viewers see more of the details.

With these key pieces of kit, you’re already winning. Now it’s time to delve into those food photography secrets that the pros would rather you didn’t know!
Tips & Tricks for Smartphone Food Photography Success
- Have your lighting and background setup ready to roll before the food is ready - wilted salads and congealed gravy isn’t a good look and food doesn’t hang around
- Don’t use the zoom feature on your phone - get closer instead. Zooming in screws up picture quality big time, and you don’t want a fuzzy, pixelated photo on your social feed
- Choose the most enticing feature to or area to focus on, like the centre of a dish or the layers of a cake
- Pick your angles carefully. You don’t always have to do top-down shots, but they do look better for bowls of food, while a side angle will show off a sandwich, layer cake, or burger much better.
- Ok, so you don’t have to be a food stylist, but you need to start thinking of the aesthetics here. Experiment with props and cutlery, make sure your dishes aren’t chipped, clean any food splashes off the sides of plates, and move things around to get the best-looking composition.
- Use a photo-editing app to get the best results. Don’t go overboard with filters, but tweak the brightness, saturation, and contrast to get your image a-poppin'
Shooting Food for Menus

Lighting Equipment
If you have an up-and-coming restaurant business and want to get your menus out on food delivery services like Deliveroo, Uber Eats, Door Dash or Menulog, then good food photography can be the difference in getting sales or sitting there waiting while tumbleweeds blow through your restaurant…
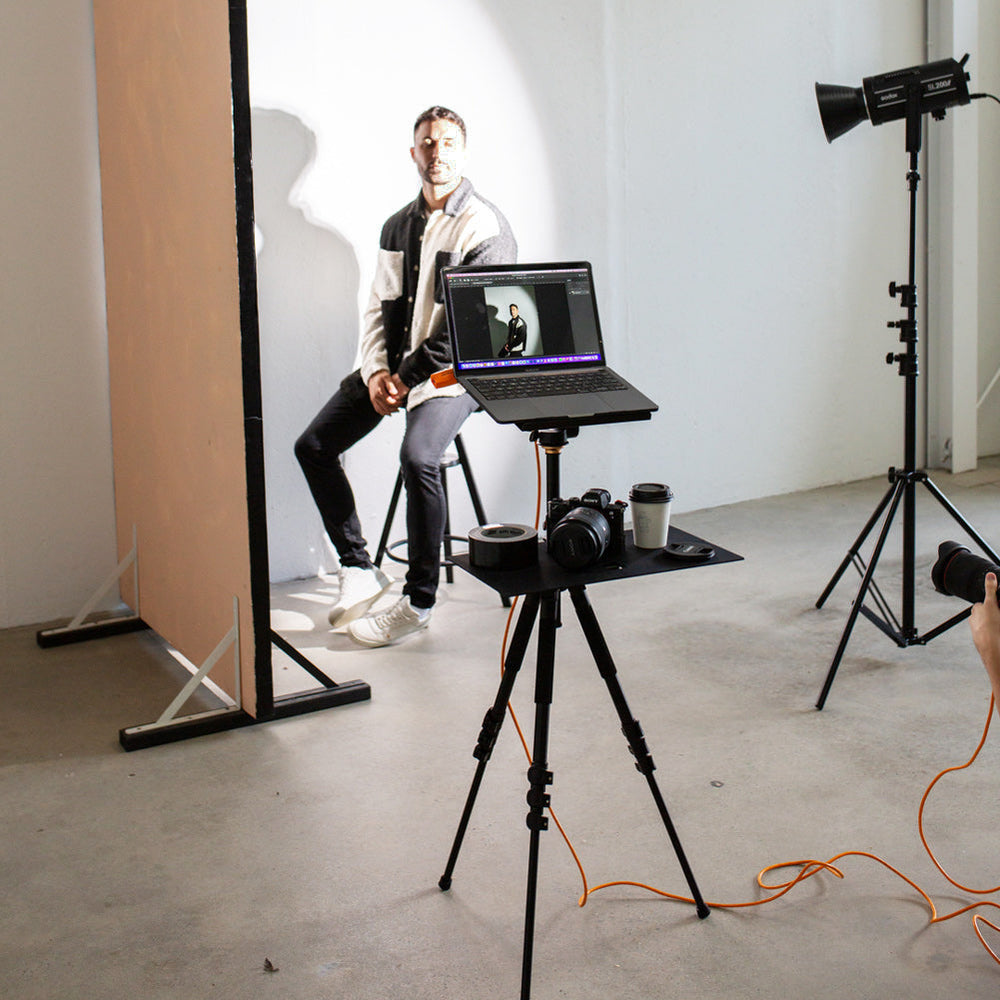
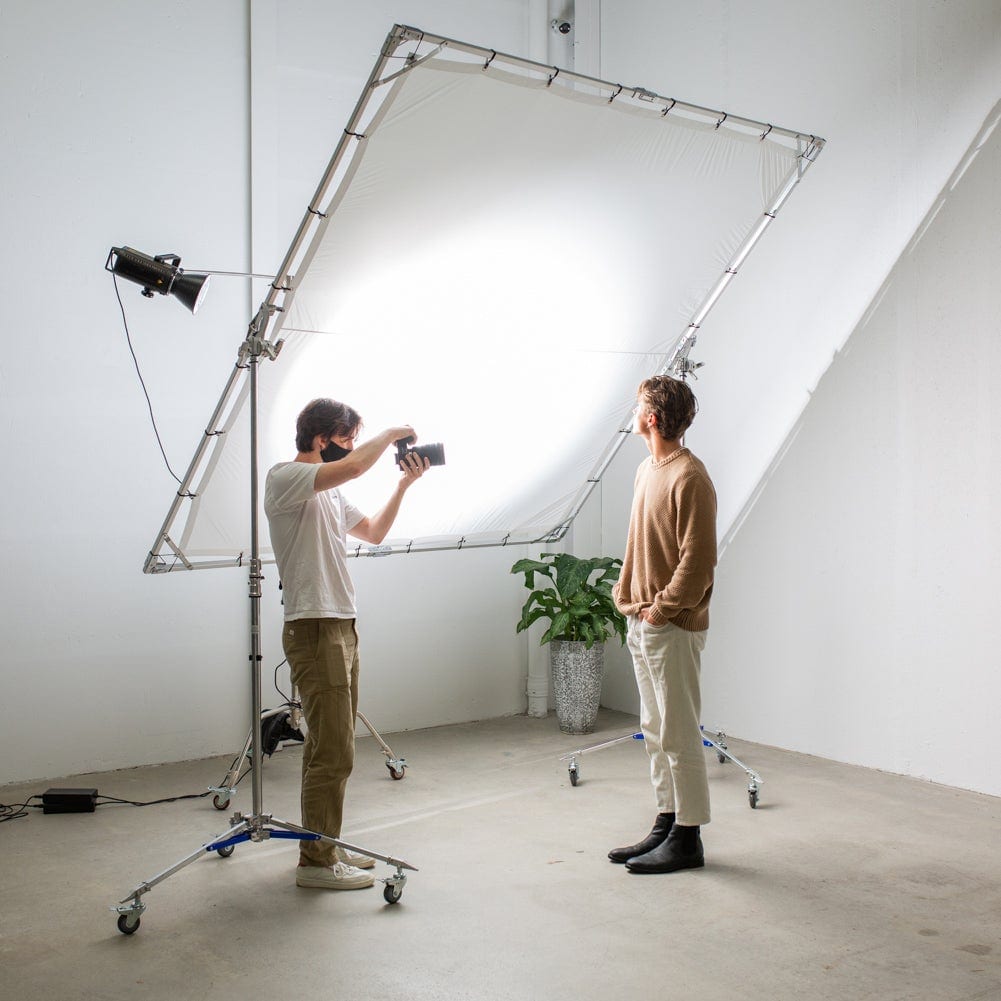
Indirect natural light (not bright sunlight) is the go-to for a lot of food photographers (it’s free, after all!), and it brings out the colours and textures of your food. You can shoot some cool images with natural light and a diffuser and reflector like the Metal Flag 4-in-1 Panel Diffuser and Reflector for Boom Arm (60 x 75cm) to maximize your light.
Before:

After:

Team your diffuser and reflector with a boom arm like the Hypop Heavy Duty Photographic Black C-Stand With Boom Arm (20kg Load) and you’ve got a versatile setup for making the best of natural light food photography.
Here’s an idea of how to set up your gear for shooting in natural light:
As mentioned before, natural light is the best light for food photography, but it’s not a reliable choice - what happens if it’s cloudy or you need to shoot after dark?
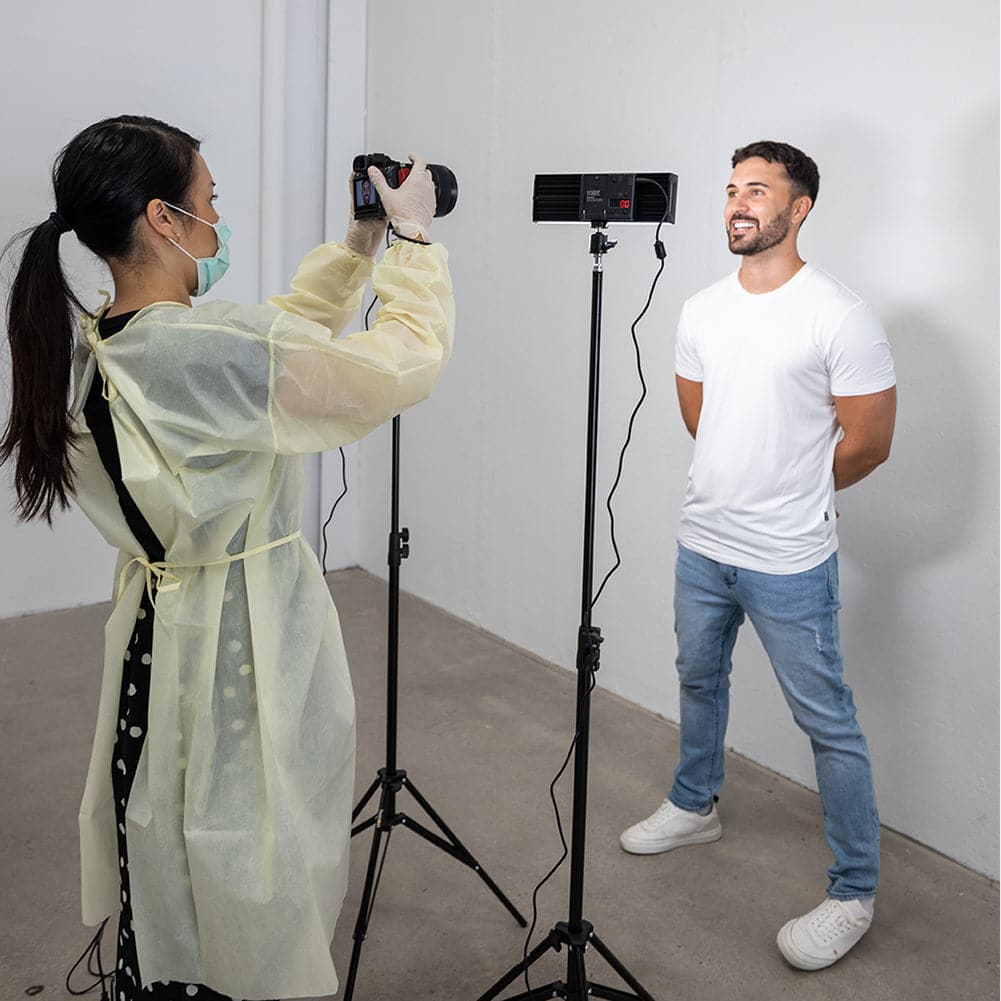
Having good artificial lighting is a smart choice because it’s consistent and you can control it and move it around to shape the light falling on your dishes. Artificial lighting can be used with a variety of lighting modifiers to give different lighting effects.

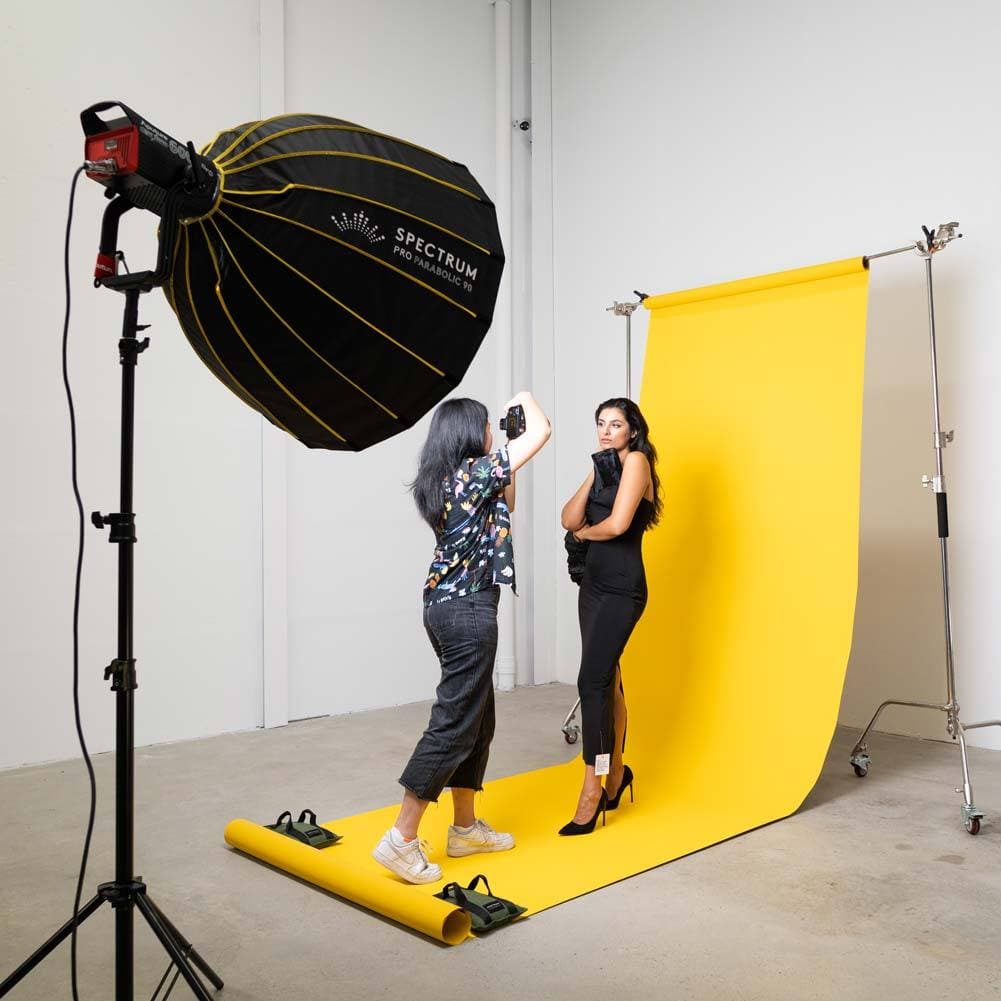
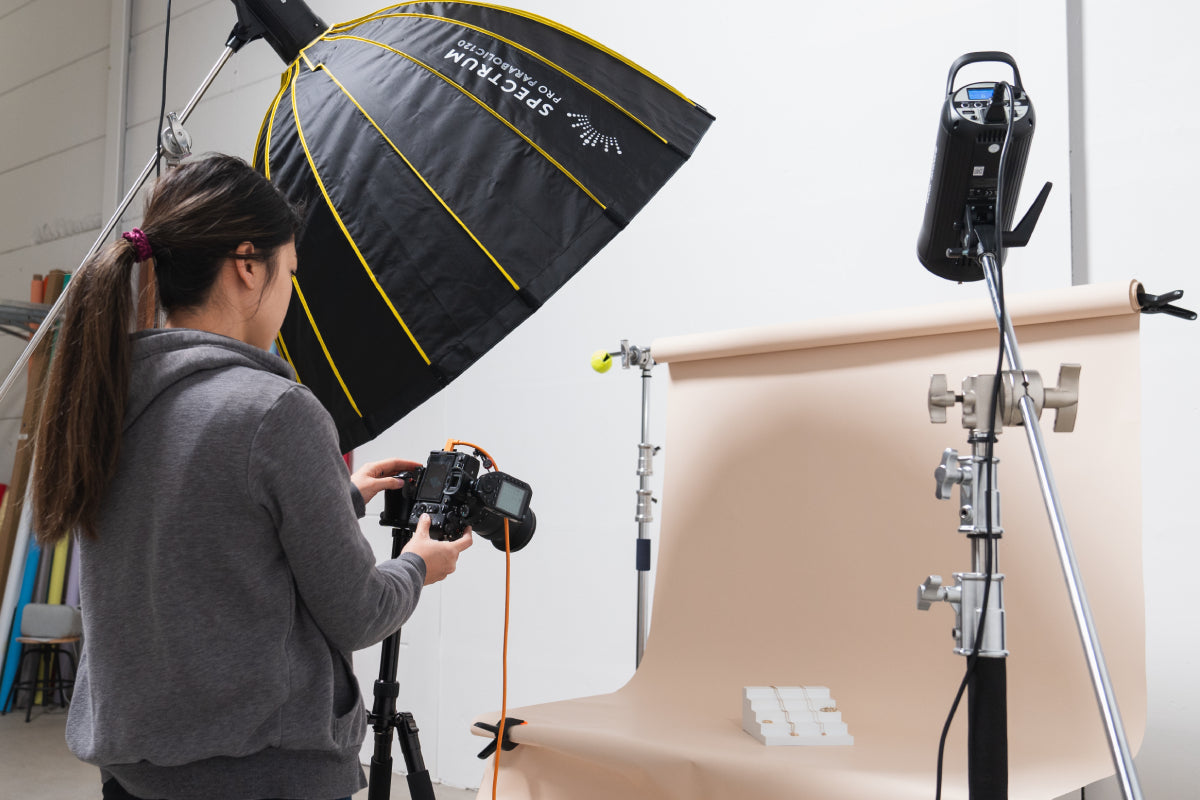
Probably the most popular lighting modifier for food photography is the good old softbox, like the 'Illuminate Mate' Double Rectangle Softbox Lighting Kit. Softboxes diffuse the light to reduce shadows, and the larger the softbox, the softer the light becomes.
Result:

Here’s an idea of how to set up your softboxes for food photography:

Backdrop
For menu photos, a solid and neutral background will make your sure your dish stands out and gets the spotlight. It will also make sure your dish doesn't look so visually cluttered so your customers won't be so confused. A white backdrop like the Spectrum Half-Paper Backdrop in 'Marshmallow White' (1.36 x 10m) will do the trick.
However, if you're shooting photos for UberEats, Deliveroo, Menulog, DoorDash, or any other online food delivery service, then it's best to check their photo guidelines before you begin.
Tips & Tricks for Menu Photography
- Check out the photography guidelines on your food delivery service website before you start
- If you’re shooting several dishes, try to get someone to cook and plate the food while you concentrate on taking the photos - it will save you a lot of time and hassle
- Show the same size portion in the photos that you will be serving so that customers get a good idea of what they’ll be getting
- Have only your menu dishes in the photo - don’t add sides to make the main dish look good unless you are serving the same sides with the main dish - again, that will avoid customer confusion
- Don’t have the dish too far away so that it’s tiny in the photos. By the same token, don’t go so close up that only a part of the dish is visible
- Don’t add text to the photos unless it’s part of the food (a logo on a burger bun, for instance) or on your packaging
Shooting Food for Blogs or Websites

So you want to shoot food photos for your blog or restaurant website with a smartphone? Again, not a problem with the right gear and attitude.
Result:

Lighting
For maximum versatility, you can team a ring light like the Spectrum Aurora 19" Gold Luxe II LED Ring Light Kit with the 'Illuminate Mate' Double Rectangle Softbox Lighting Kit.
Using a ring light with double softboxes will give you the ultimate in even, shadowless lighting. The lights mentioned above are daylight-balanced, which means they are at the same colour temperature as natural light.
Here’s a diagram to show you how your lighting setup could be:

Backdrop

Shooting food photos for your blog or website means there's definitely more room to play around with background textures and colours. Depending on the brand colours of your blog/website, you can find a coloured paper backdrop that can complement your site. Don't be afraid to also use what's available around you! If you have a wooden table around, you can use that as your background or you can fake one with the Flat Lay Instagram Backdrop - 'Palm Beach' White Wash Wooden (56cm x 87cm).
Tips & Tricks for Blog and Website Food Photography
- Find the ‘hero angle’! This is the best angle to show off the food and ingredients. Take a selection of overhead images, straight on, and at 45 degrees to discover what looks best for your dish
- Because your food blog or website represents your brand, try and keep a consistent style in shooting, lighting, and editing
- If you are using props to make your dishes stand out, they should be neutral and not intrusive - the food is the star, not the brightly-coloured flowers in a vase behind the dish!
- Keep plates and bowls to neutral colours too. Patterned crockery can be too fussy for many dishes, and your shoots will start to look very samey if you keep using the same old patterned plates.
- Use garnishes to make your food really pop. Freshly cut herbs, lemon or lime slices, or some fresh fruit can make all the difference to how a final food shot looks.
Conclusion

We’ve just scratched the surface of food photography here, but there’s more than enough to get you shooting with your smartphone like a boss.
Don’t be afraid to experiment! Play around with lighting positions, shooting angles, and food styling until you can find what works for you - if you want to stand out and get attention, look for that unique thing that makes your food photography different from the rest.


