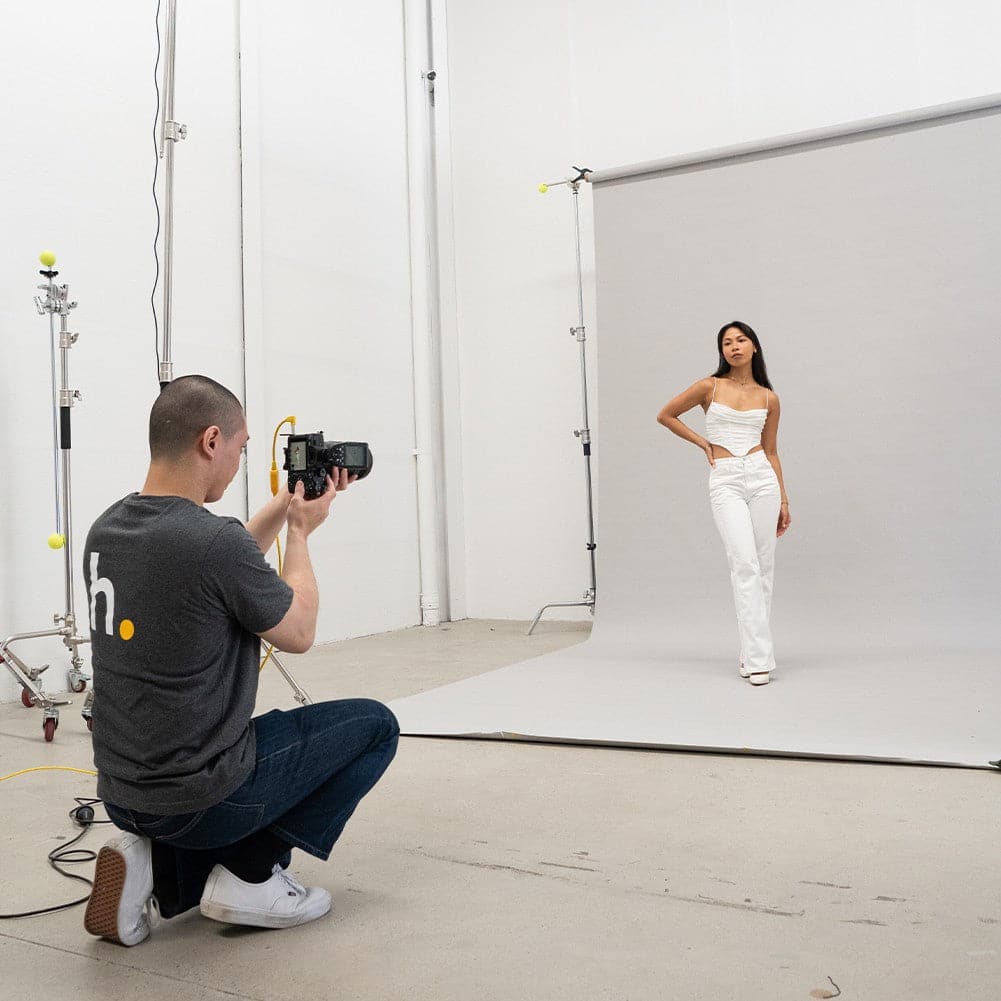
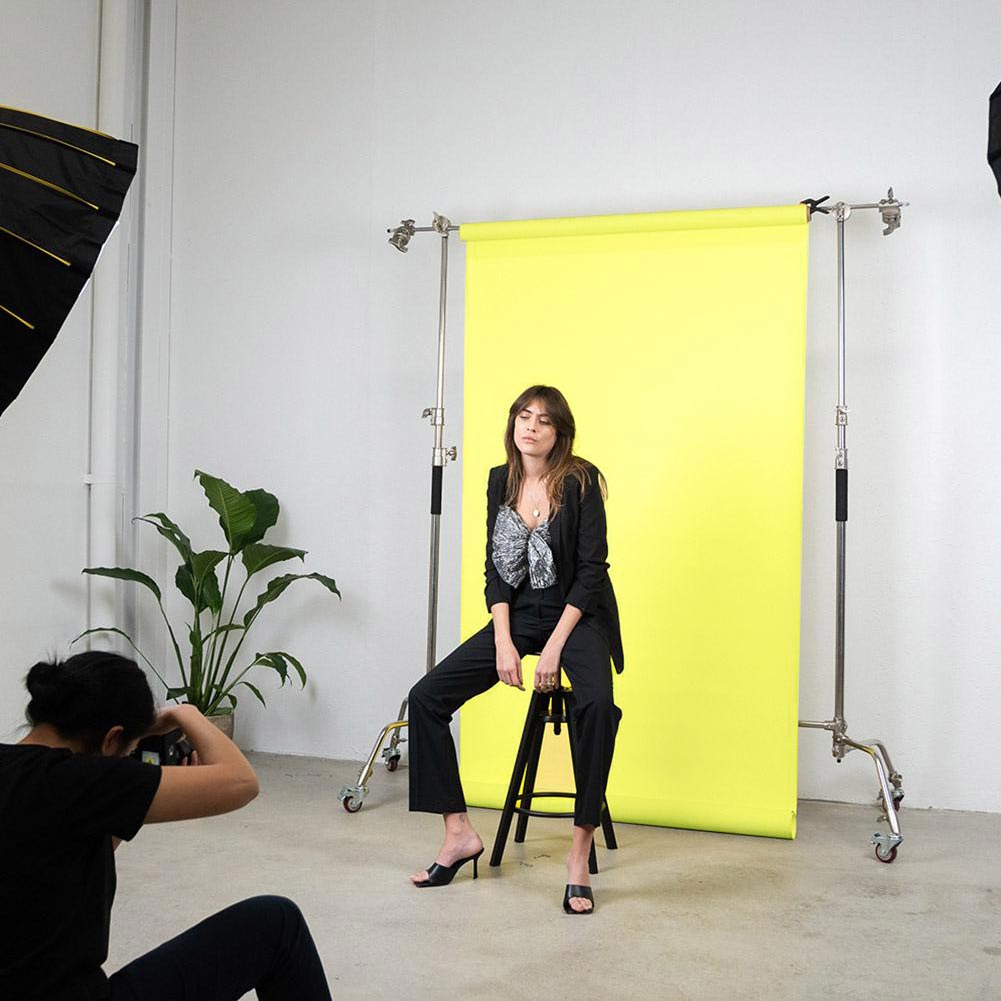
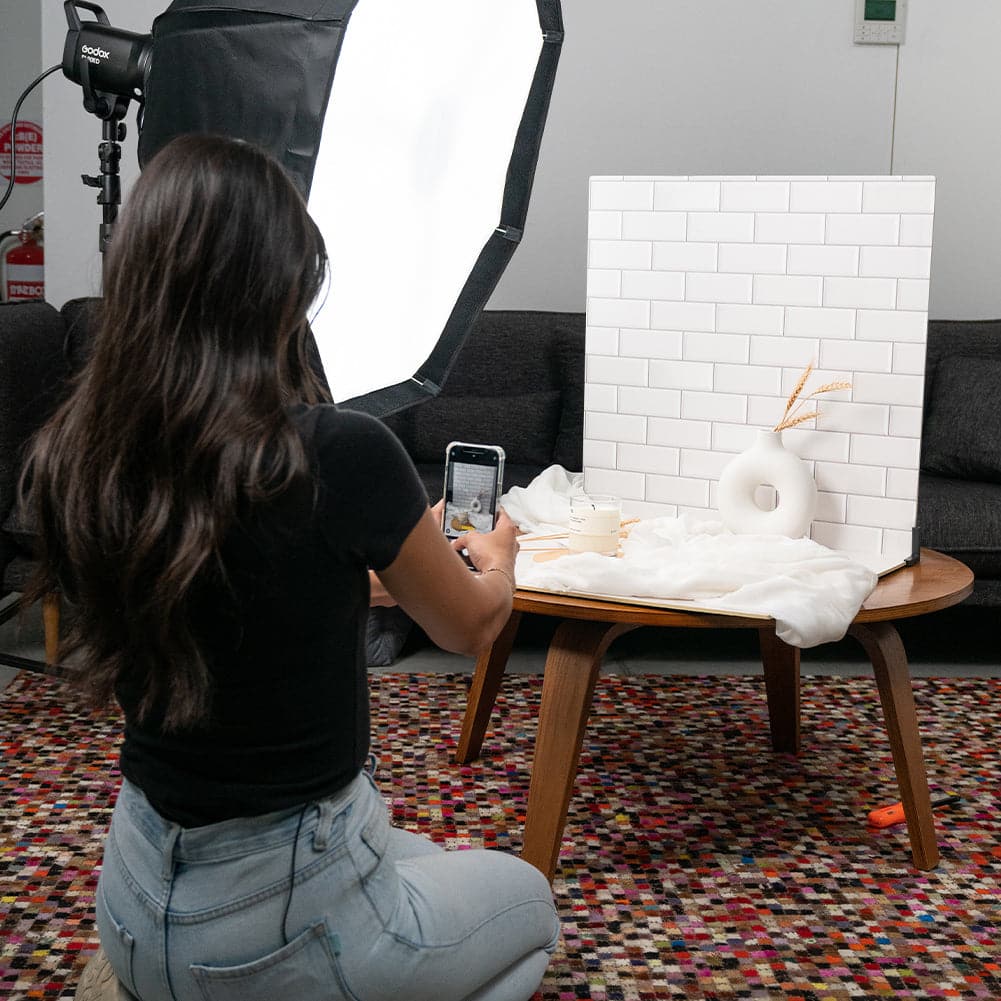
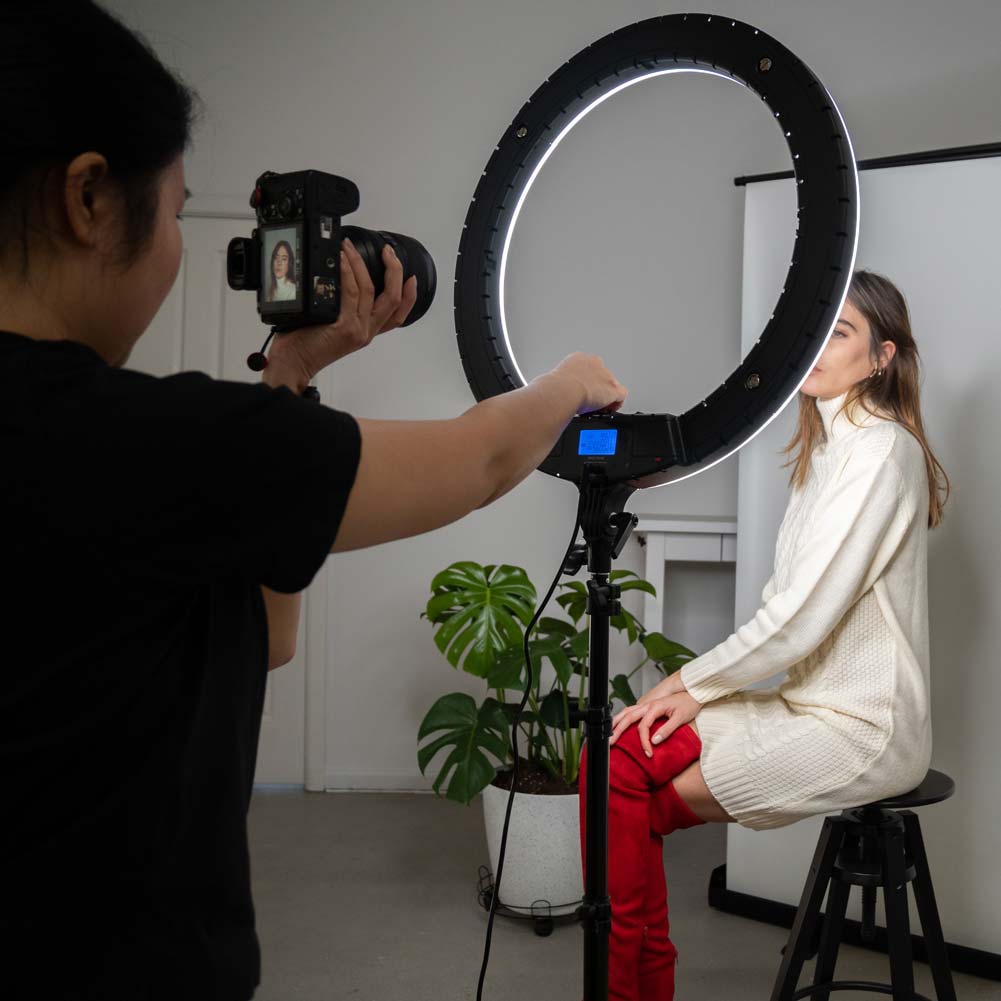
Making products look irresistible is an art—and it all begins with the right photography setup. Gone are the days when product photography was exclusive to pro studios. With the right gear and a bit of guidance, you can create eye-catching, high-quality photos right from your own workspace, elevating your brand’s visual appeal and giving your products the spotlight they deserve.
In this guide, we’ll walk you through everything you need to set up a professional-looking shoot. From choosing the perfect table and mastering lighting techniques to fine-tuning shadows and reflections, we’ll cover the essentials to help you capture each product in its best light. Along the way, we’ll highlight Spectrum’s must-have tools for product photographers, designed to make the process smooth and enjoyable. Let’s get started on building a photography space that brings your creative vision to life and makes your products shine!

1. Start with a Stable Surface
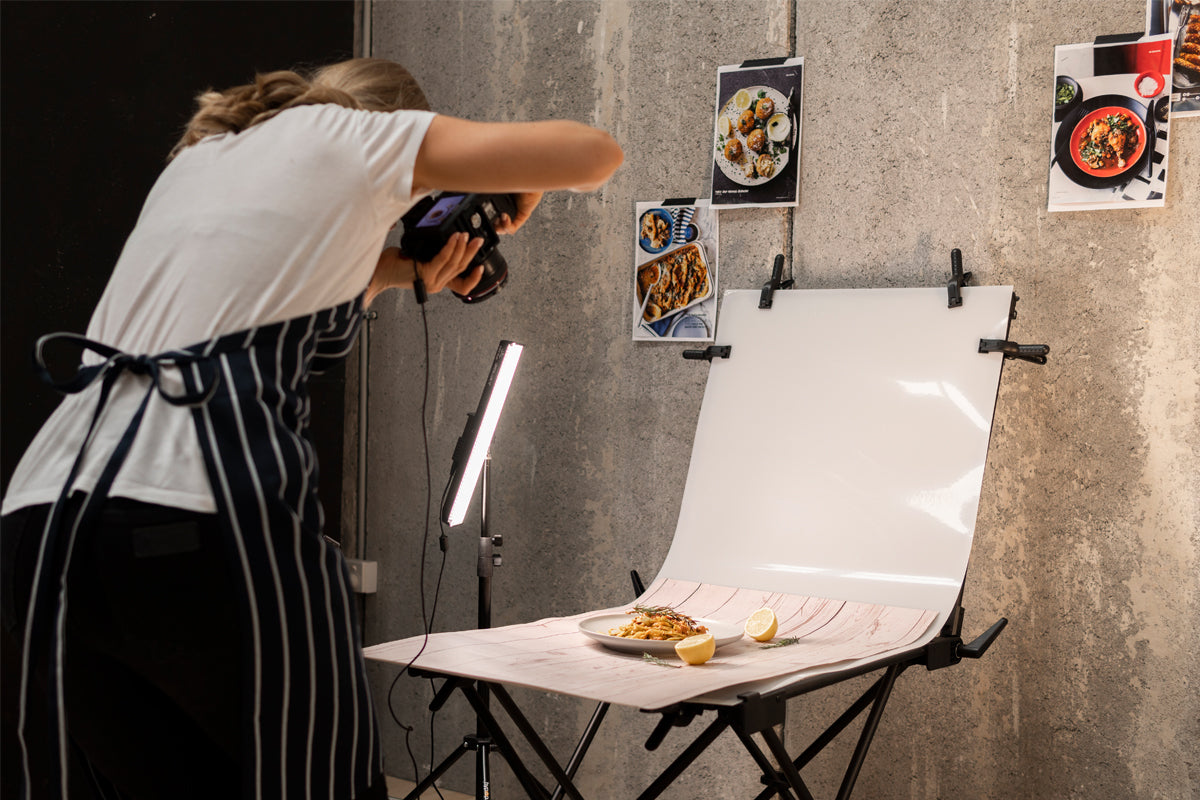
A stable surface is key for a consistent, frustration-free setup. The last thing you want is for your products to shift or wobble in the middle of a shoot. Choose a solid, flat table like a trestle table from Bunnings—it’s durable, affordable, and easy to set up in any space.

Why It’s Important:
A stable table keeps your camera angle, lighting, and products consistent, making it easier to move quickly between shots and get the exact frame you want every time. Plus, it makes the setup feel organised, which can help streamline your workflow and keep everything within arm’s reach.

2. Get the Right Lighting
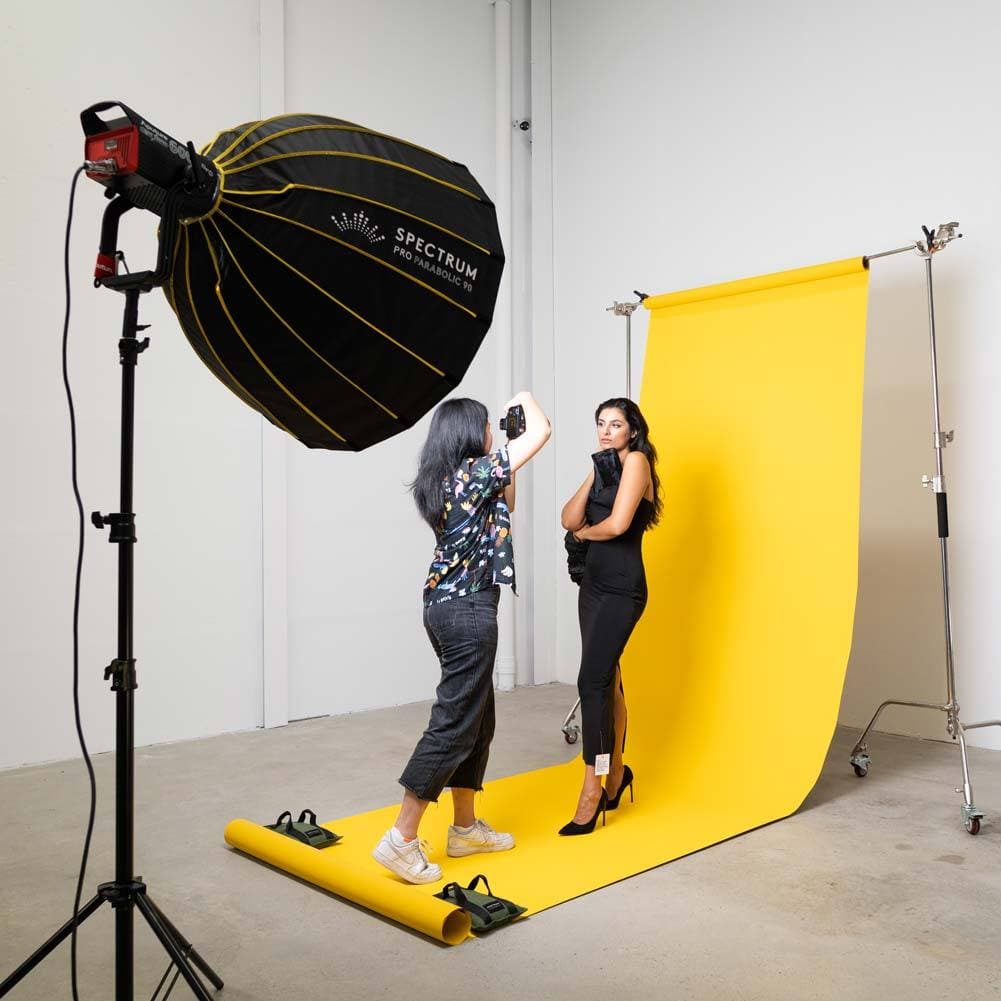
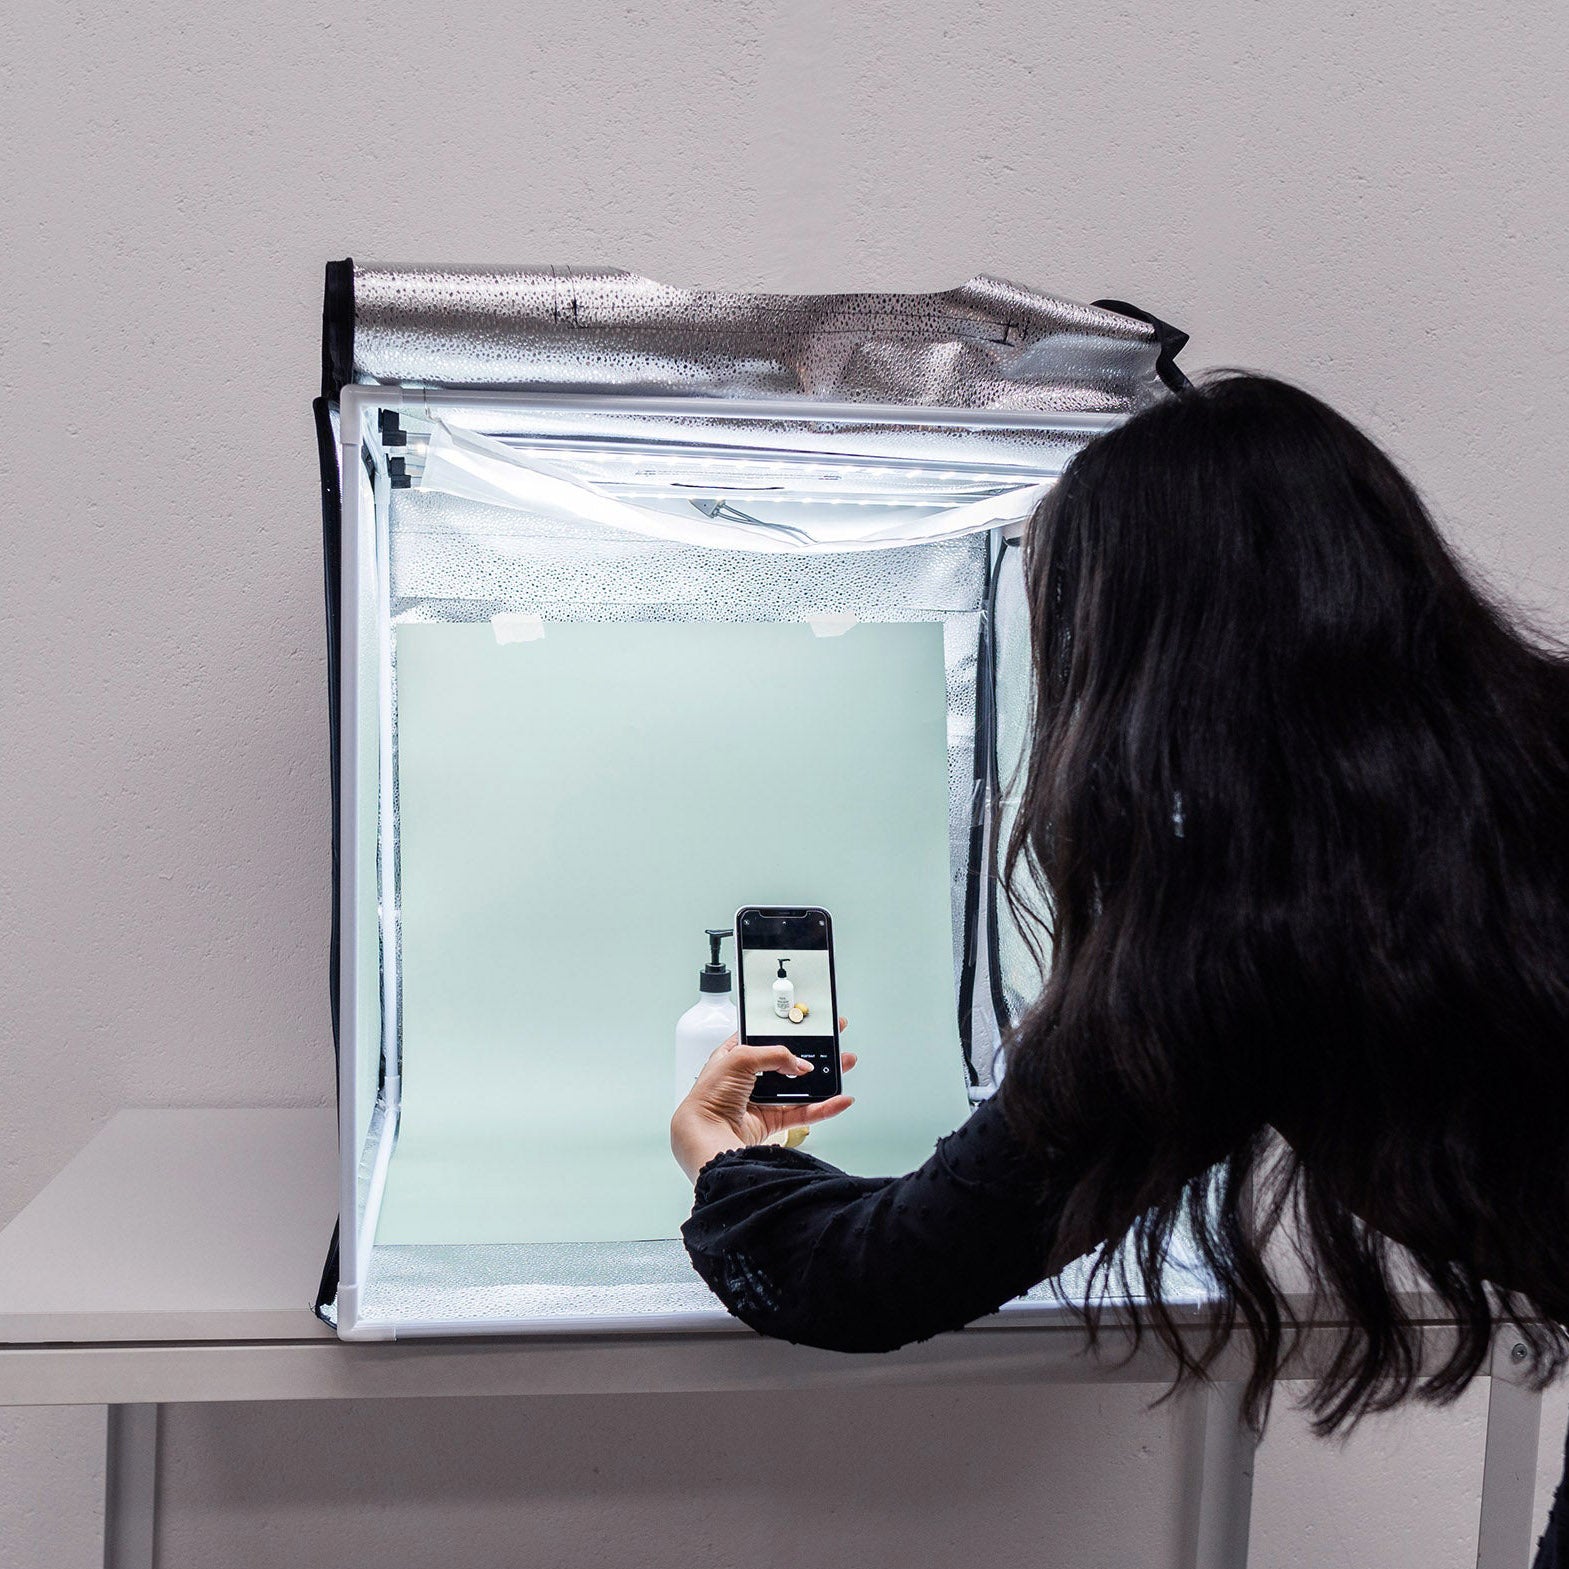
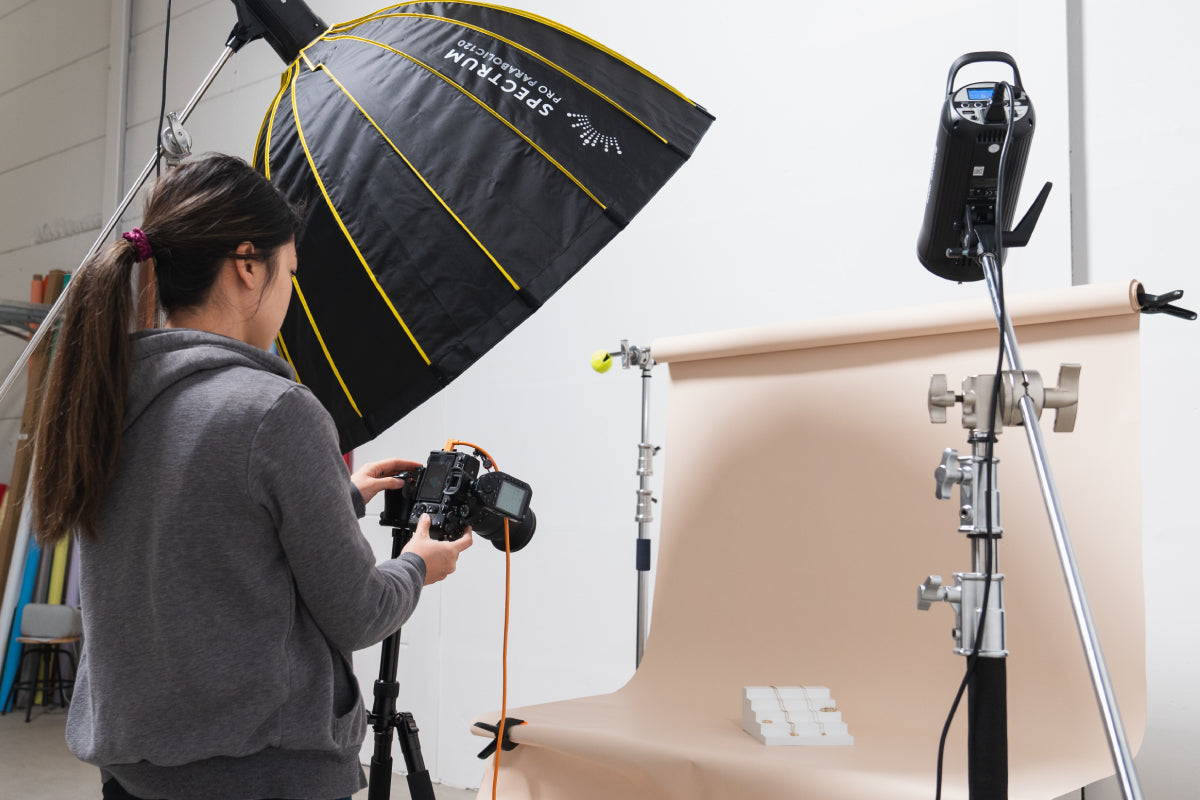
Lighting can make or break your photos—it’s the secret behind making colors pop, textures stand out, and shadows look soft rather than harsh. Our New Spectrum Lumibox Softboxes are specifically designed for product photography, offering a range of features to ensure your products look their best. These softboxes are not only portable and lightweight (under 1kg in most cases) but also pack down flat for easy storage. The interchangeable speed ring (compatible with a 113mm mount) will soon support Profoto and Elinchrom mounts, giving you even more versatility.
The standout feature? The Spectrum Snap Mechanism allows you to set up and pack down the softbox in seconds with a simple “snap.” Each Lumibox Softbox includes an inner diffuser, outer diffuser, and grid—no separate purchases needed—so you can achieve even, diffused light effortlessly.

Lighting Tips:
- Angle your light at 45 degrees: This reduces harsh shadows and adds a bit of natural depth.
- Experiment with multiple sources: For full, even coverage, try setting up two lights on either side of the product.
- Adjust the brightness to match your product—glass, for instance, may need softer light to avoid glare.
Additional Tools:
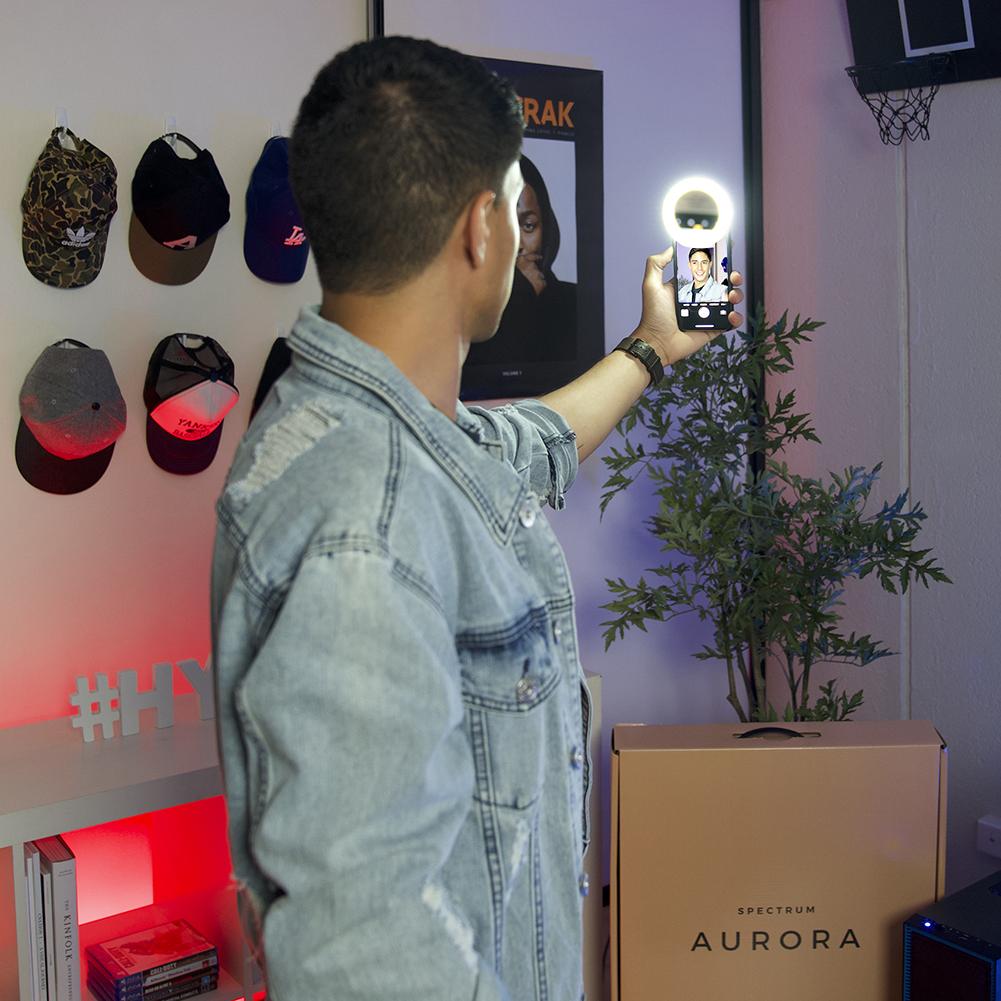
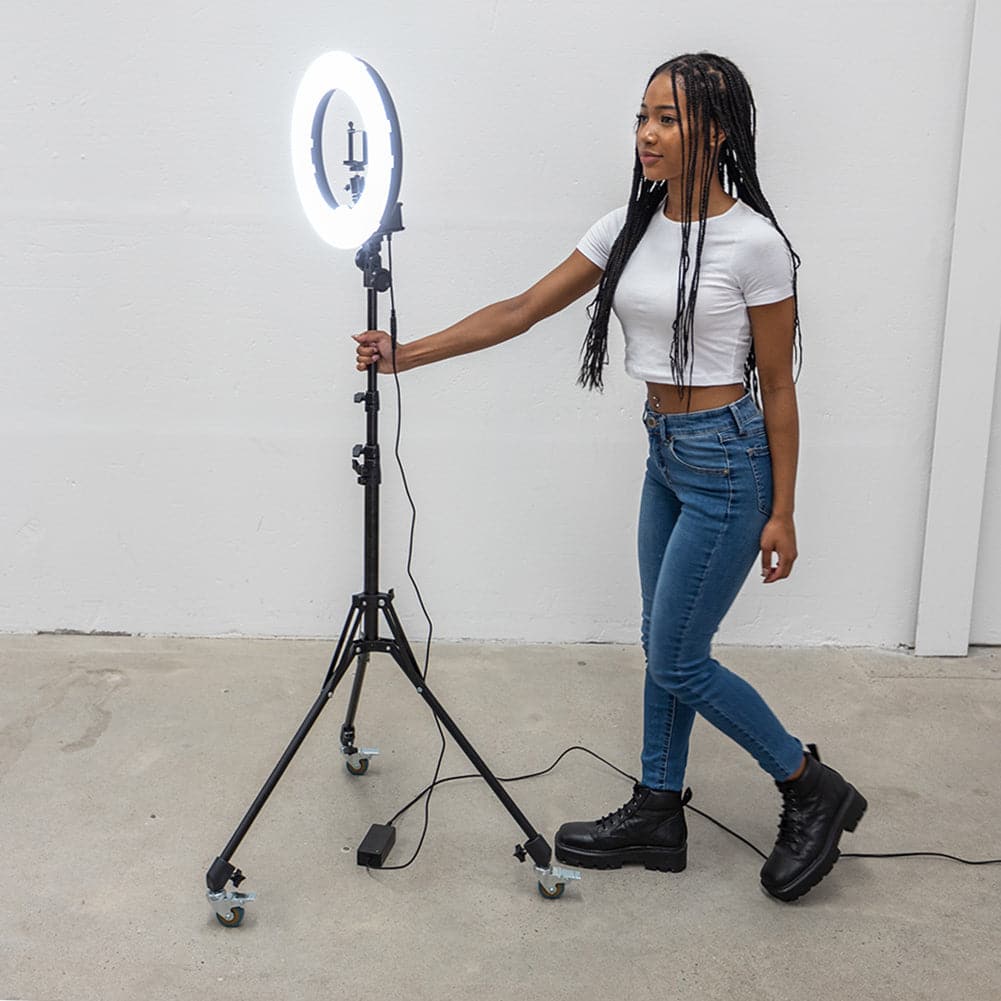
Try a small ring light for additional detail lighting, or a softbox to create a diffused, even look. Both help illuminate without washing out the product.

3. Control Reflections and Shadows
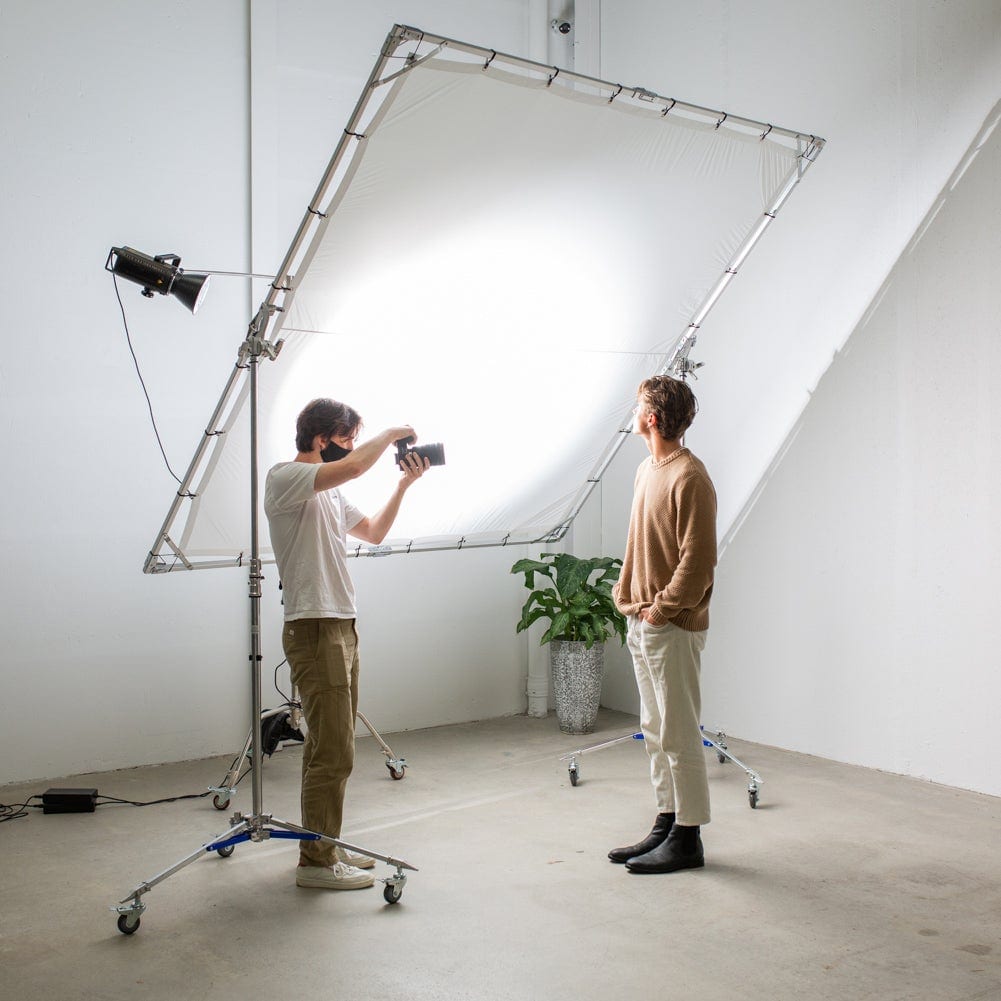
Controlling light is one of the trickiest parts of product photography. Reflections can be distracting, and harsh shadows can overpower smaller details. Using reflectors, bounce cards, or diffusion panels can help you manage light just how you want it. Our Spectrum Mini V-Flats (Pair) (available December) make it easy to create soft, controlled lighting and achieve that professional finish.

Quick Tips for Managing Light:
- Use bounce cards on the opposite side of the main light to fill in any shadows.
- Position reflectors to brighten dark areas, making the product’s features clearer.
- Add a diffusion panel to soften strong light, which reduces reflections and evens out the tones across the product.
Why Use These Tools?
Bounce flats and reflectors ensure light hits the product evenly, creating a polished, professional look and preventing any single area from looking too dark or too bright.

4. Pick the Perfect Background
Your background is just as important as the product itself—it should complement the product without overpowering it. Our Spectrum Paper Backdrops and Flat Lays come in a wide variety of colours, textures, and styles, so you can find the perfect match for each shot.

Background Tips:
- Neutral backgrounds like white, grey, or black are classic and versatile, allowing the product to be the focus.
- Choose colours that match your brand or the vibe of the product—pastels for a soft look, darker tones for high contrast.
- Add subtle textures like linen or marble for extra dimension without taking attention away from the product.
When to Use What:
For a seamless look, go with solid colours or gradients that align with your brand. For a styled, more artistic feel, try subtle textures or props that create depth.

5. Make Reflective Items Shine
Reflective products—like bottles, glassware, or metallic items—add complexity to your setup, as they tend to pick up reflections and glare. A clear, sturdy base like our Spectrum Acrylic Platform gives you control, allowing you to angle and position reflective items to capture light perfectly. The platform’s 360° ball head makes it easy to adjust, and its compact size lets you position it in various setups.

Reflective Product Tips:
- Clean thoroughly before shooting—fingerprints and dust are magnified on reflective surfaces.
- Use soft light to reduce harsh reflections and highlight the product’s shape.
- Experiment with angles to catch the best features and avoid unwanted reflections.
Pro Tip:
Place a small piece of white paper on the opposite side of the light to create a clean, even reflection across the glass or metal.

6. Keep Your Setup Steady
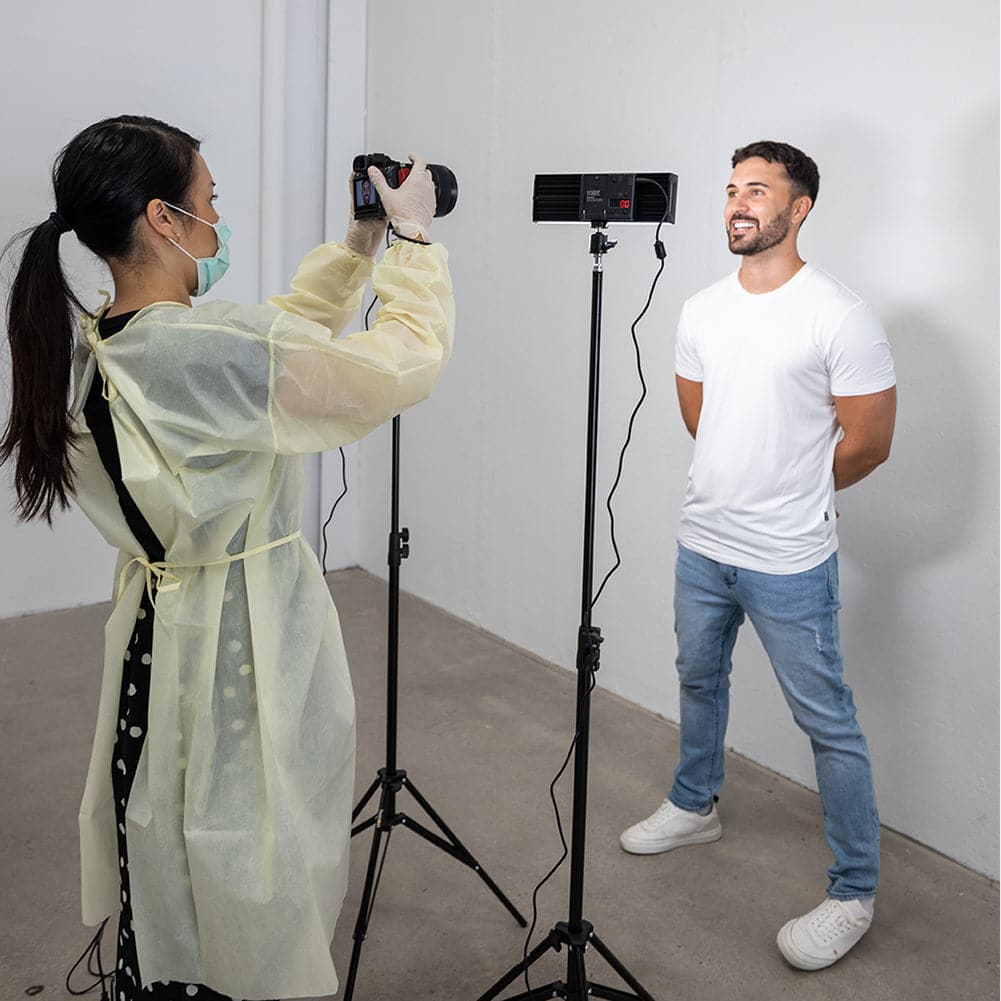
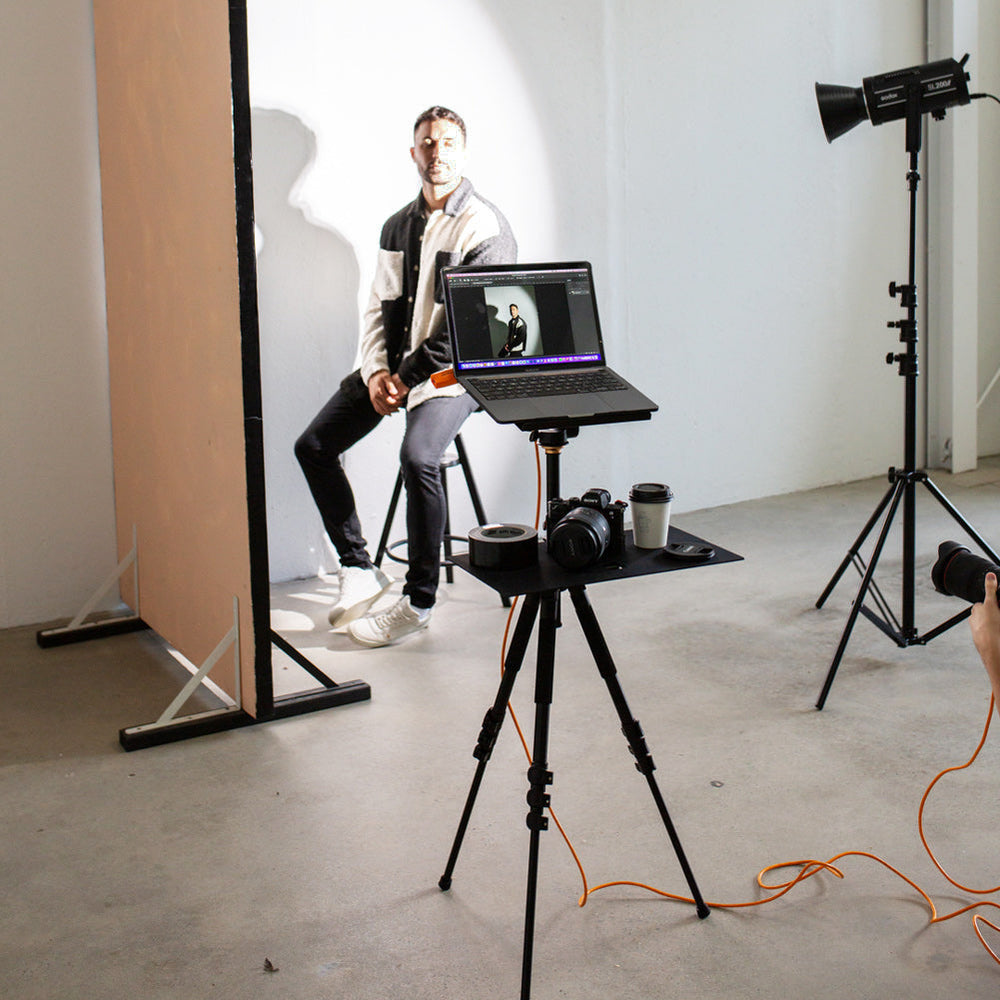
Using adjustable stands and a sturdy tripod can prevent blurry images and help you maintain a consistent look across multiple shots. Our Spectrum Light Stands are perfect for positioning your lights exactly where you need them, ensuring that the lighting and composition stay consistent throughout the shoot.

Tips for Consistent Positioning:
- Tripods are essential for sharp, focused shots—especially useful if you’re photographing multiple items.
- Mark your setup with tape or markers to keep everything aligned between shots.
- Adjust your light stands to experiment with different lighting angles and effects for various products.
Why Stability Matters:
Stable setups allow for small adjustments without major changes, helping you capture a series of shots with consistent quality and detail.

7. Add Personality with Props
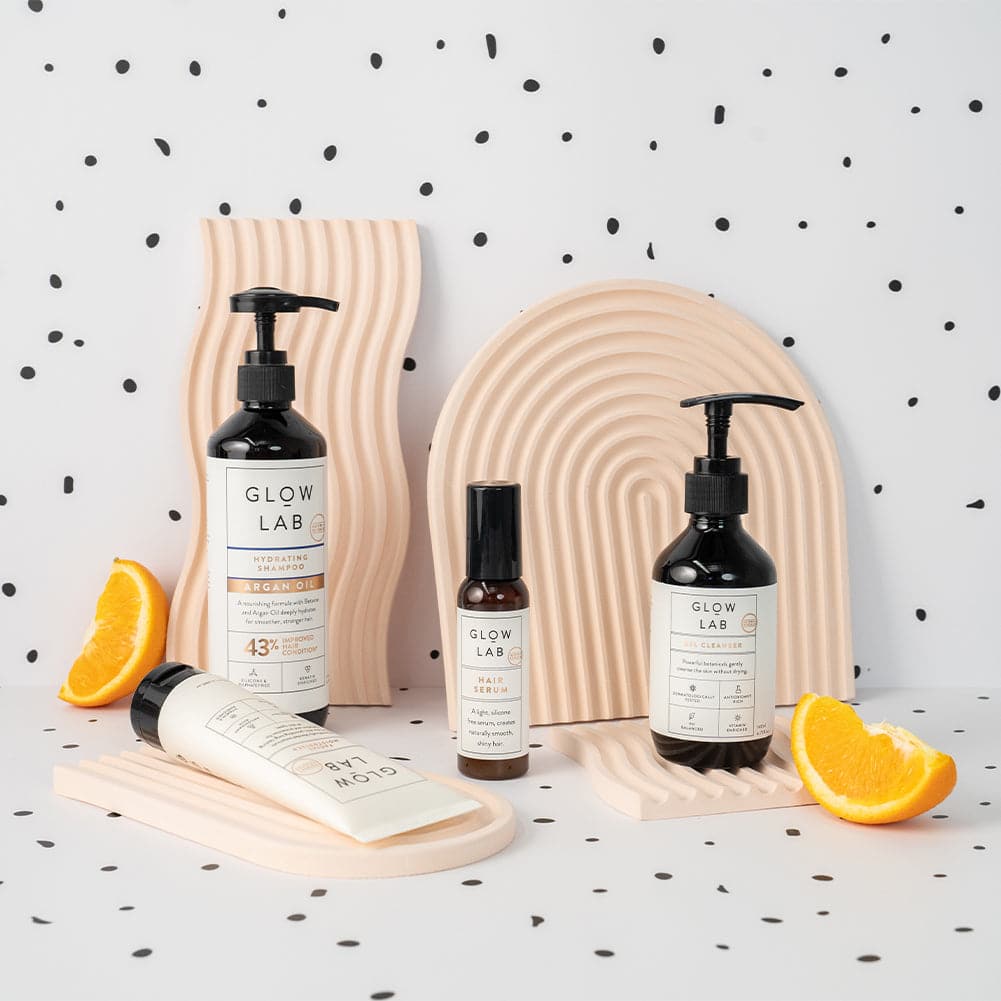
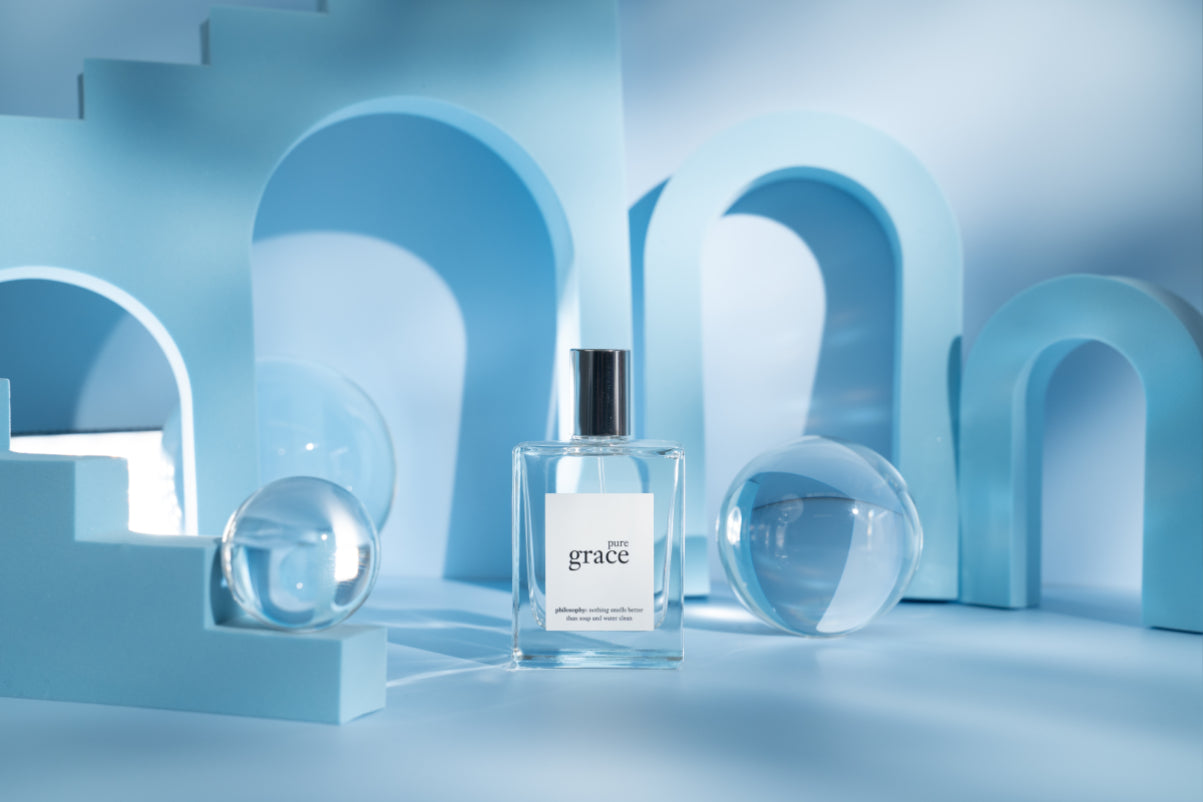
Props can add context and creativity to your shots. A few well-chosen items, like geometric shapes, fabrics, or natural elements, can bring your photos to life and create an immersive experience for viewers. Our Spectrum Props collection has a range of options, from minimalistic pieces to more creative accents, letting you style your setup according to the product’s story.

Creative Ways to Use Props:
- Match props to the product to add context (e.g., greenery for organic products or accents for reflective items).
- Use colours that contrast with the product to make it pop.
- Try layering props to add depth, or use a minimal approach for a sleek, modern look.
How Props Elevate Your Photos:
Props are more than decorations—they help tell a story, provide a sense of scale, and make the product more relatable. Adding subtle props that fit the product’s vibe can create a professional, well-rounded look without distracting from the main subject.

Wrapping Up
Creating the perfect product photography setup doesn’t have to be overly complex or costly—it just requires the right tools and a bit of planning. Spectrum’s selection of lighting, stands, props, and backgrounds is designed to make it easy for both professional photographers and business owners to capture beautiful, detailed shots that showcase products in their best light.
So whether you’re refreshing your website, launching a new collection, or simply want to elevate your photos, investing in a few essentials can make a world of difference.


