Food photography is becoming an increasingly popular niche for photographers and content creators. In this article, we will be sharing five tips to enhance your food photography skills by discussing aspects such as colours, lighting, angles, props, and more.
Since the pandemic, there has been an increase in the number of delivery orders. Now's the right time to explore the tips and equipment you need to capture incredible food photos.
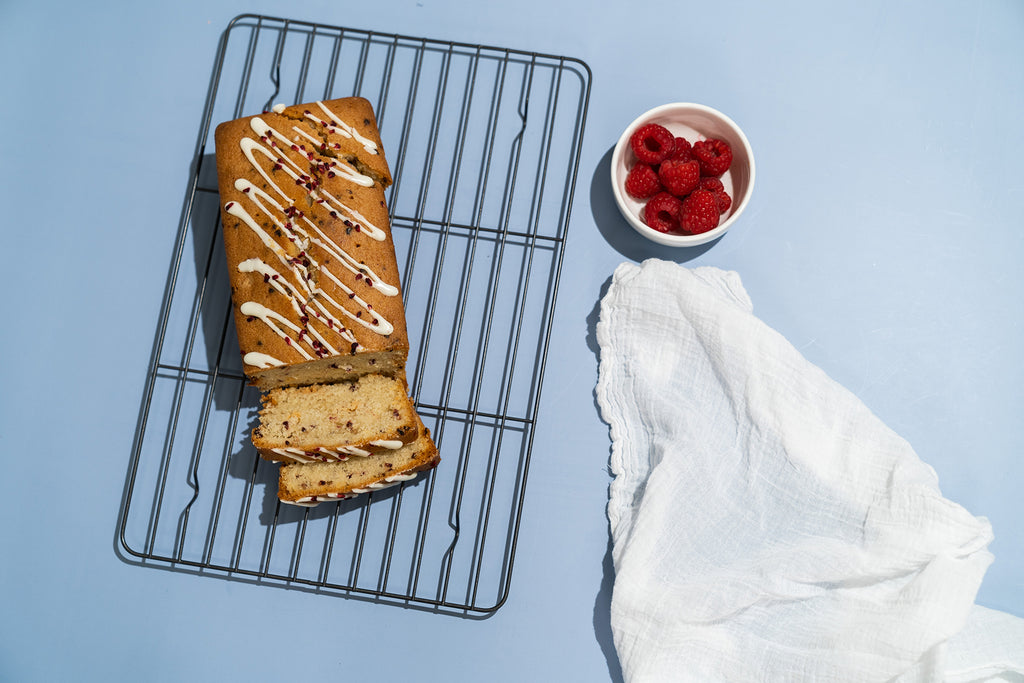
Add a Dash of Colour
There are three ways for picking colours while capturing the picture of your favourite delicacies:
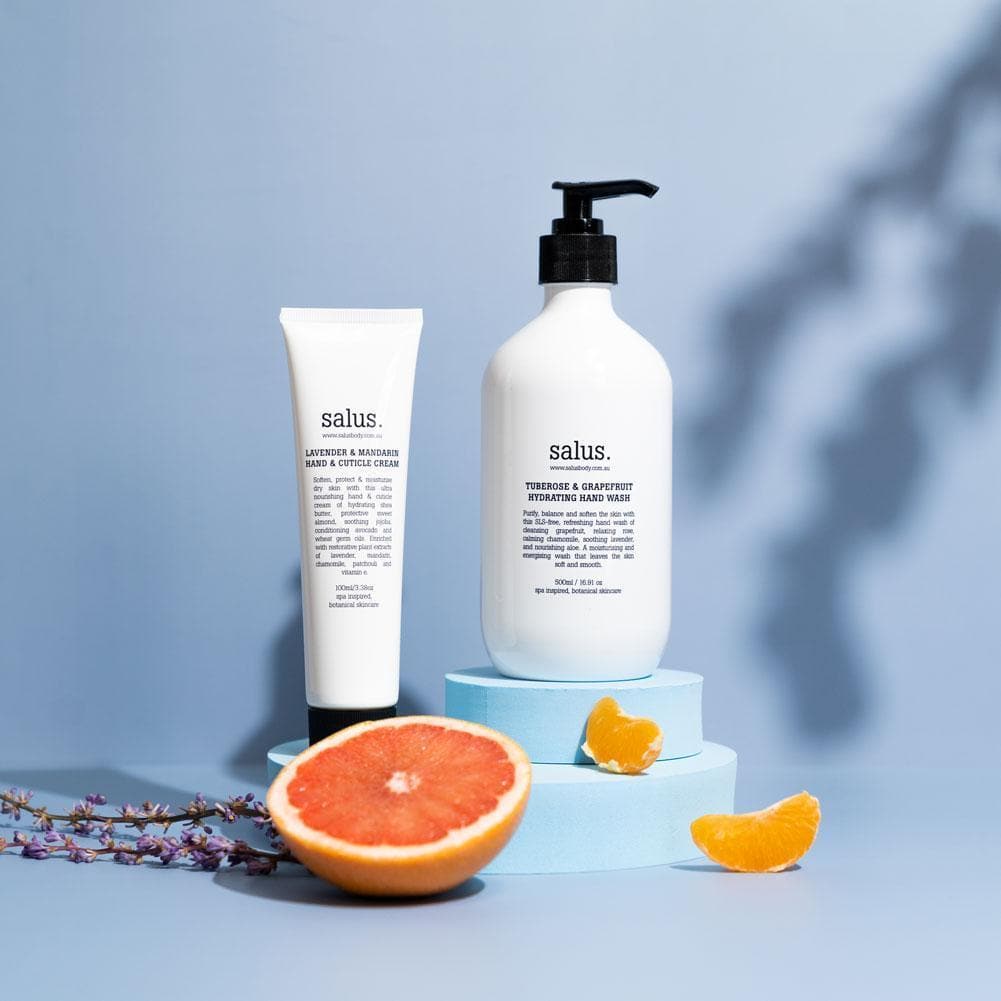
- Complementary Colours: These colours would contrast and complement each other when used together. An excellent example of this is orange and blue. We recommend exploring Adobe Color, which is a perfect way to design a colour pallet.
- Analogous Colours: These colours are closer to each other according to their tones — for example, orange, red and yellow.
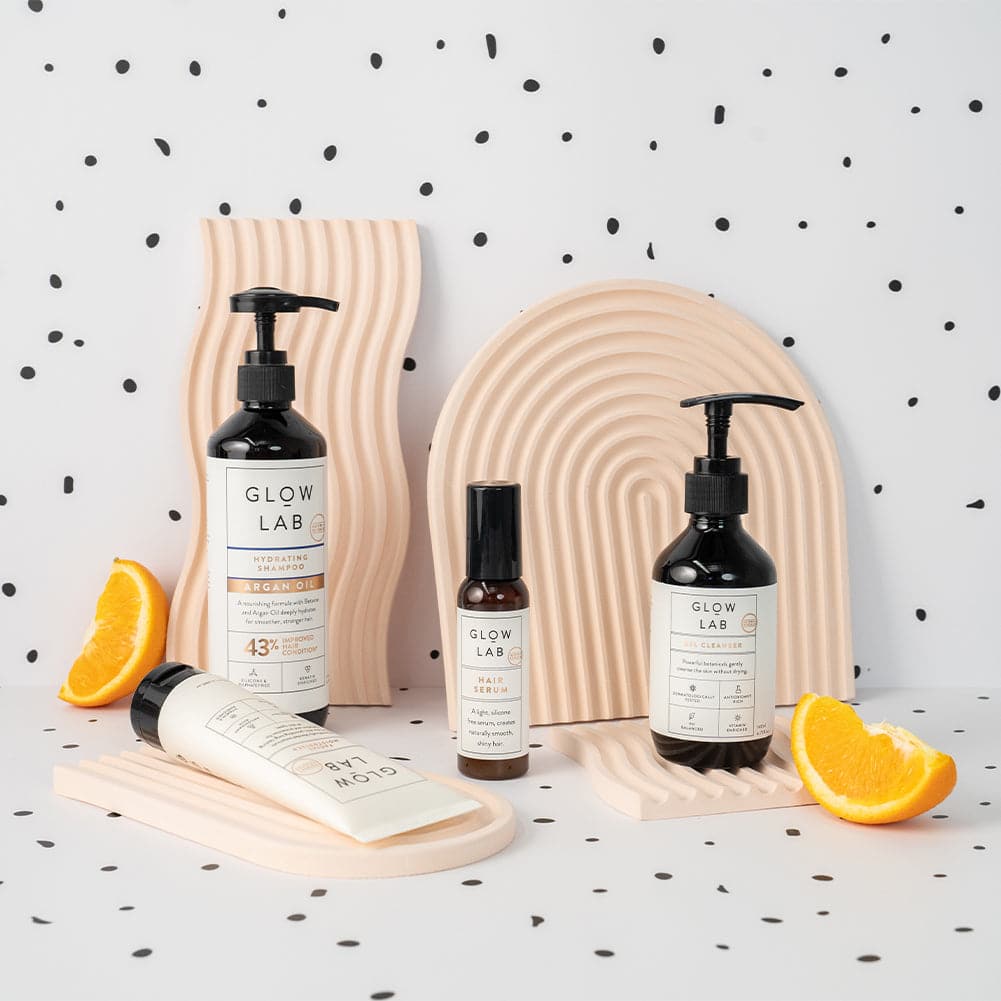
- Monochromatic Colours: These colours are all various shades of the same parent colour. Think of not only the food but the props you might include. For example, you may like to photograph blueberries using a dark blue bowl with a sky blue table cloth and teal cups on the table.
Your choice of colours will dictate the mood of the photograph. It will direct how the audience feels when they look at your photographs.
For instance, predominantly white pictures with a dash of light shade are great for desserts as they leave the audience feeling hungry. In contrast, a faded red colour against a brownish-wooden backdrop will give the audience a rustic feeling ideal for pastries.
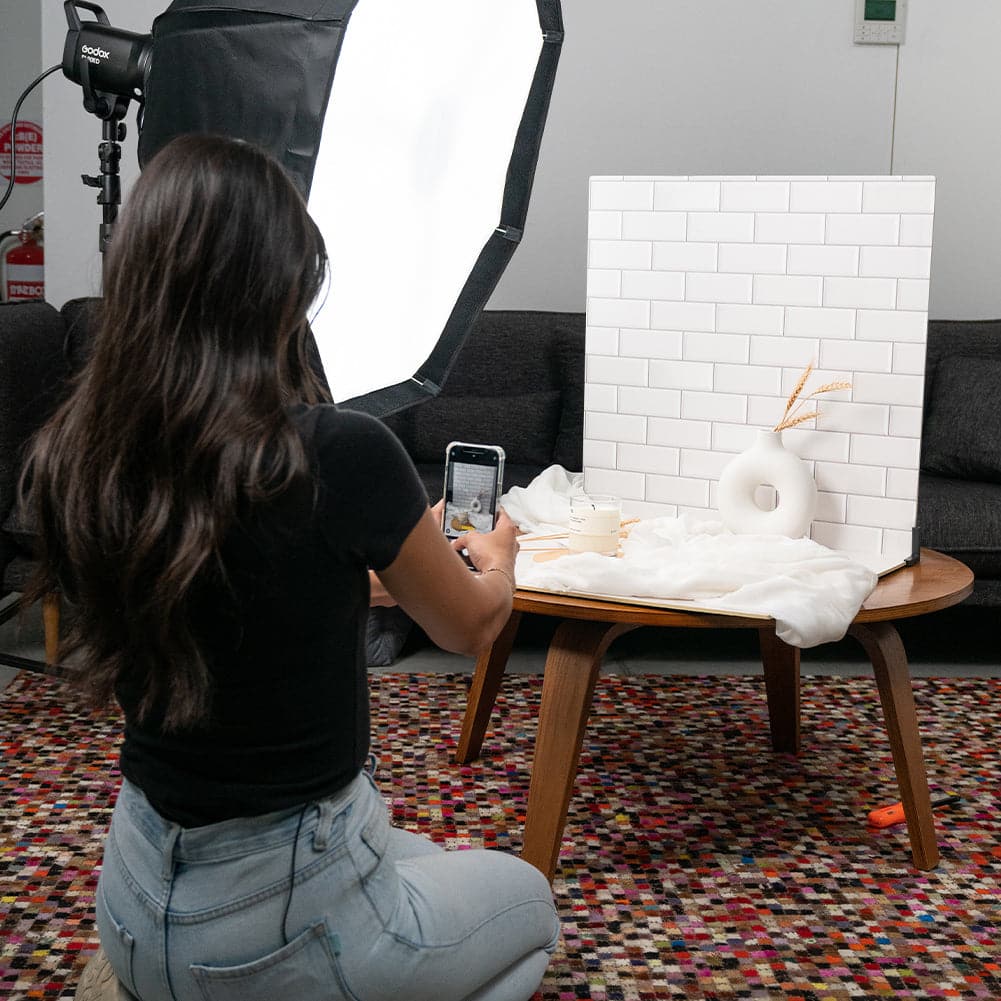
While setting up your dish, flat lays and backdrops can help elevate the photographs. We recommend using them to give your gram-worthy photos the extra special look they need.
Good Lighting is your Recipe to Success

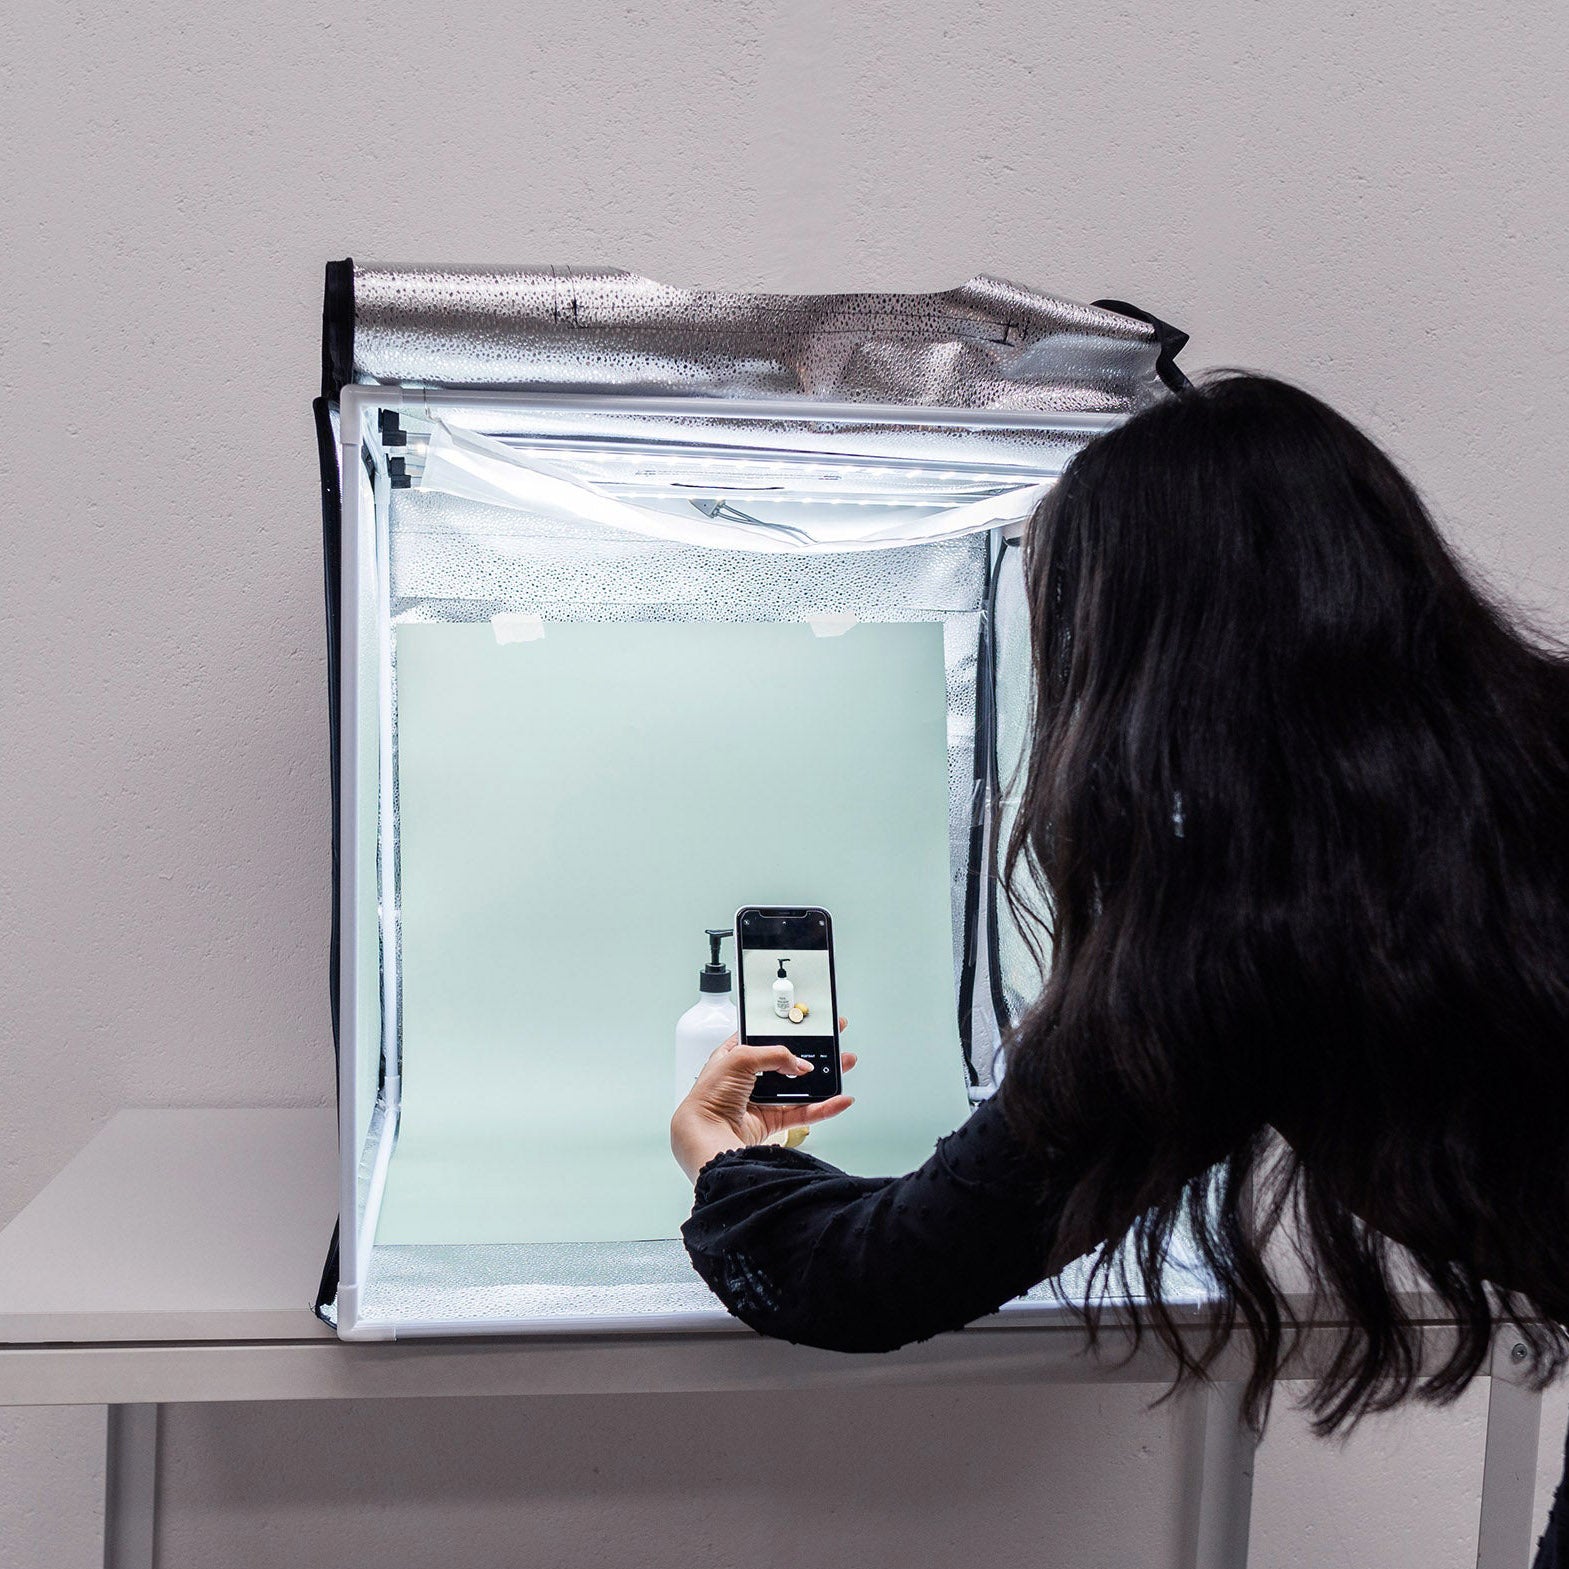
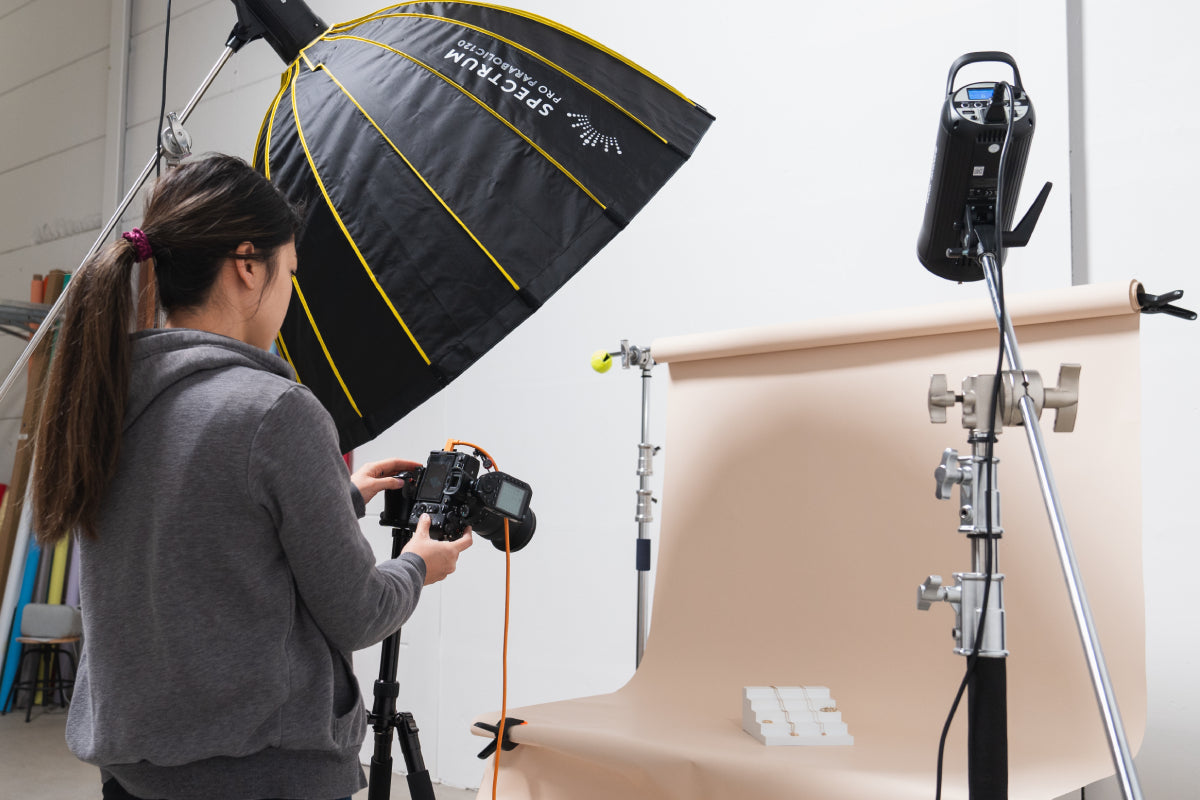
Lighting is the secret sauce of any beautiful food photography you see in magazines and online. Understanding the tools that food photographers use is crucial in helping you stand out from the crowd. You also need to know how and where the shadows fall to create a desirable effect. If possible, take pictures in natural lighting - outdoor cafe tables make for great lighting, or if you can't get outside, use a backdrop. The type of lighting will also help you set the mood for your photos without editing them.
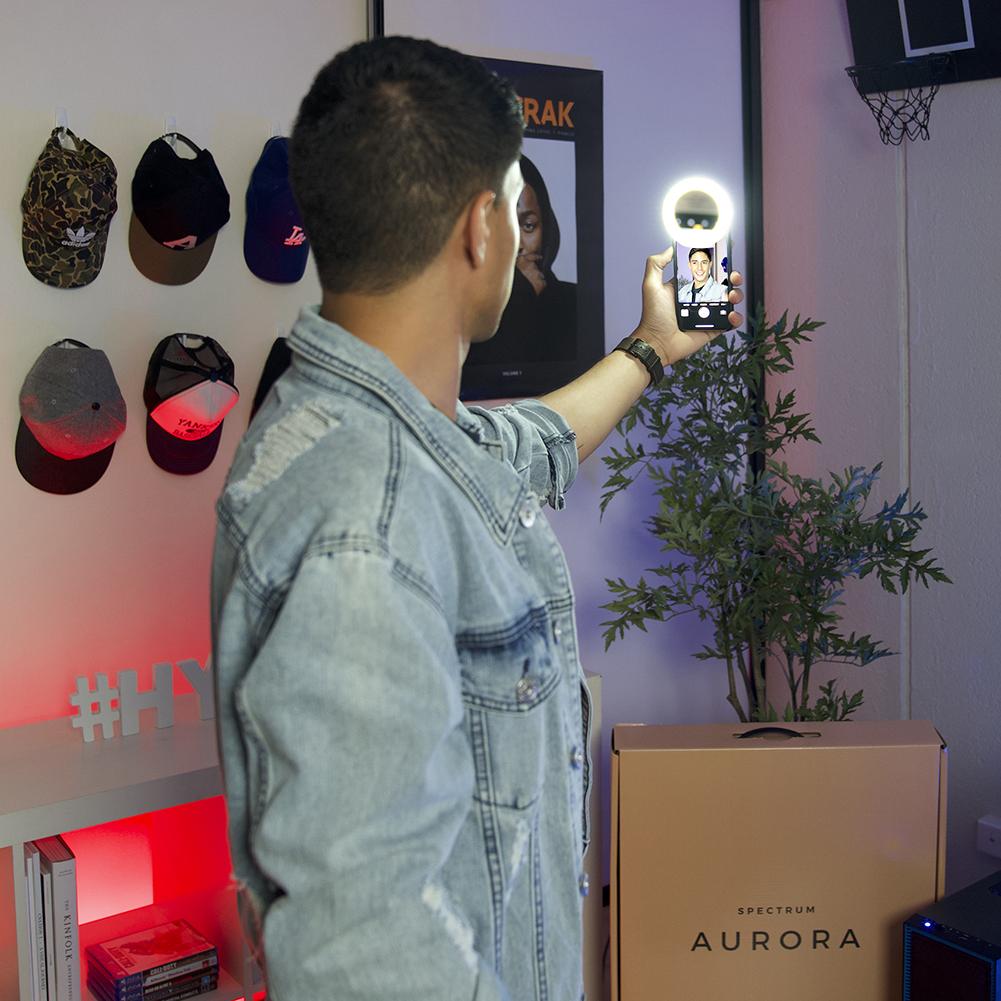
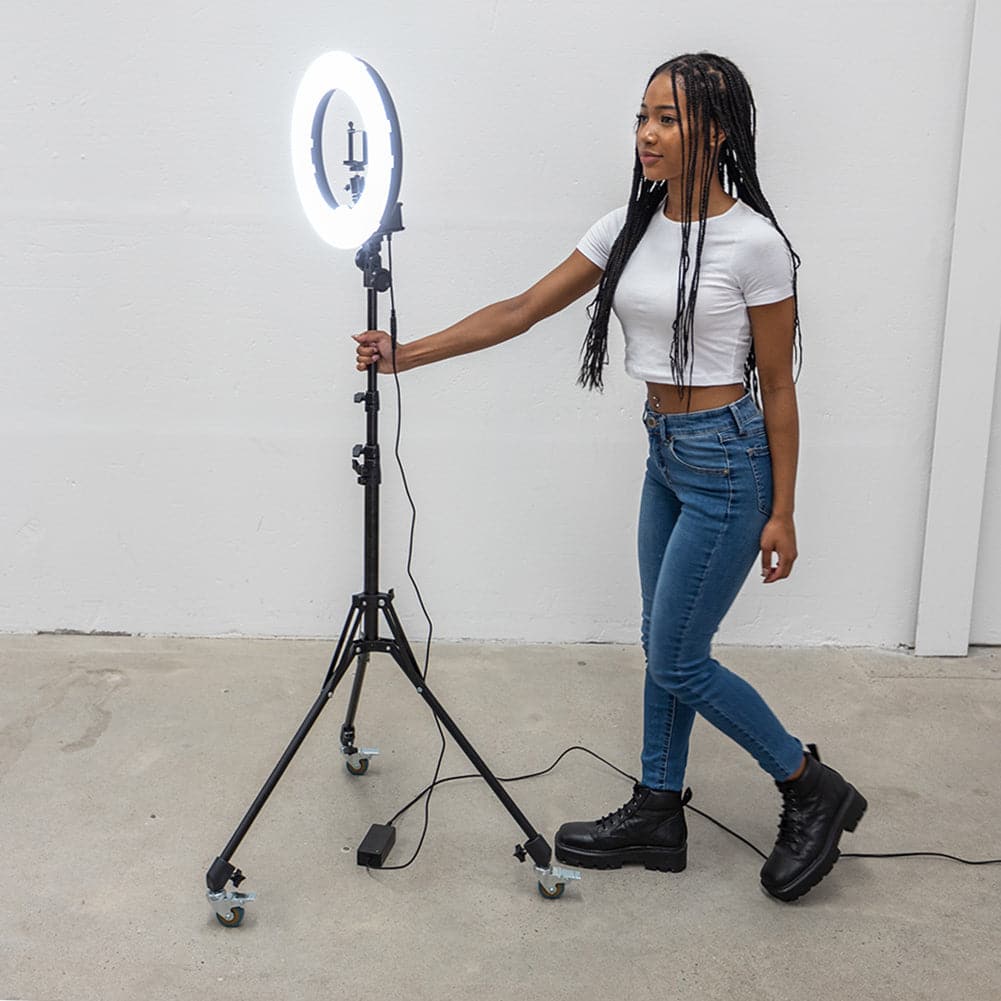
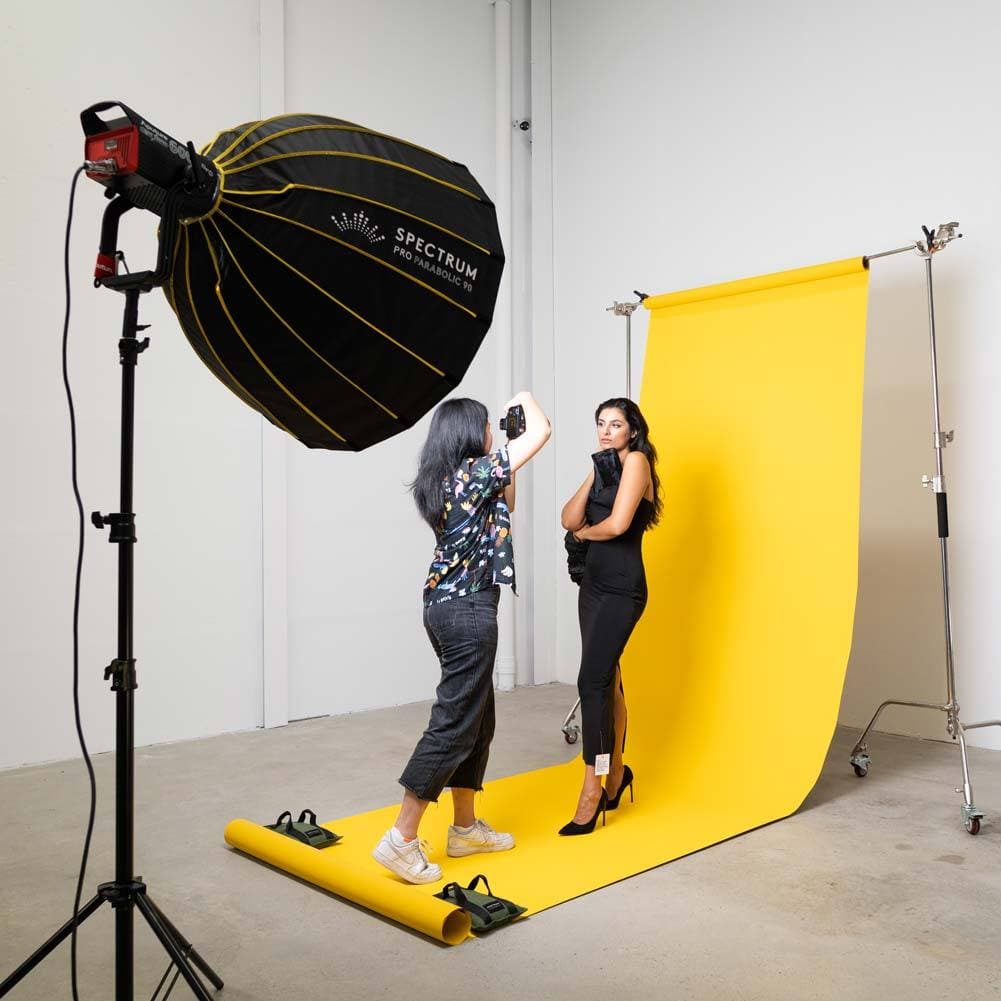
If you're in the studio or a restaurant, then here are a couple of things you can do. Try to use soft sources of lights such as ring lights. We recommend using modifiers such as softboxes or reflector discs so light disperses evenly across the dish or food you photograph if you are using harsh lights.
When you use hard lights, your shadows become much harsher, taking away the focus from your main dish. Therefore use shadows sparingly as it might also make the picture look crowded and cramped. So, in summary, always go for soft light sources or modifiers for any photo you plan on publishing across social media or in more traditional ways.
No More Crumby Angles

Angles can get tricky sometimes, but not anymore. We all know the trick to excellent food photography is to choose the right angle based on the dish you have prepared. Don't worry, as we're here to walk you through the various angles and how you can use them to get the best shots.
Overhead or Top-Down Angle
This angle is one of the most popular angles out there when it comes to food photography. If the name sounds too technical to you, think of it as a bird's eye view or view of the food from above. It's by far the best angle for flat dishes like pizza and share plates.
The angle is pretty simple to execute and valuable, too, since it can cover a wide area with the dish, props like cutlery, and even a drink or dessert.
So you can use this angle when you want to cover a few dishes placed together, for instance, when capturing a feast laid on the table. When your object is opaque, like a bowl, and the food has extensive garnishing on the top, you can also use it.
3/4 Angle
You can think of this angle as a diner's view of the food presented before them. You may use this angle to showcase the different sides of your food item - for instance, a pastry or a cake. It adds a lot of depth to the dish's presentation, especially with a wide aperture and shallow depth of field.
The 3/4 angle usually falls between 25 to 75 degrees, and the most common position is 45 degrees. Due to its versatility, it's again one of the most popular angles used by food bloggers and content creators to flaunt their culinary skills.
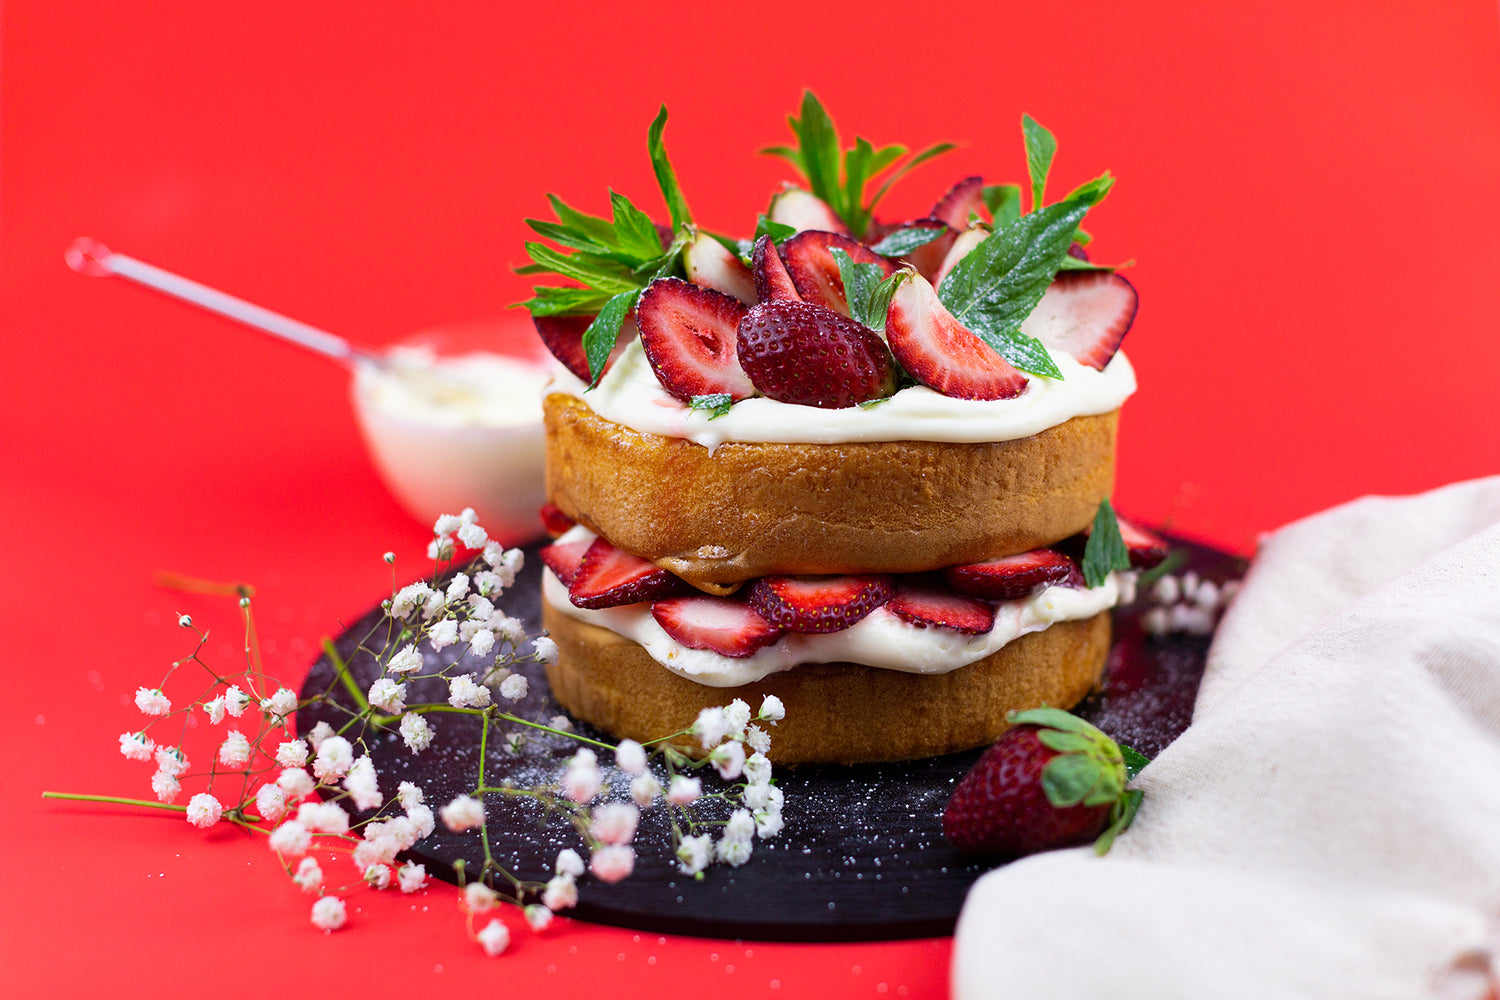
Straight-On Angle
You can achieve this angle when you position the camera at level with the table. The best food item to use the straight-on angle is when you have a tall dish with multiple layers and focus on each of them.
You could also use it for cakes or desserts that have multiple layers on the inside. So you cut yourself a slice and showcase the centre of that item.
These three are the most common angles used in food photography. Besides these, there is a low-angle, close-up, and dutch angle.
- Low-angle is used when your dish has a towering height. A great example of this angle is with fast food like a big fat hamburger.
- Close-up is when you want to focus on the little details and textures of your food item. Imagine a decadent brownie with chocolate chips and lavender chunks up close.
- The dutch-angle is simply a tilted position of the camera, such that it allows you to capture leading lines or geometric shapes.
Usually, you can use tripods along with rigs to get a steady photo for the different angles. These are helpful to accomplish precision while you capture photographs.
Become the Chef of Simplicity

Do not try to clutter your scene with too many props or elements. Quite often, less is more. Keeping your photographs minimal will make a powerful impact on your audience since the main focus is the dish.
You can use minimal photographs for apps such as Uber Eats, Deliveroo, GrabFood, and Doordash. Since people are already looking to order food, their eyes will look for the delicacies. So try to keep it simple and give the audience what they look for.
If you want to elevate the pictures, you can get yourself some half-width backdrops or flat lay backdrops and use them according to the colour and texture of your food item. These would accentuate the pictures and make them look better! Make sure you choose neutral ones so that they don't take focus away from the actual dish.
Eat your Greens

Greens are essential for healthy photography. The green colour not only adds a subtle touch of vibrance to your picture but automatically makes the audience feel fresh and implicitly closer to nature. If you're trying to showcase organic dishes, then don't forget to add these. It would just reinforce the message of your picture.
Now, having green elements like leaves or stems might not always be possible. But we got your back. You could use our green props and give your dishes the nature's touch they need.
Final Thoughts

And voila! We've come to the end of our tips and quick cookbook for your food photography success. So use the tips and tricks mentioned above and get creative with your food photography shoots to get the most out of them. Our impressive range of essential equipment for food photography will guarantee you can capture and promote your best dishes on Uber Eats, Instagram, Deliveroo, GrabFood, and DoorDash. Alternatively, you can feature them on your website or printed restaurant takeaway menu.
