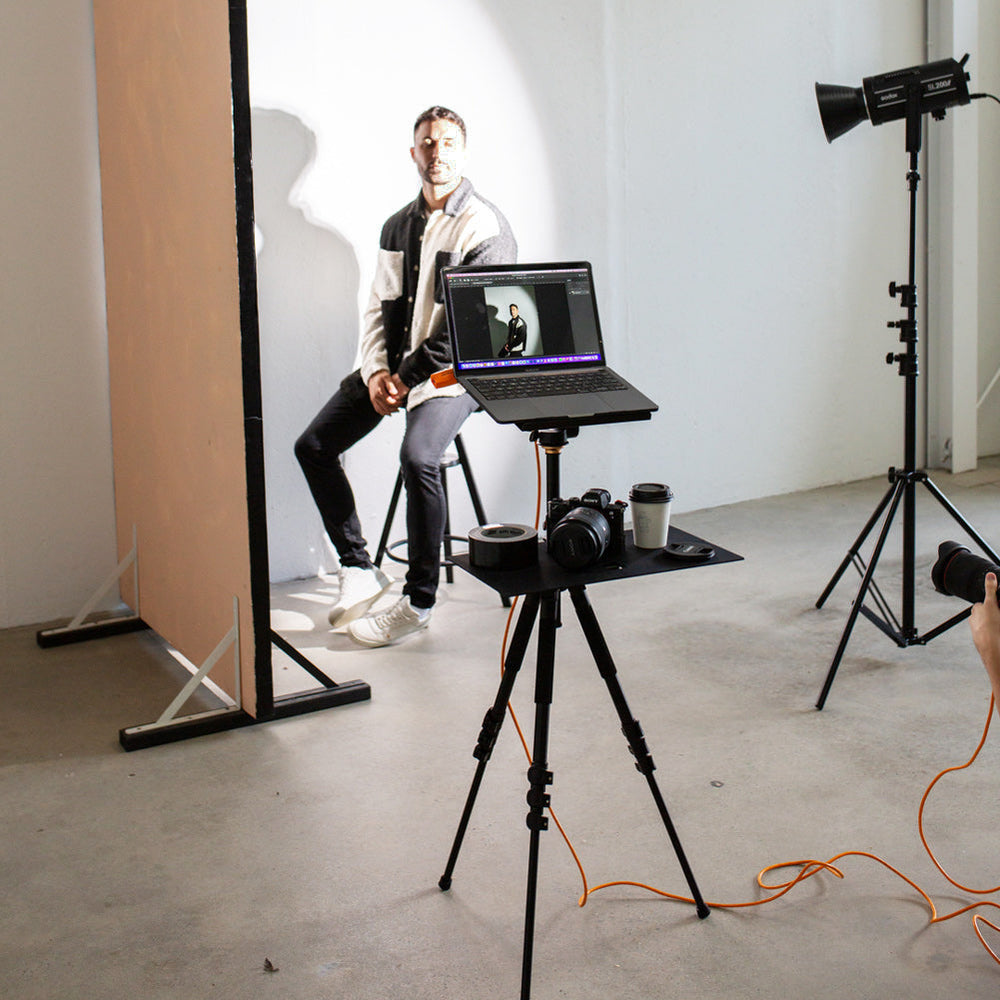

The lighting you use in any style of photography or videography dramatically affects the overall feeling of the final product. For a more brilliant final product, it’s important to understand how a fill light works, and why you should always be using it. Hang on, what is a fill light anyway? A fill light does exactly what you’d expect it to based on its name. Its purpose is to literally fill in the shadows.
If you use a main light source, also known as a key light, alone, you will inevitably create very dark shadows on the side of the subject that is not directly lit up by the main light. These dark shadows lack detail and lead to images or videos that appear unpolished, dull, and lacklustre. That even applies when the main light is placed right in front and centred on your subject.
Even if the exposure on your main light source is excellent, content creators that forget about the importance of fill light end up selling themselves short. Fill light adds so much depth and character to the final product.
How Do I Use a Fill Light?

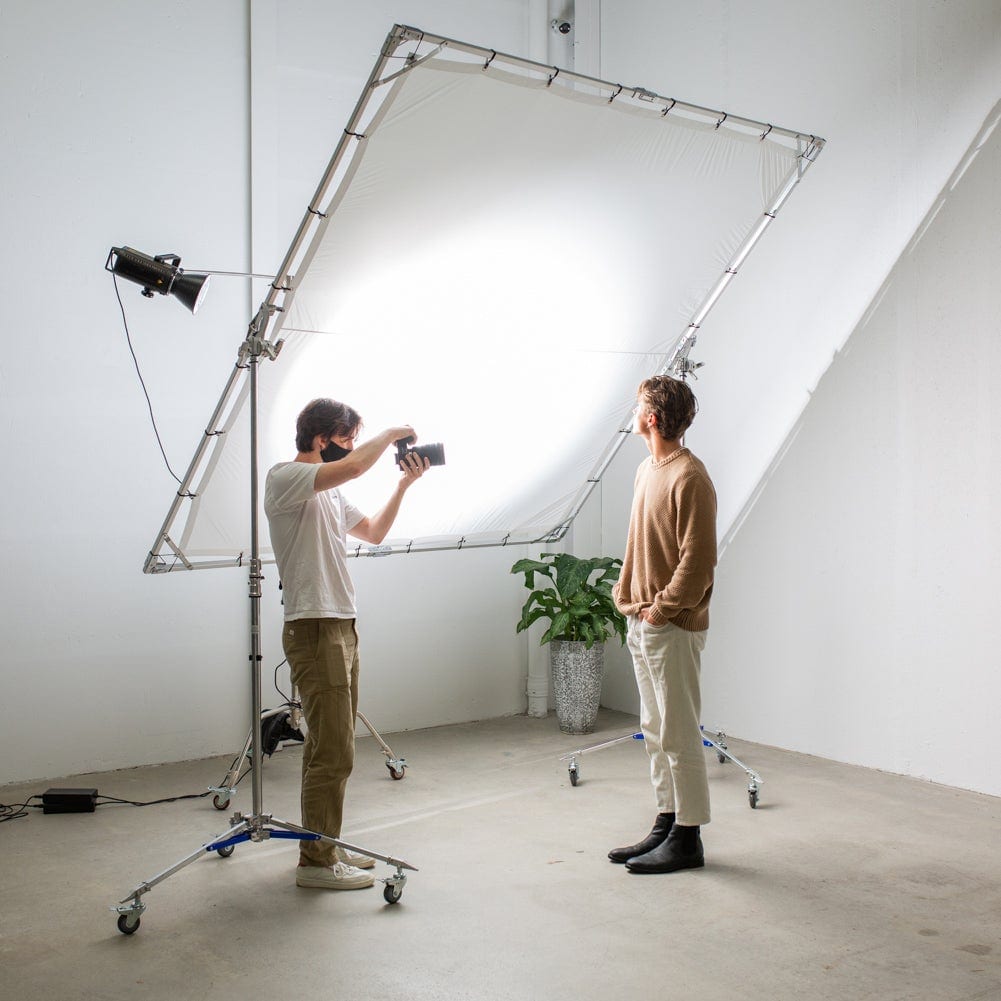
Since harsh shadows happen when you only use a key light, many people go for one of the oldest lighting techniques in the book. You may have heard of it—it’s called three-point lighting. This tried-and-true technique involves your main light (or key light), of course, a backlight, and a fill light. The approach is simple, yet the results it yields are impressive.
The Mechanics Of A Three Point Lighting Setup

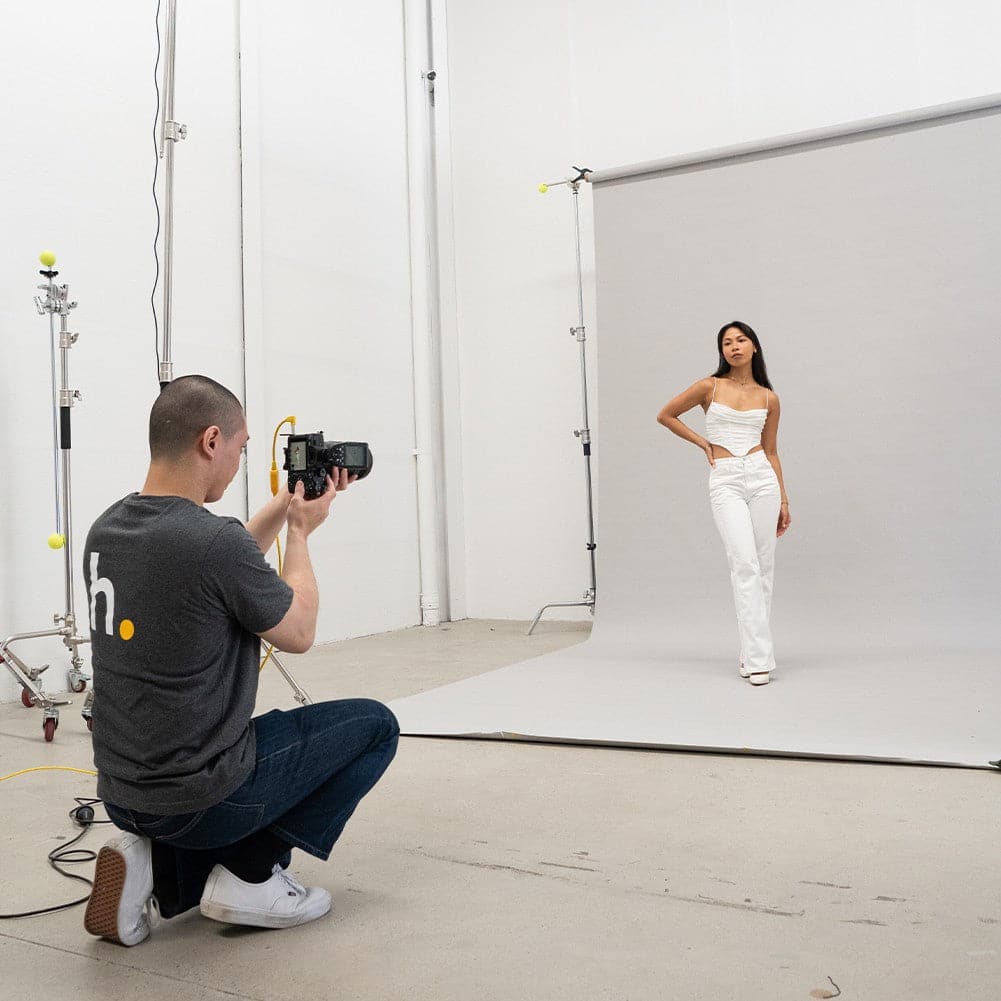
In a three point lighting set up, fill light creates a more even light distribution. A general rule is to set up the fill light opposite the main light. By illuminating your subject with fill light on the opposite side that they’re illuminated by the main light, you’re filling in the shadows on the side that the main light doesn’t touch.
For example, if your main light is the sun, and you’re shooting at high noon, your subject will have shadows under their eyebrows, nose, and chin. Even natural light needs to be manipulated to create stunning portraits. By using the opposite-of-the-main-light rule at midday, you’ll want to place your fill light below your subject, to counter the harsh light that’s coming from above. While the fill light will be significantly weaker, the shadows on the face will no longer be so severe.
Three Point Lighting for Beauty Photography

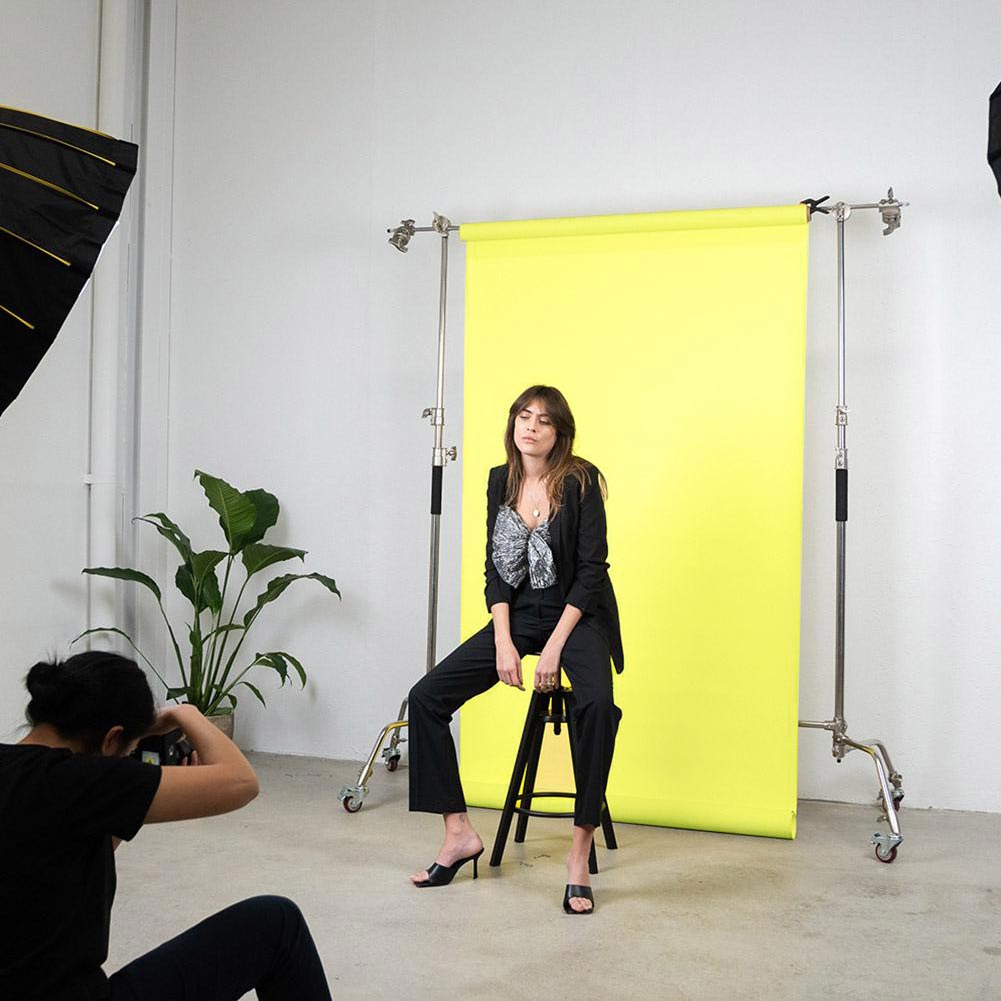
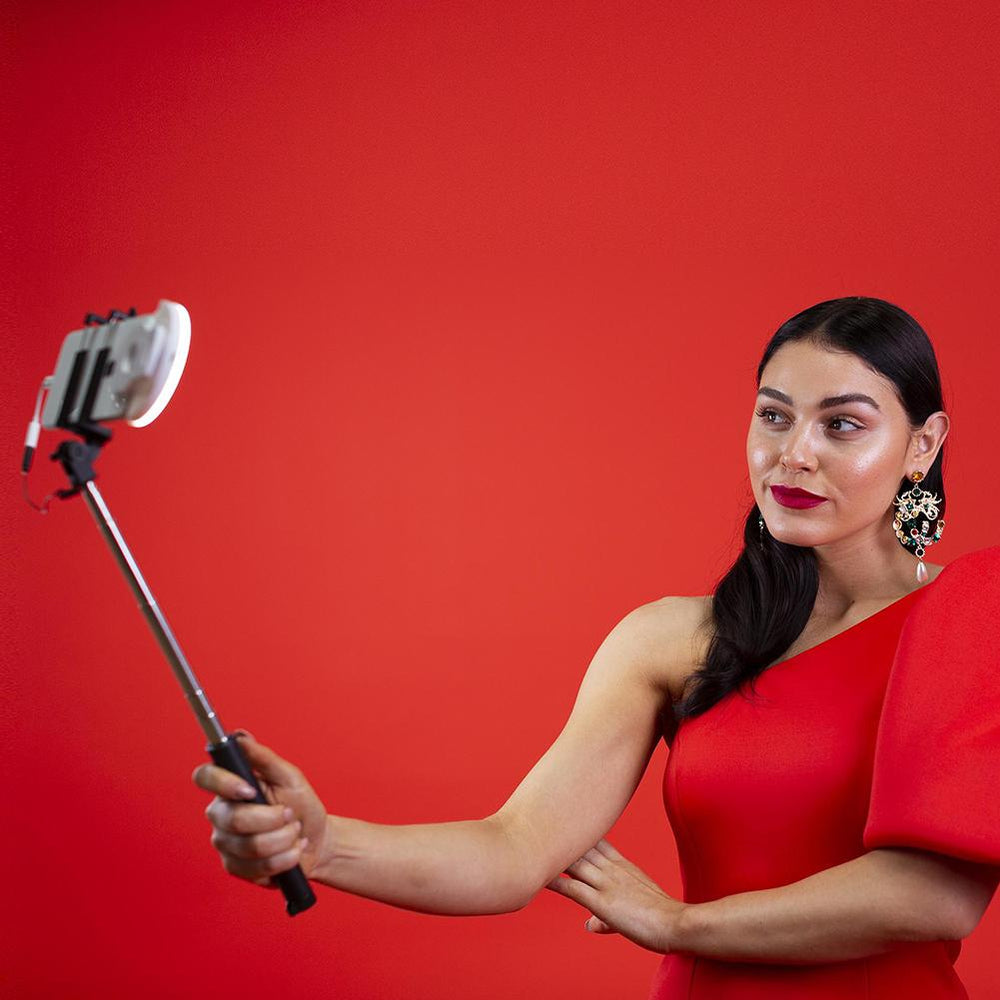
On the other hand, in beauty photography, it’s common to place the main light directly in front of the subject. This lighting position creates symmetry in the shadows on the face while accentuating the cheekbones, giving the face a much slimmer look. But, as we mentioned earlier, when lighting the subject from the front without a fill light, there are still going to be shadows coming in from every other direction.
A Good Tip To Follow

A good rule of thumb to follow is that your fill light should never be as strong as your main light. The three-to-one classic lighting ratio is the most popular—meaning the main light source should be three times as powerful as the fill light.
Using a ratio in which the fill light is less strong than the main light, you will still have some shadows. However, there will be much more detail within those shadows. To play around with more or less detail in the shadows, just adjust the exposure of the fill light to achieve your desired results. With the perfect ratio, fill lights aren’t going to have a negative impact on the main light source.
What Kind of Lights Can I Use?

There are several options to choose from to create the perfect fill light for your photos and videos. Let’s take a look at a few here:
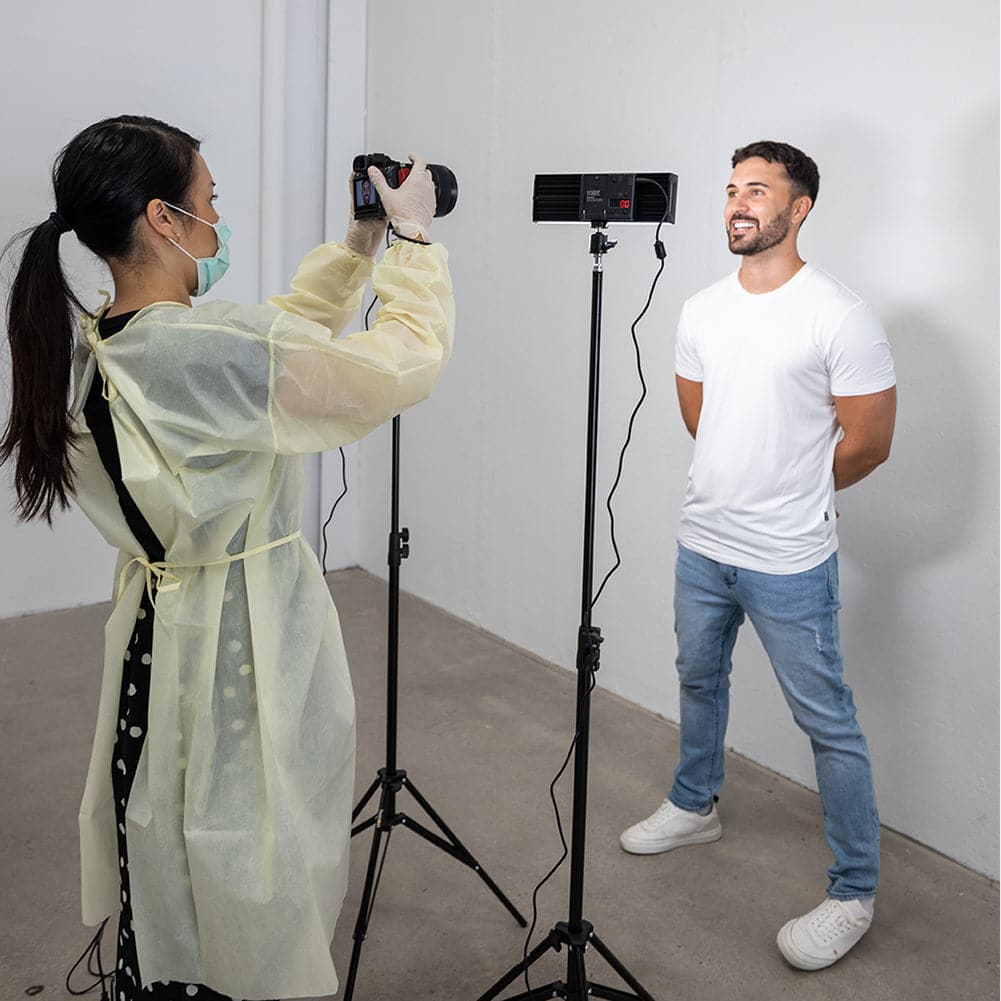
Side Lights

You can create proper fill light with side lights such as the Yongnuo YN300 Double Colour Adjustable LED side lights from Spectrum. These side lights come in twos and are the perfect accessory to go along with your main light source. You can place both of the Crytal Luxe LED Side Lights opposite your main light, and they’re easily adjustable both vertically and horizontally so you can get the perfect angle. Try placing them close to your subject, and then far away to see the differences in the shadows in your photographs.
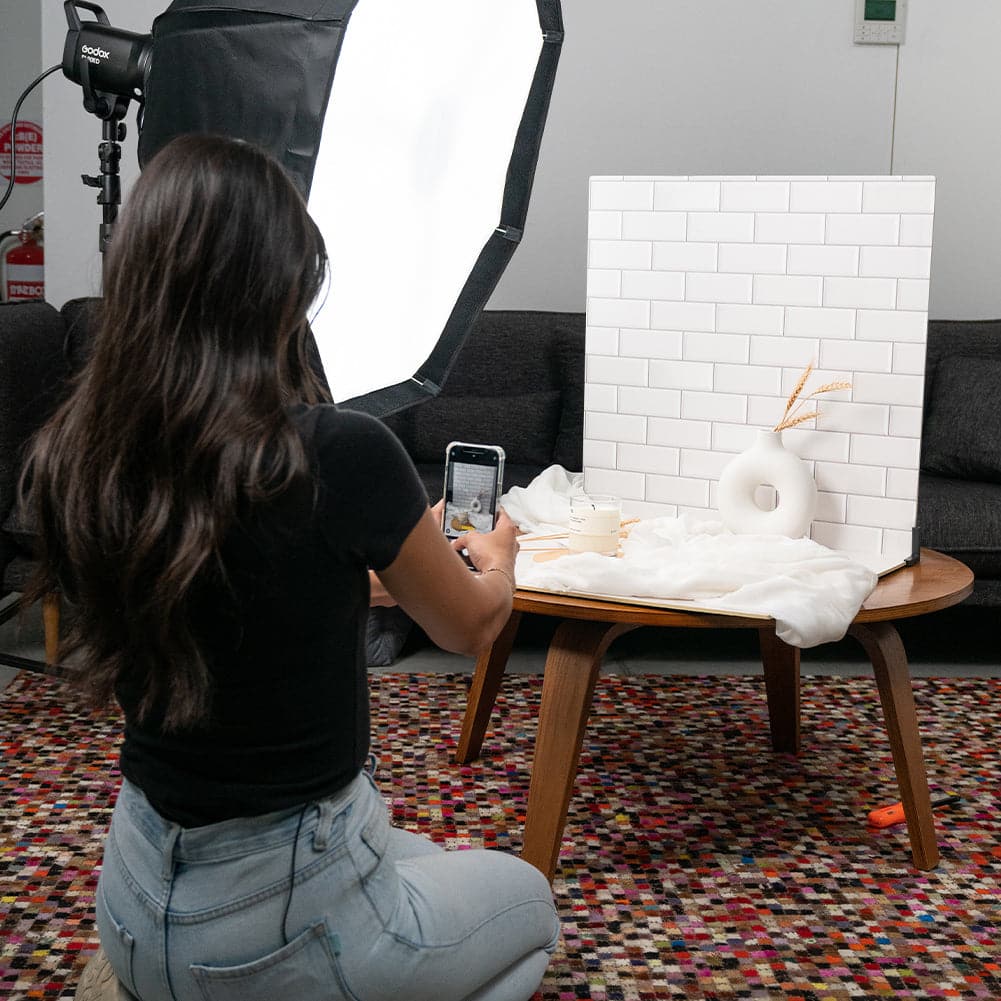
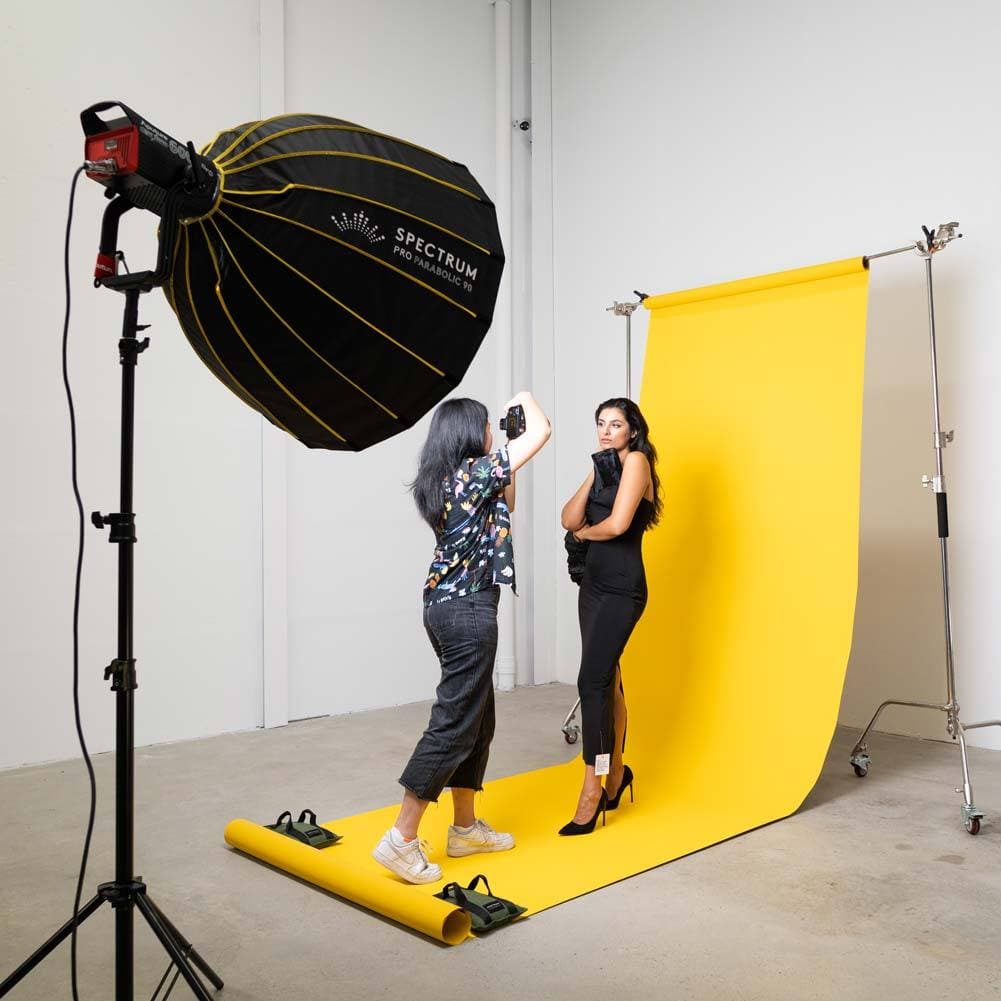
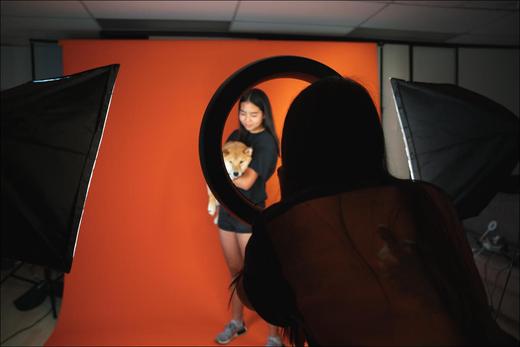
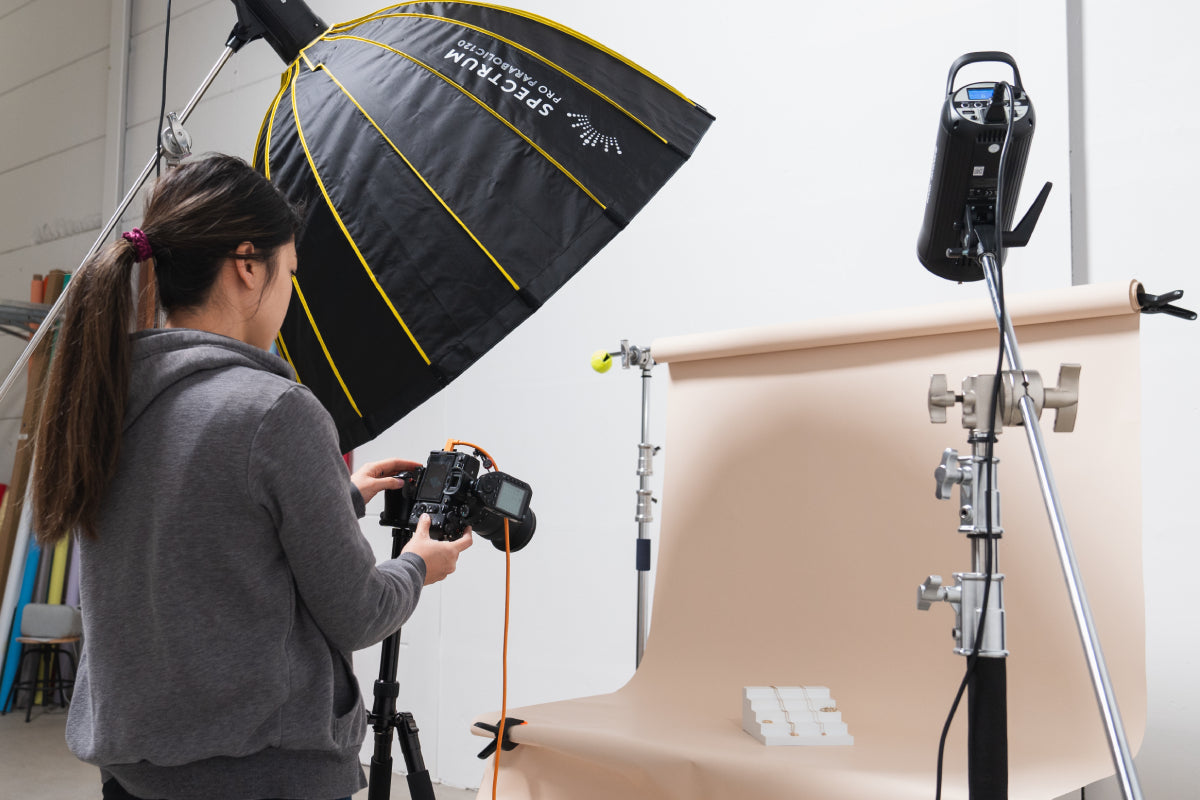
Softbox Lights

Using a softbox to create fill light is a very popular choice for photographers, bloggers, YouTubers, and videographers alike. Softbox lighting creates beautifully diffused brilliance, without glare that’s perfect for placing opposite the main light source to counter the dark shadows. The Spectrum Double Rectangle Softbox Lighting Kit also comes in a pair and is popular among portrait, fashion, and even product photographers. No photography studio is complete without a softbox or two.
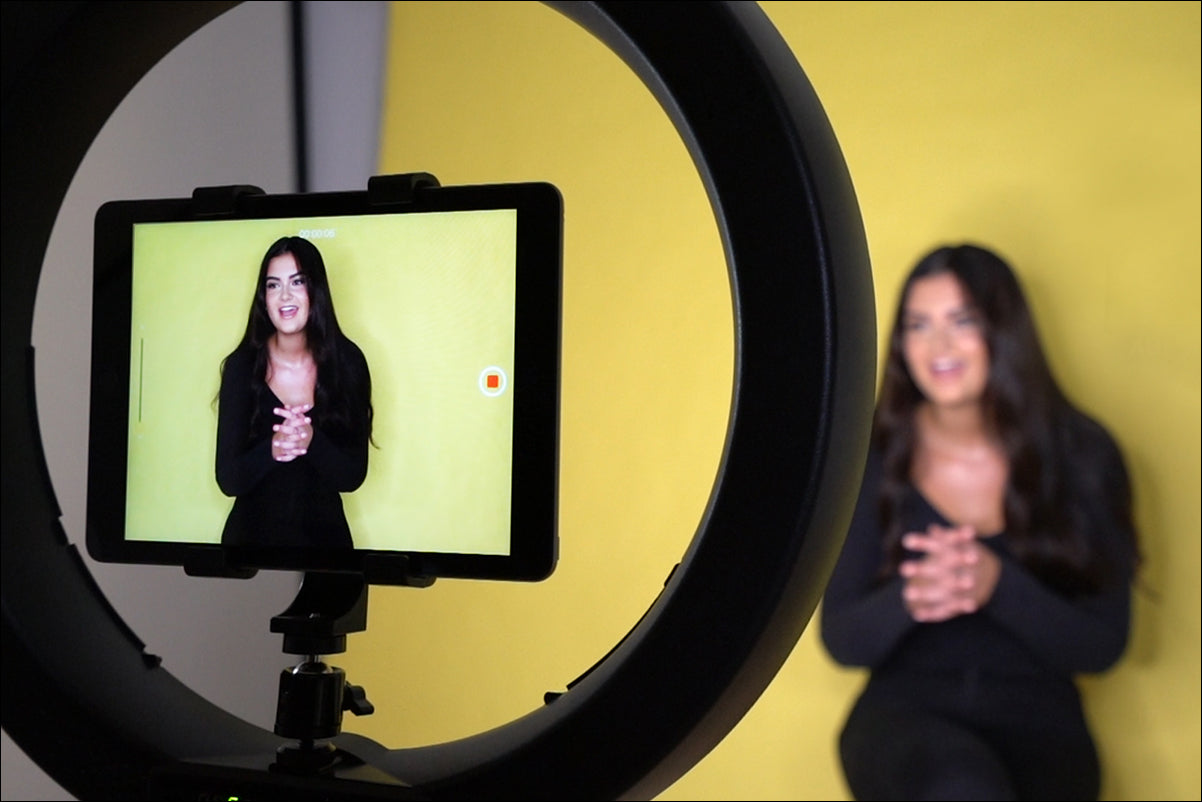
A Fill Light for Video

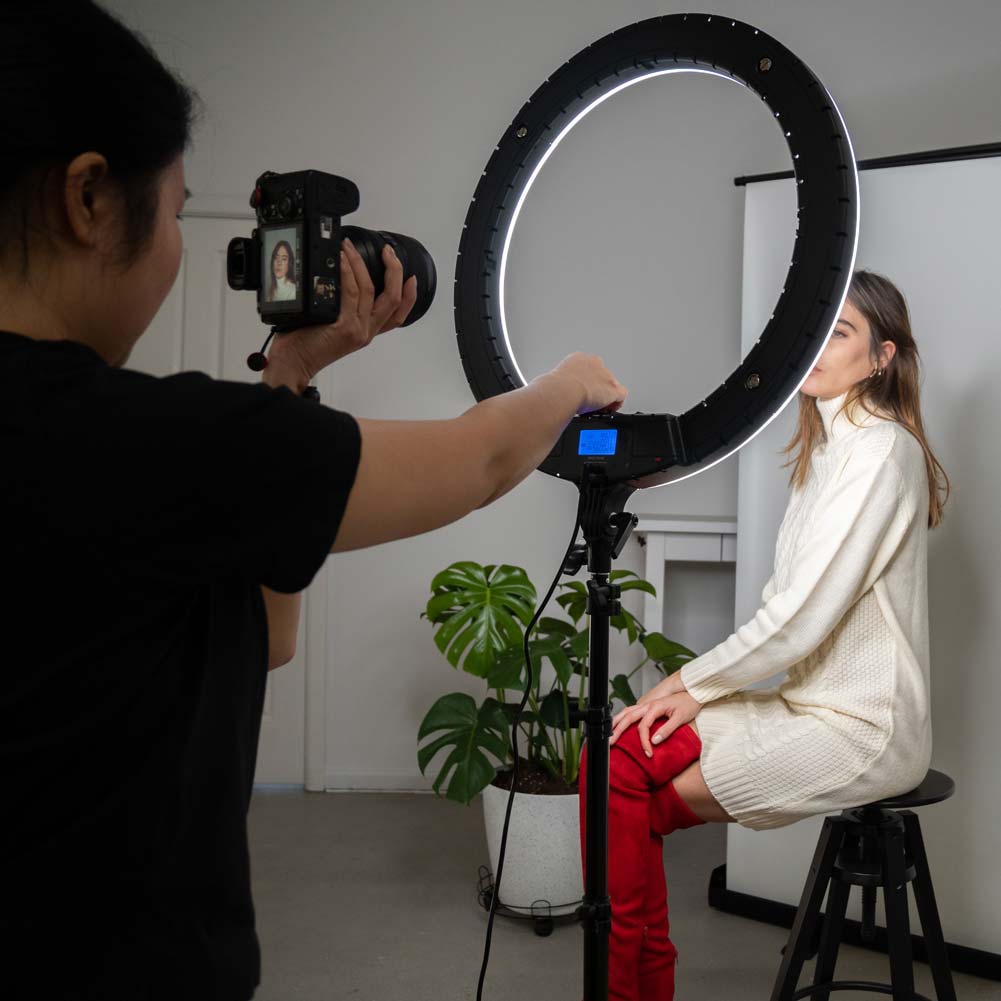
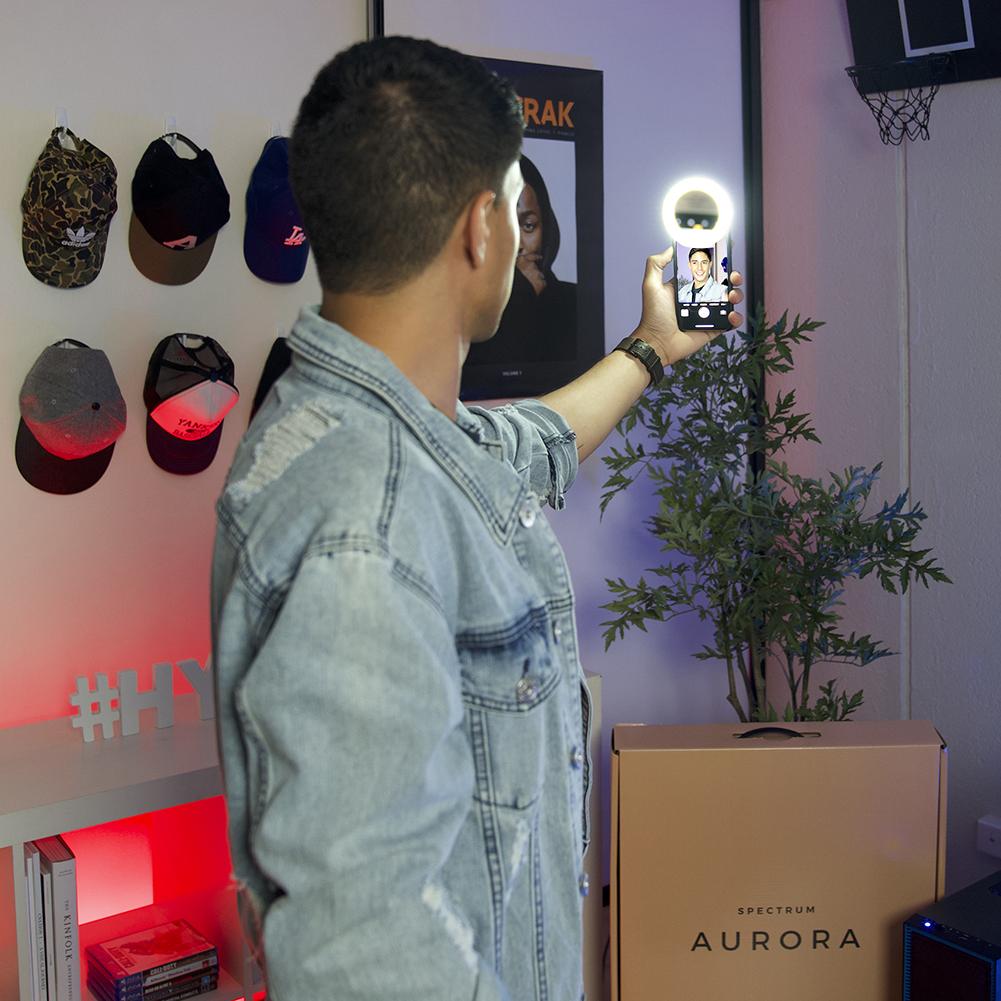
YouTubers, this one is for you. To not only look better on camera, but also create high-quality footage, you really ought to be using fill light in addition to your main light source. Using a product such as a Spectrum Aurora Platinum Pro Side Fill Photo Video LED Light will soften the harsh shadows your key light plays on your face.
YouTubers, influencers, and vloggers live for this light, but it’s also great for photography. With this Spectrum Aurora Platinum Pro Side Fill LED Light, you can really get creative and play around with the soft white and orange colour filters. The nifty barn door feature is great for controlling the amount of light you let out.
Step Into the Light

In both photography and videography, fill lights plays a super important role in the overall lighting setup, and of course, the final product. It creates depth and detail on your subject where there would otherwise be very dark, even severe, harsh shadows. Not to mention, employing fill light gives you a much wider range of options and more room to play in the shadows.
Make your subject, whether that’s you or a model, really pop with the right tools and a proper technique. You’ll find it’s actually quite easy, even an amateur can create gorgeous content!
