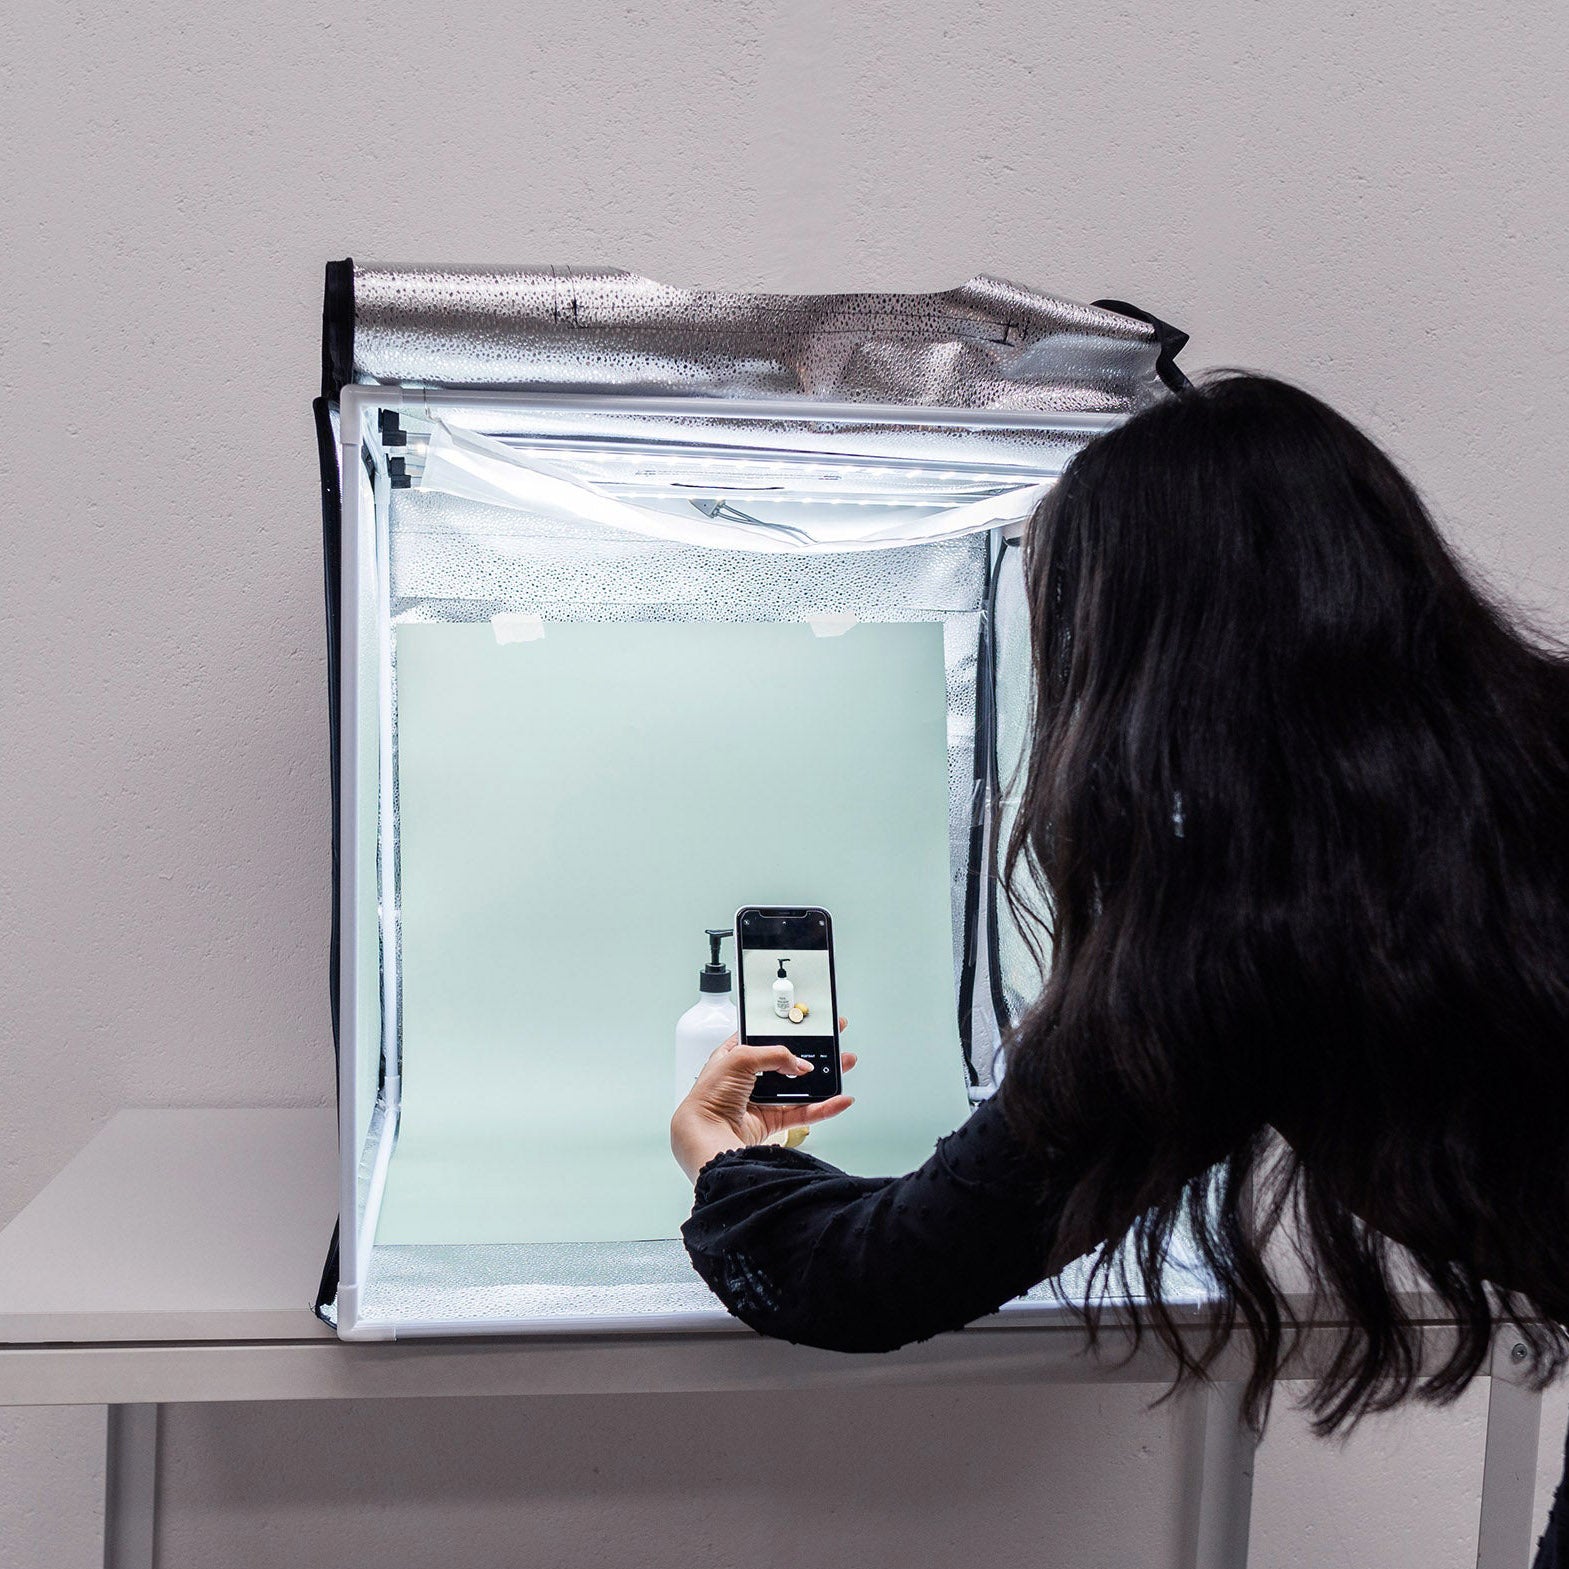
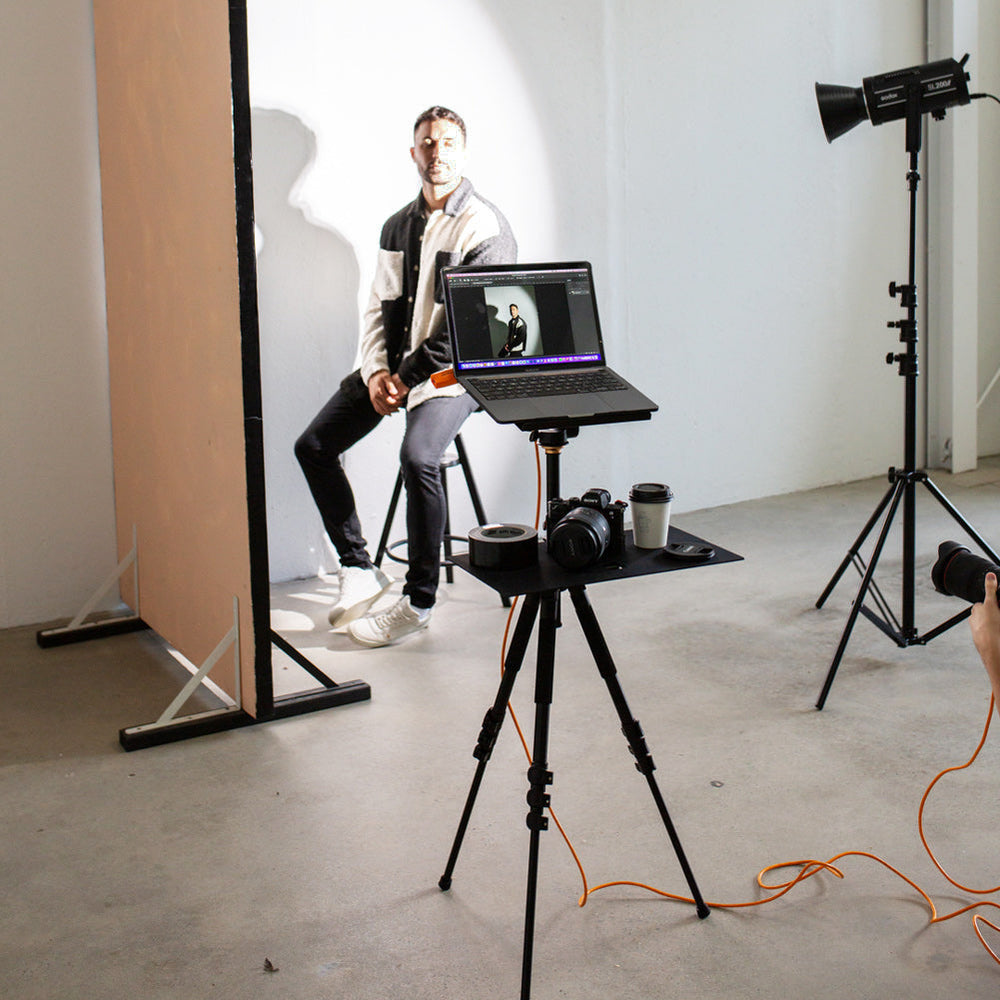
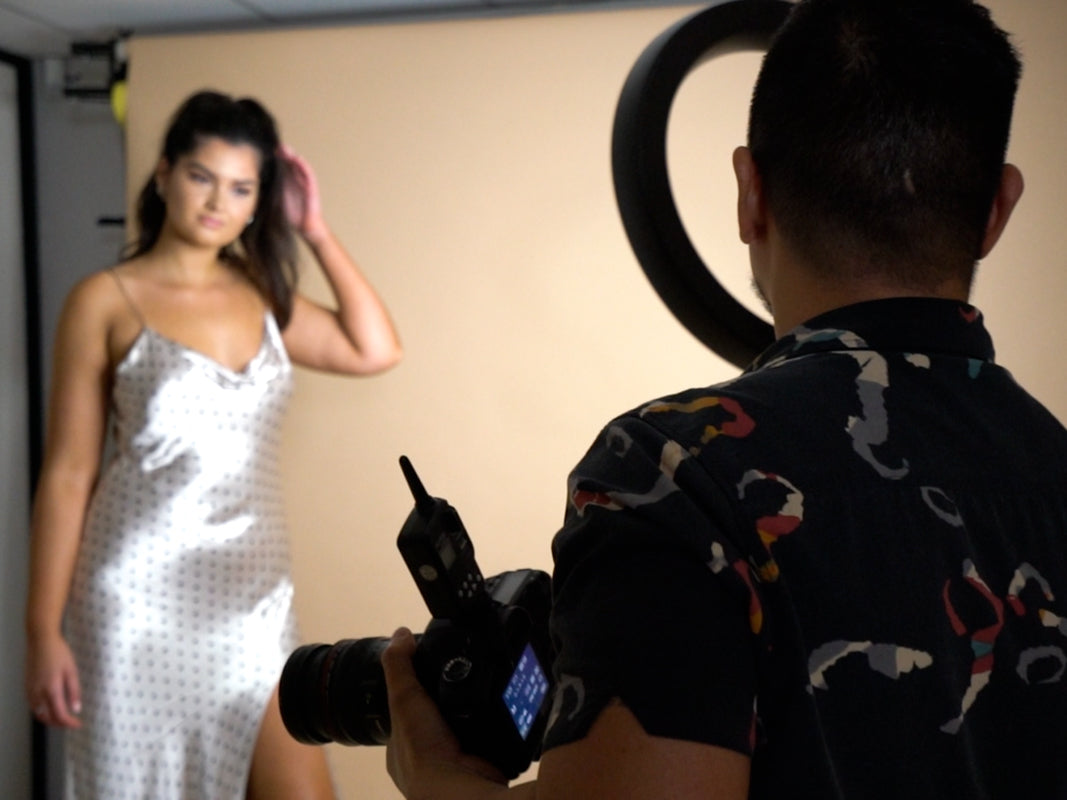
When you’re just starting as a photographer it can be hard to justify spending hundreds (or thousands) of dollars on photography lighting.
The good news is...you don’t need to! Beginner lighting kits are aimed at those who are new to photography lighting, and this article is going to look at the top 4 budget-friendly photography lighting kits for 2021.
1. Fluorescent (Illuminate Mate)

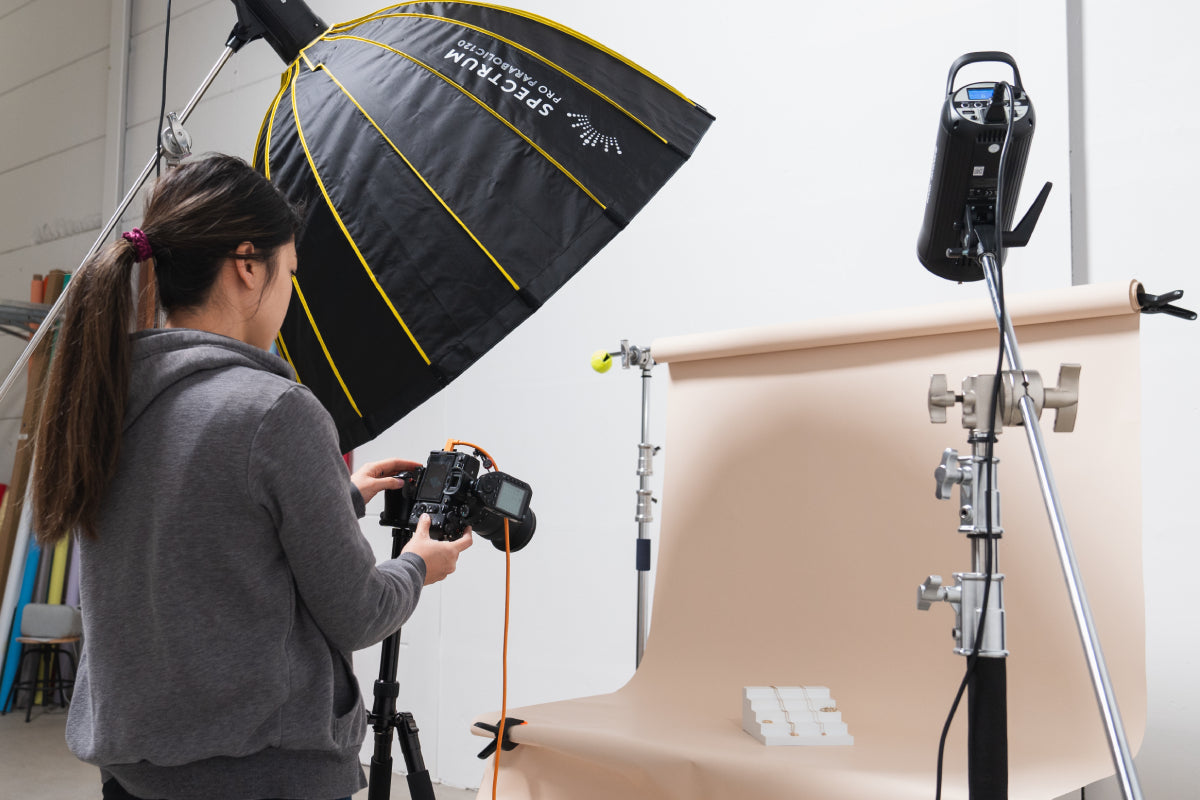
Fluorescent photography lighting is often a great starting point for beginners, especially when teamed with softboxes to diffuse the light. The Spectrum 'Illuminate Mate' Double Rectangle Softbox Continuous Lighting Kit comes with everything you need to set up your softbox lighting, and at $199 AUD it’s a great investment for the future.
It has two large softboxes for great diffusion of light, adjustable stands, and daylight-balanced bulbs to help you get even tones for lighting. Fluorescent lighting also has the advantages of using very little power, having a low running temperature, and a long life span when compared to incandescent bulbs.
Softboxes can be used as main lights, or as fill lights when teamed with a ring light.
2. LED Light Panels

LED light panels like the Crystal Luxe LED side lights are becoming more and more popular with photographers and videographers, partly because they are very durable and shockproof – unlike glass bulbs. They also provide great directional light so you can adjust them to whatever angle you require.
They are often used as side lights, along with a ring light as a main light in the middle, but they can be used perfectly well as the only light source.
Like fluorescent lighting, LED panels are very inexpensive to run, and they don’t get hot with use.
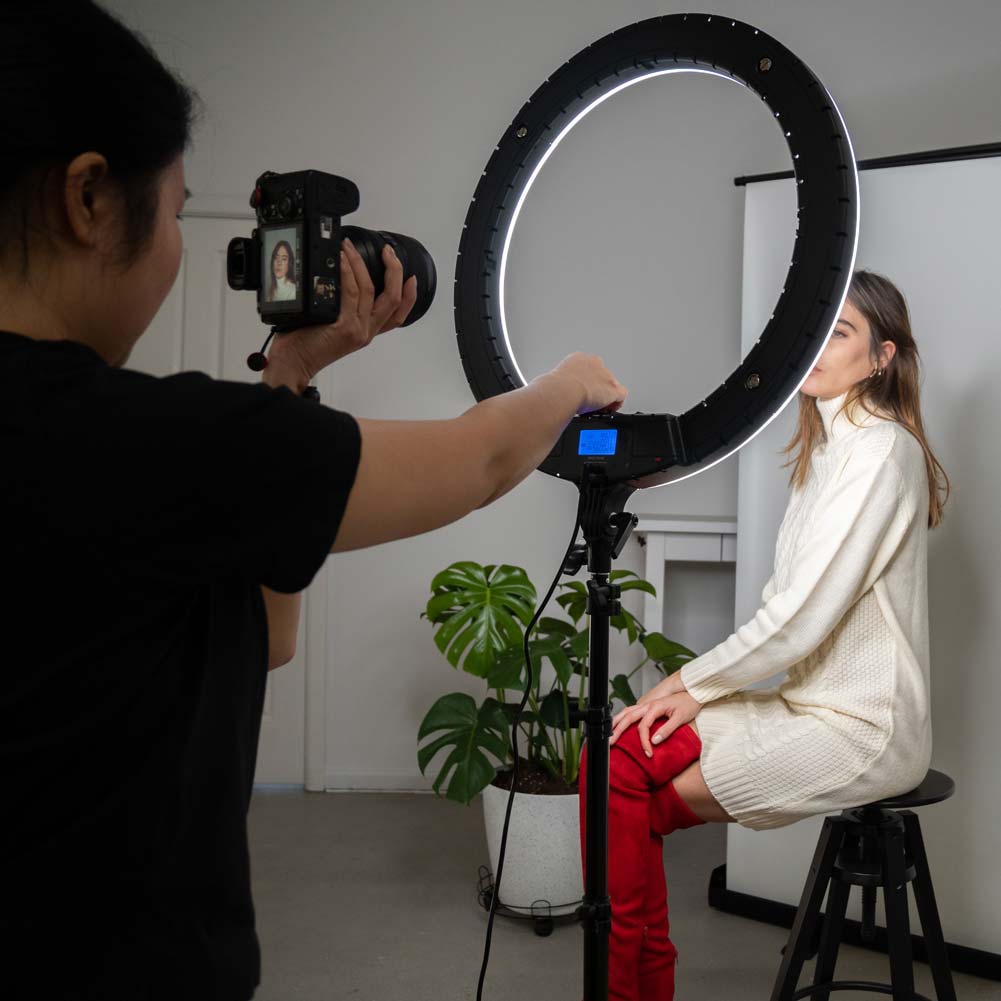
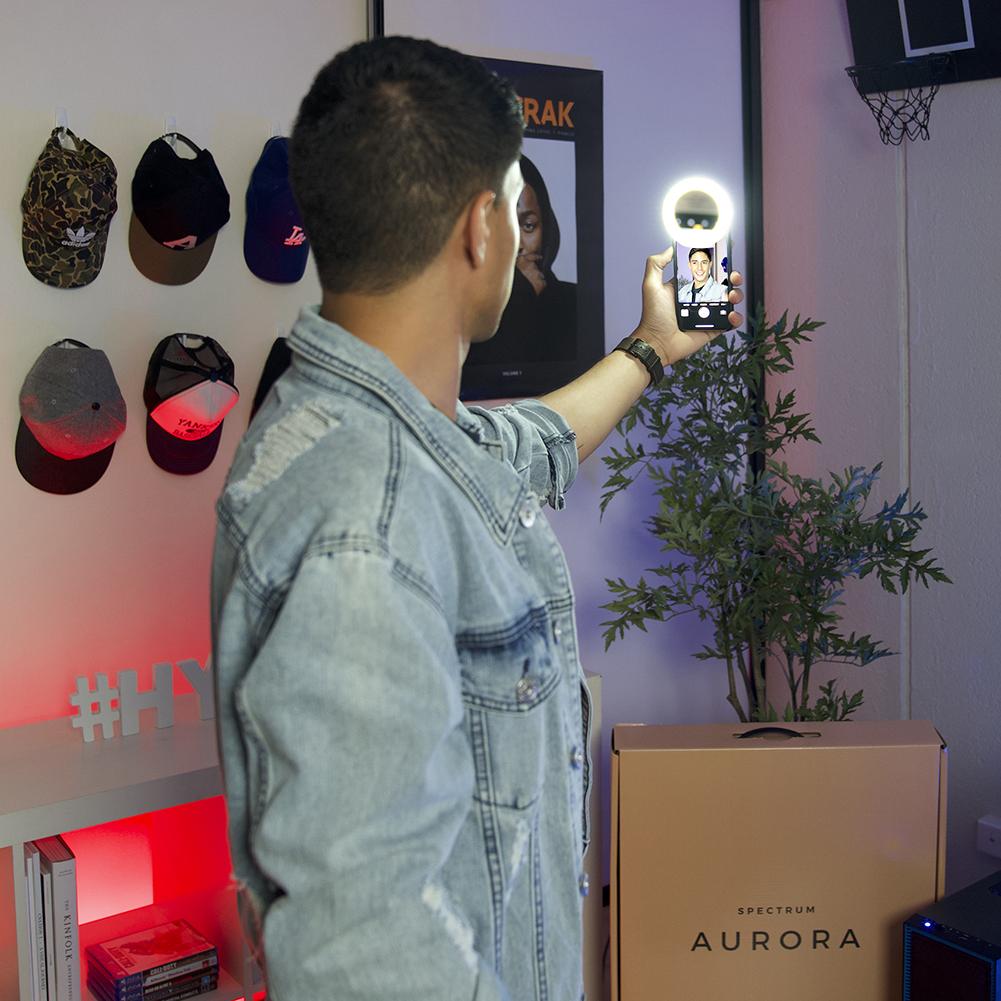
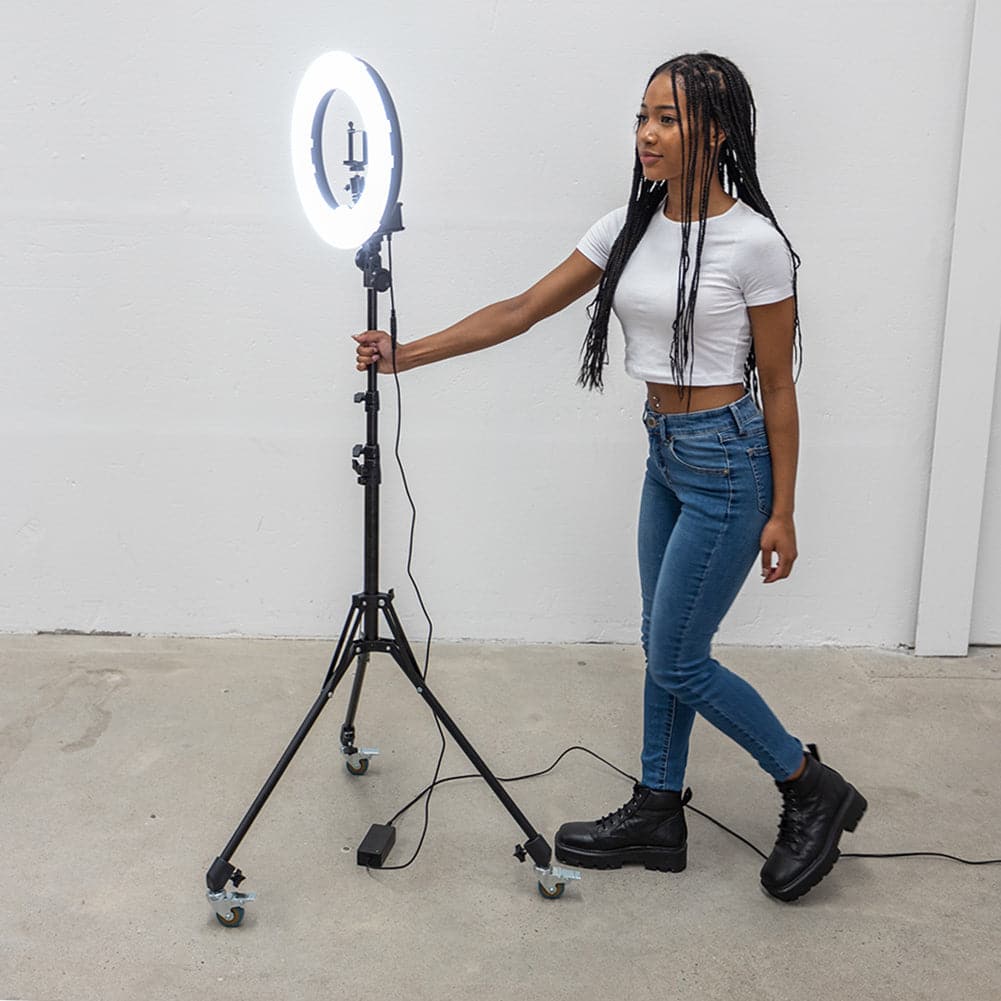
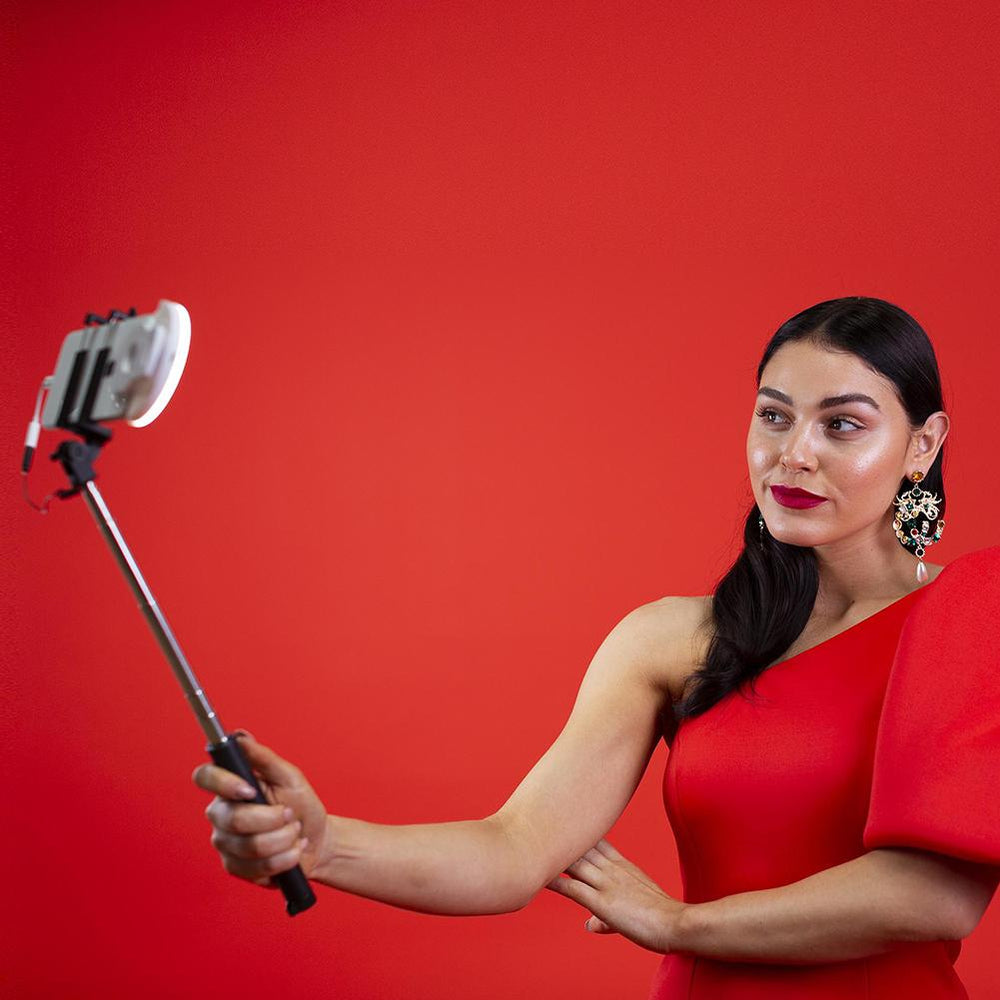
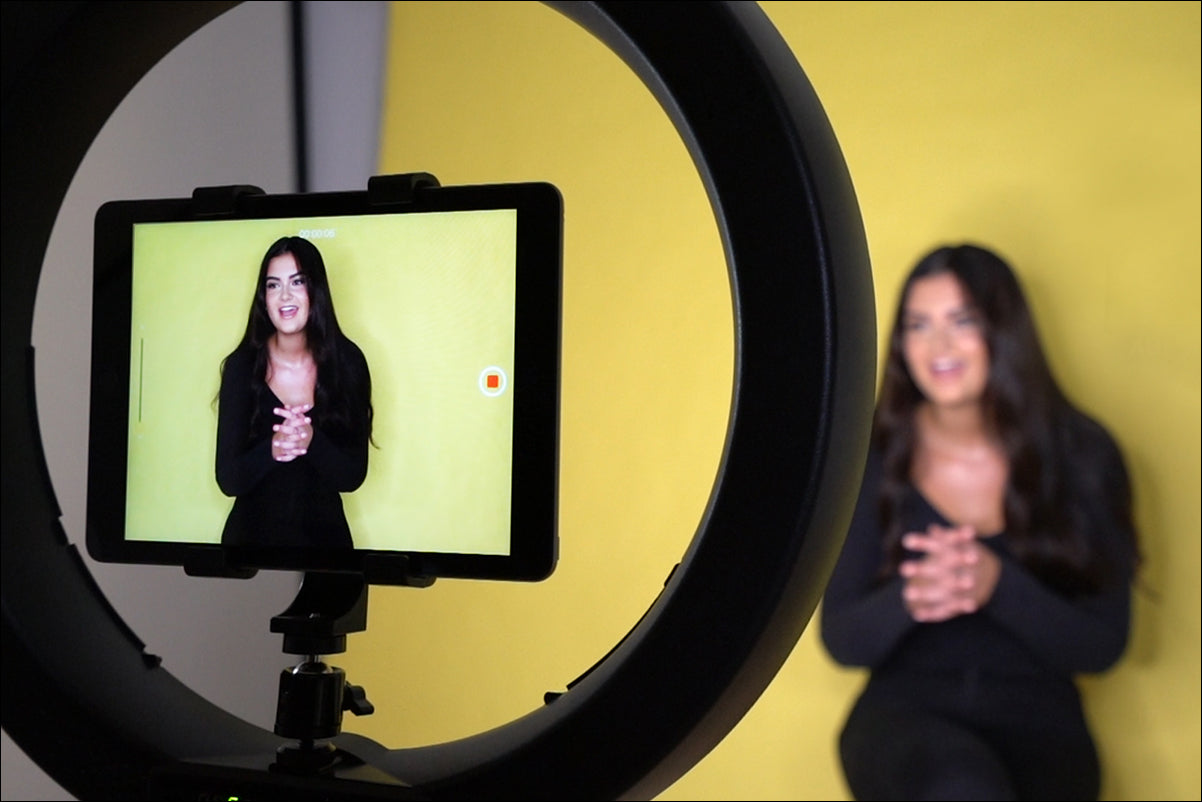
3. Ring Light (Spectrum Aurora)

Ring lights, such as the Spectrum Aurora Gold Luxe 19" ring light kit are the favoured video and photography lighting setup of make-up artists, vloggers and anyone who wants an even, soft light. This ring light is dimmable, so you can adjust to different lighting conditions, and it also allows you to change to colour temperature from daylight-balanced to warm.
The bendable gooseneck allows you to place the ring light at any angle you wish, and the stand is fully adjustable.

The Spectrum Aurora Diamond Luxe professional ring light kit is also an ideal beginner lighting kit, and offers you the ability to change the colour temperature by using simple snap-on filters.
Ring lights are great for evening out skin imperfections and small blemishes, and they give a very distinctive and beautiful circular “catch light” reflection in the iris of the subject’s eyes.
Ring lights can be used alone, or teamed up with LED panels or softboxes as side lights.
Unlike incandescent bulbs, they don’t require any cool-down time, so once your shoot is finished, you can pack up and go.
4. Reflector

Reflectors are the most inexpensive option for photography lighting, and they are one of the most versatile.
You can use reflectors with both natural and artificial photography lighting. They can be used as a fill light (to lighten the shadows by bouncing light back on to the subject), and turn a single key light into a hair light too by reflecting the light that falls behind the subject back on to the hair.
They are generally made of a circular or rectangular diffuser, with several different reflective and matt zip-on covers, so you can have a silver, white or gold reflector, and a black matt one to provide shadow instead of reflection.
Reflectors are a great choice for shooting outdoors, as they are lightweight and usually fold down into a small size for transport.
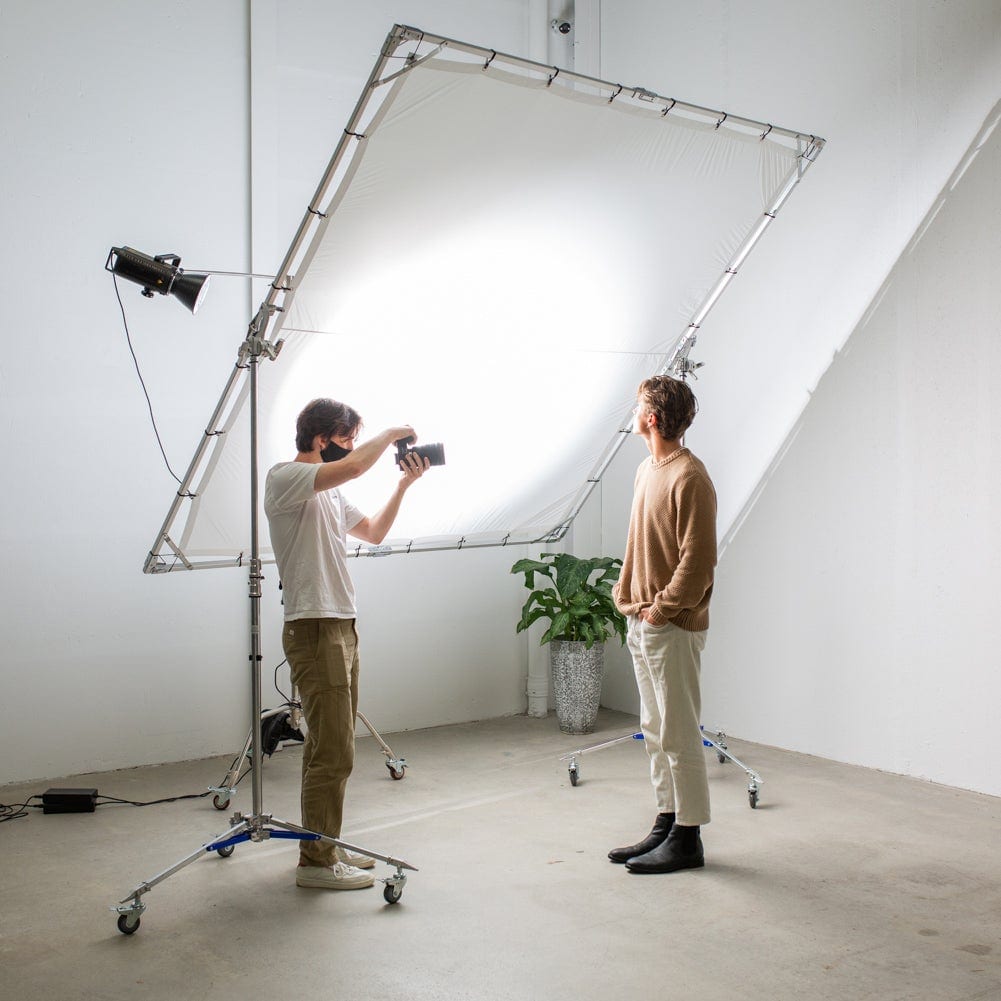
Soft or Hard Light
You can combine and modify the photography lighting kits mentioned above, and having a reflector can make all the difference in improving the quality of light in your images. The “type” of light you have (soft or hard light) will also make a difference to the look of your images.
Generally speaking, the larger the light source, the softer the light, while smaller light sources create harsher shadows. For instance, the larger your softbox, the softer and more shadowless the light will be, while small LED panels will give a harder transition from light to shadow.
Distance also plays a part, though. The closer the light is to the subject, the softer it becomes. So even a large softbox will give a harder light the further it is away from the subject, while a small LED panel placed close to the subject will be softer.
The position of your lights also makes a difference – you can choose to have dramatic and bold side lighting, backlighting, or soft and flattering front lighting.
Front Lighting

Probably the simplest type of lighting, you place the subject so that the light is directly in front of them. This brings out the detail of your subject because the shadows fall behind them. It can, however, look very flat and one-dimensional.
Here is a diagram of how to light from the front. Note: your camera doesn’t have to be positioned off to the side, it can be directly above or below your light, depending on whether your subject is sitting or standing.. If you use a ring light, you will shoot directly through the middle of the ring instead.
Side Lighting

This is placing the light source or subject so that the light hits them from the side. This creates shadows and depth, but you need to watch how the shadows fall and make small adjustments in the subject or light position to create the most flattering or dramatic shadows.

Back Lighting

This type of lighting is perhaps the trickiest to master, as it’s all too easy to end up with just a silhouette.
Backlighting is probably best avoided by complete beginners, as you need an understanding of your camera’s manual mode to make the most of this setup. This is because all of the shadows are at the front of your subject, and turns the details dark. When you use manual mode on your camera, you can adjust the exposure so that your subject is correctly exposed.
You can also use a reflector to bounce light back into the subject’s front, as in the diagram below:

You can use any light source for these lighting setups, even natural light from a window. (In this scenario, for side lighting you would get your subject to turn 45 degrees to the window).
Conclusion
Photography is all about light, so it makes sense to buy the right kind of photography lighting. The type of beginner lighting kit that you choose is ultimately down to personal choice, as well as the type of photography that you do.
