
Why do you need your lighting for YouTube videos to look the best it can be? There are several reasons:
- Good lighting makes you look professional. If you want your audience to keep watching, you need to look like you know what you’re doing. Poor lighting doesn’t just make it hard to see, it gives a bad impression of your skills.
- If you are demonstrating makeup or doing a tutorial, good lighting is essential for your viewers to see colours and techniques clearly.
- You want to create a mood that is in line with your message. Different lighting styles and light intensity can give your audience subtle cues, and make them feel how you want them to.
- Good lighting draws the viewer to what you want them to look at. Contrasty lighting can make people or objects stand out.
This article is going to look at the best lighting equipment to help you create perfect, professional YouTube lighting that will keep your viewers watching time after time – even if you are a complete beginner.

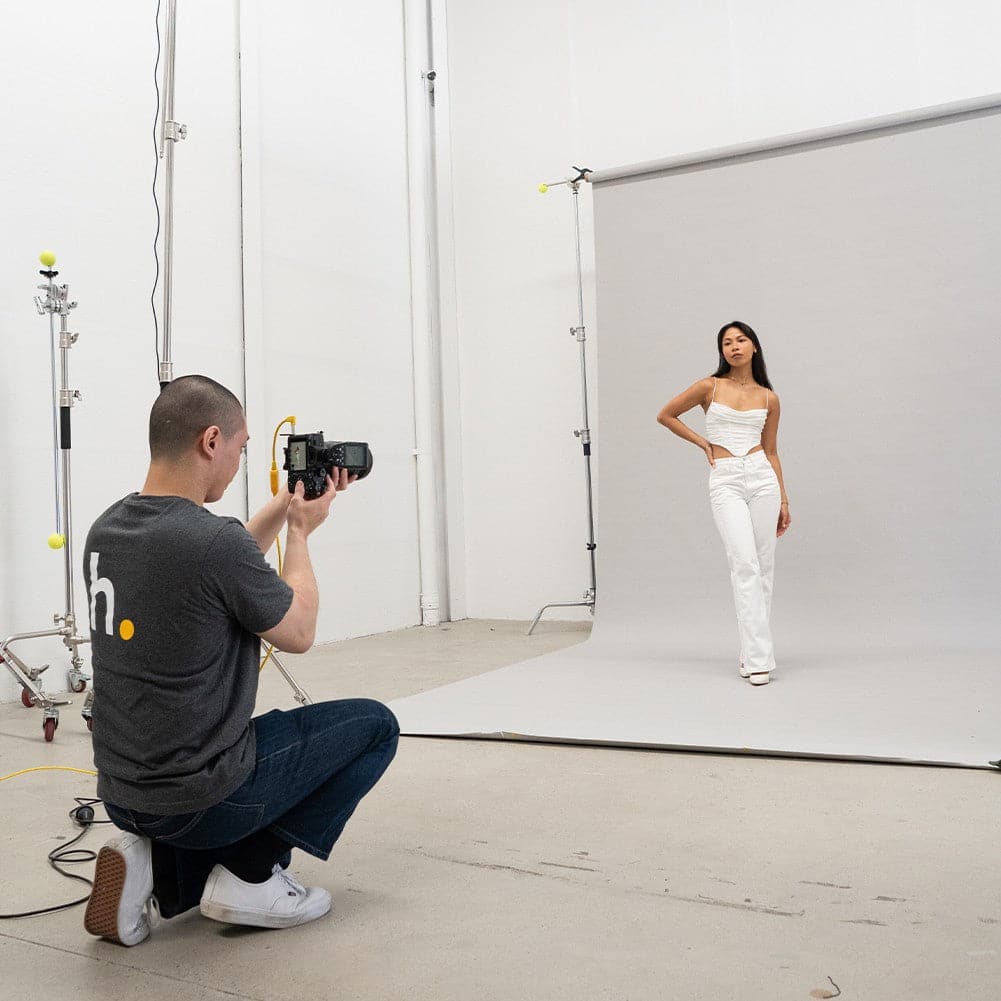
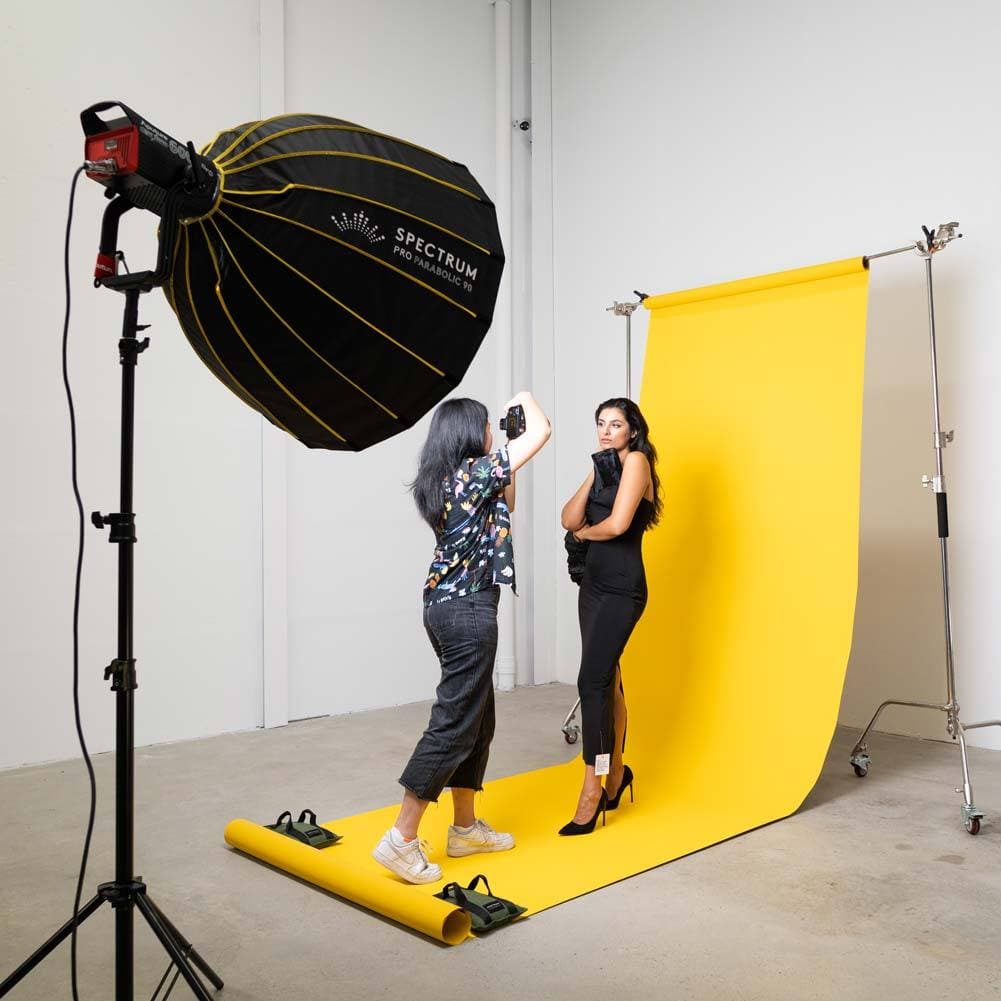
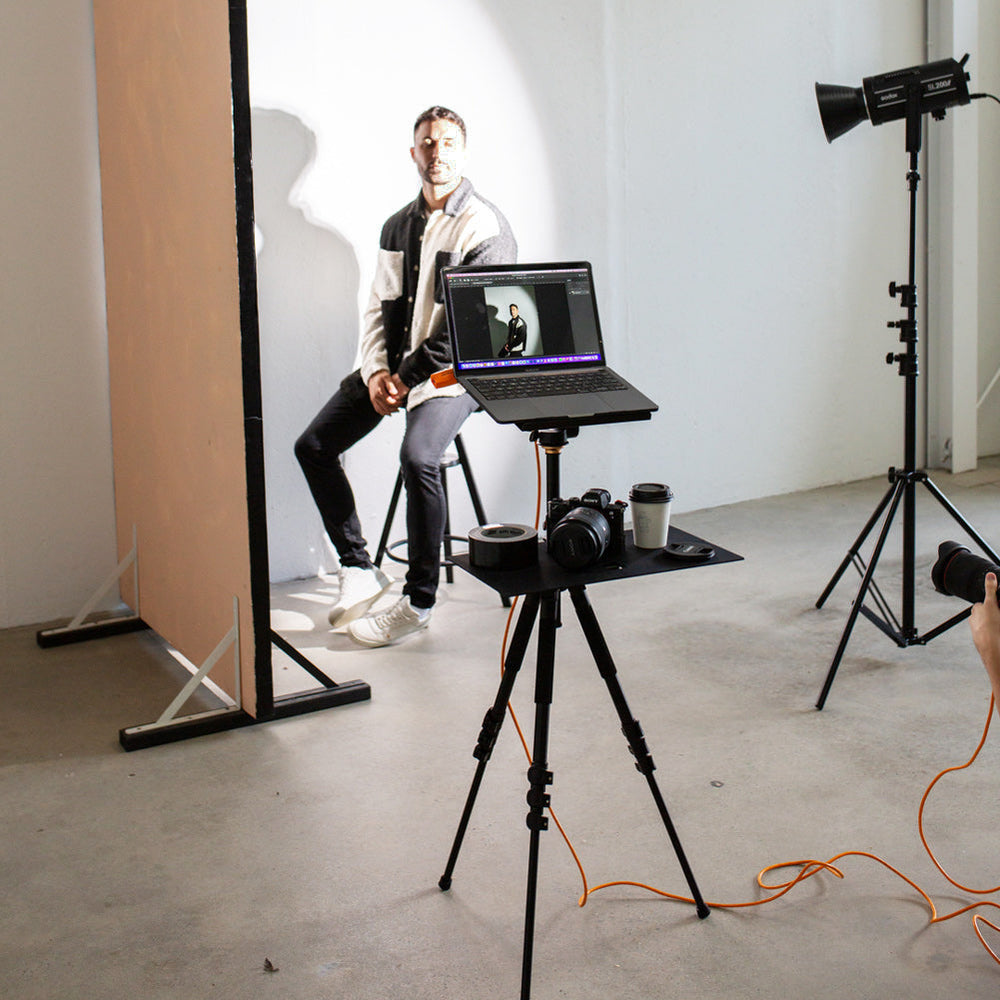
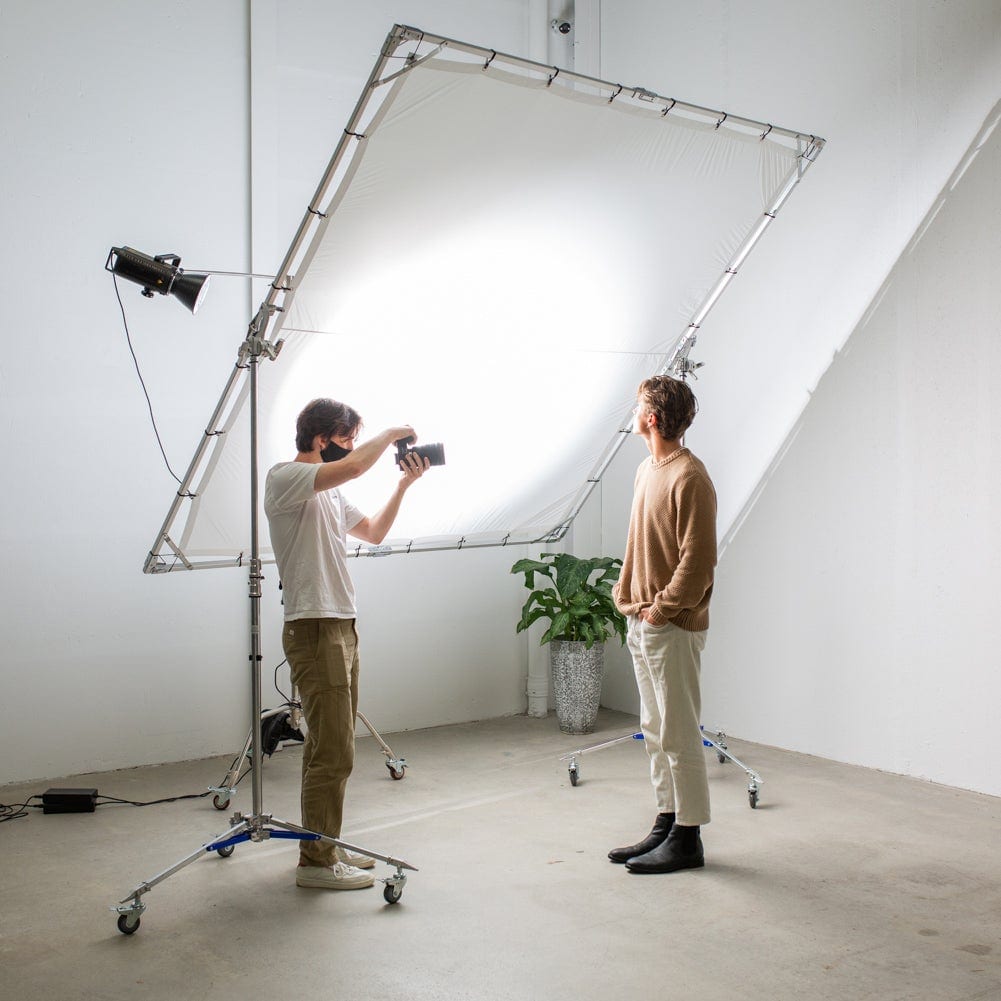
1. Softbox Lighting
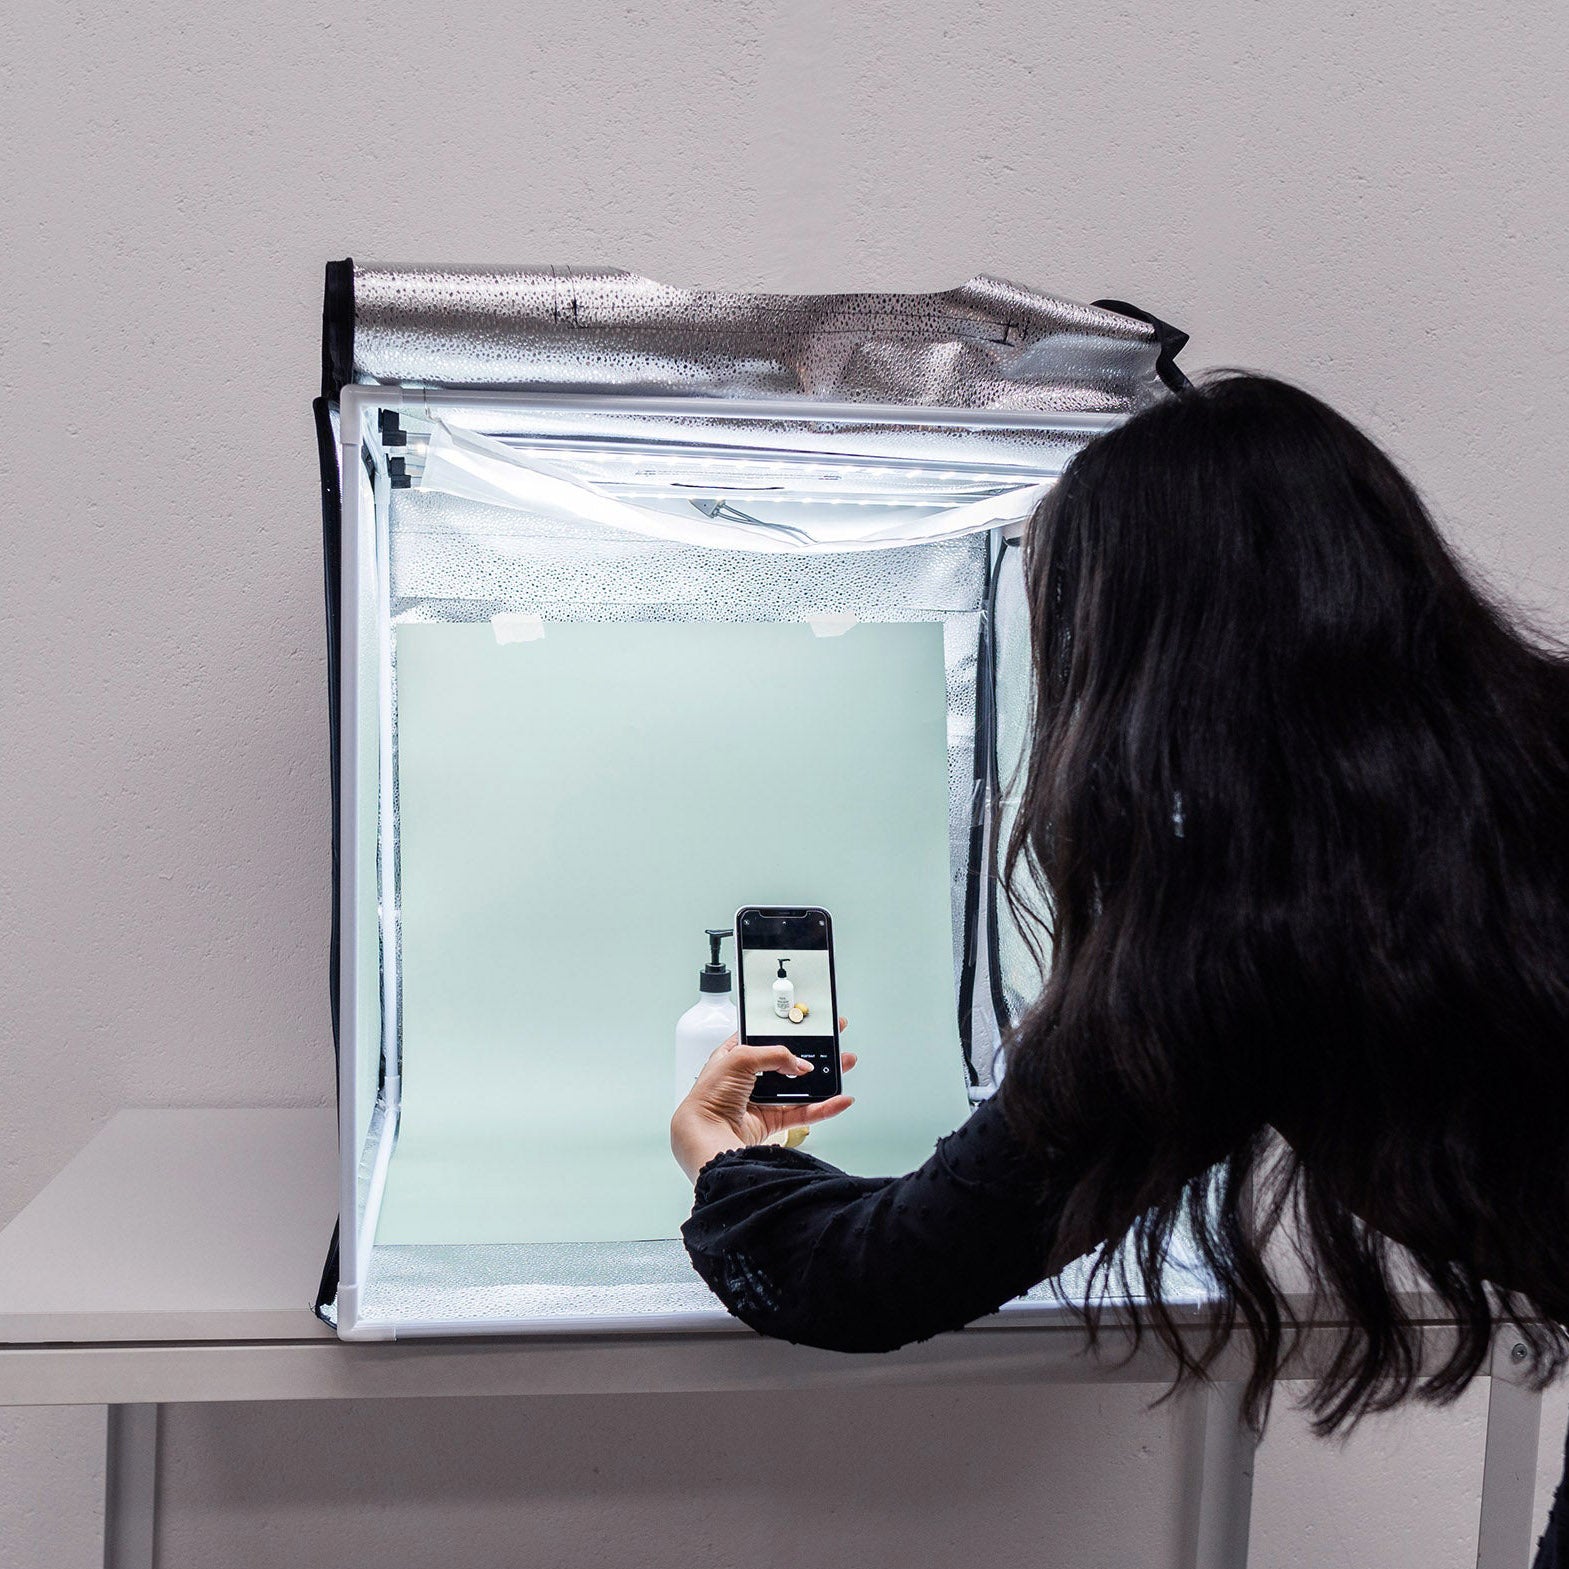
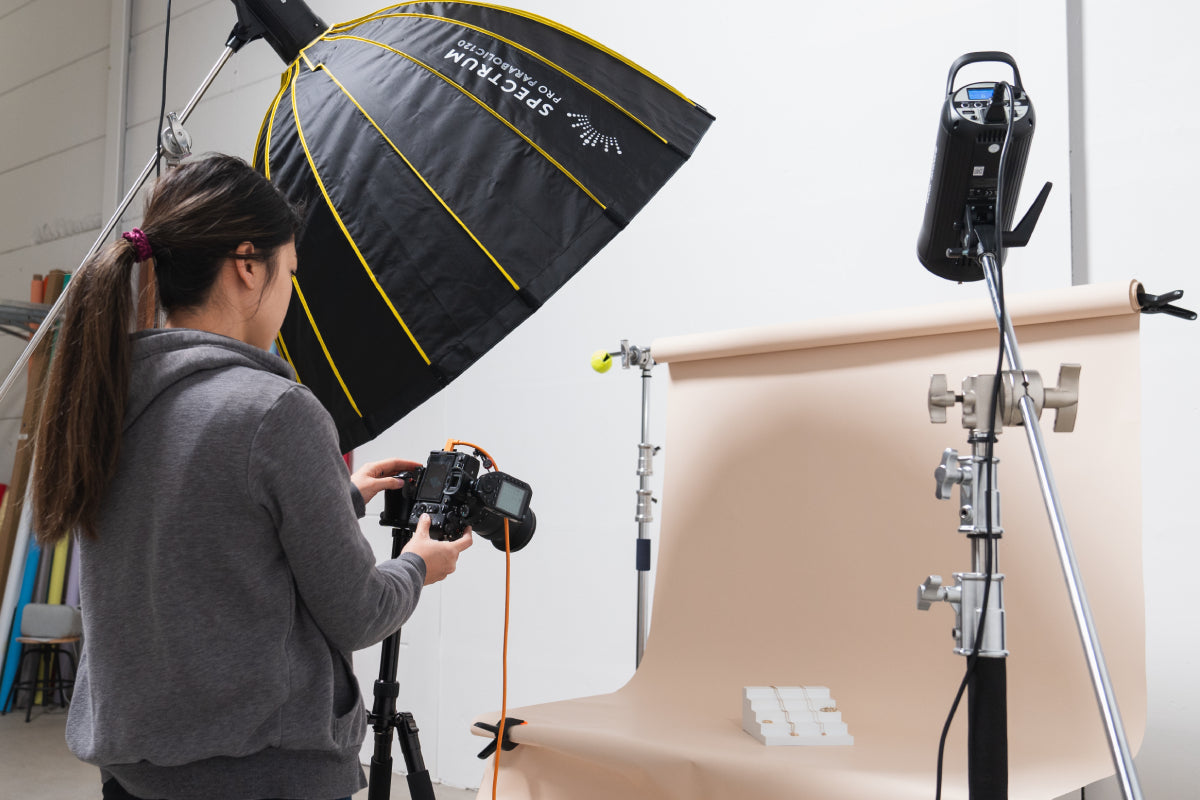
Softboxes are translucent boxes that come in different shapes and sizes, and they fit over a studio light.
A softbox is a great tool for YouTube lighting, because they diffuse and filter the harsh glare from the lightbulb inside them. This gives a soft, even, and mostly shadowless light on your subject.
Most softbox kits such as the Spectrum Illuminate Mate II Double Rectangle Softbox LED Lighting Kit (50cm x 70cm) come with two softboxes, so you can position one on each side of your subject for even lighting. These large softboxes are perfect for covering larger areas, and you can add ring lights to your lighting equipment setup for even more control.
If you want a softbox kit with dimmable lights, the Volkwell Dual LED Bi-Coloured Dimmable Softbox Set with Remote comes with three different lighting options: warm, white, and daylight lighting temperatures, so you can match your lighting to the mood you wish to convey in your video. This lighting kit also comes with a handy remote control, so you can adjust the lighting without moving from your spot.
Lighting Equipment List
- Softboxes (two is best to start with)
- Light stands – sturdy, adjustable stands that hold your lights and softboxes safely
- Continuous LED lights
How to Set Up Your Lighting Equipment
A good, basic starting point is to have your subject in the middle of the two lights, which should be placed at a slight angle, think of a shallow triangle, with your subject at the head, and the two lights each forming the other points. This ensures your subject is lit from the front and sides evenly.

Approx. Cost
A good basic kit with everything you need typically sits within an accessible entry-level studio budget.

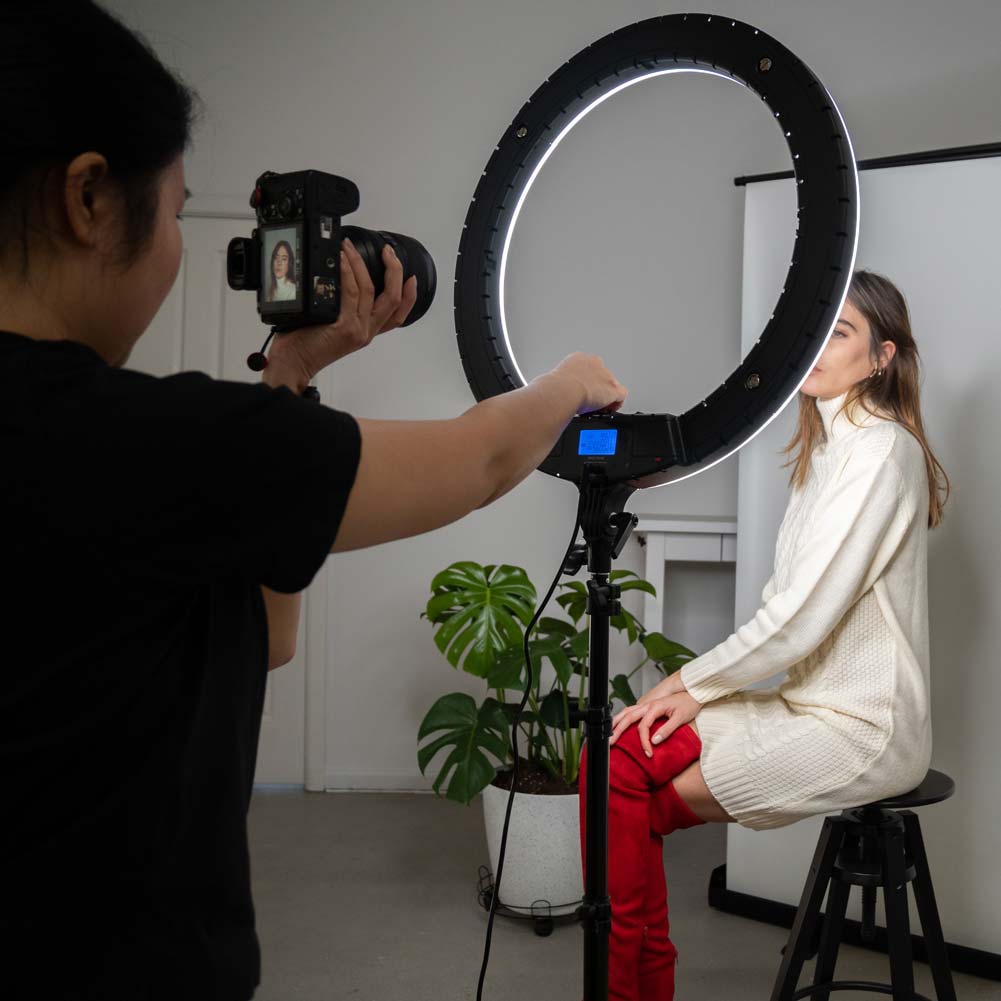
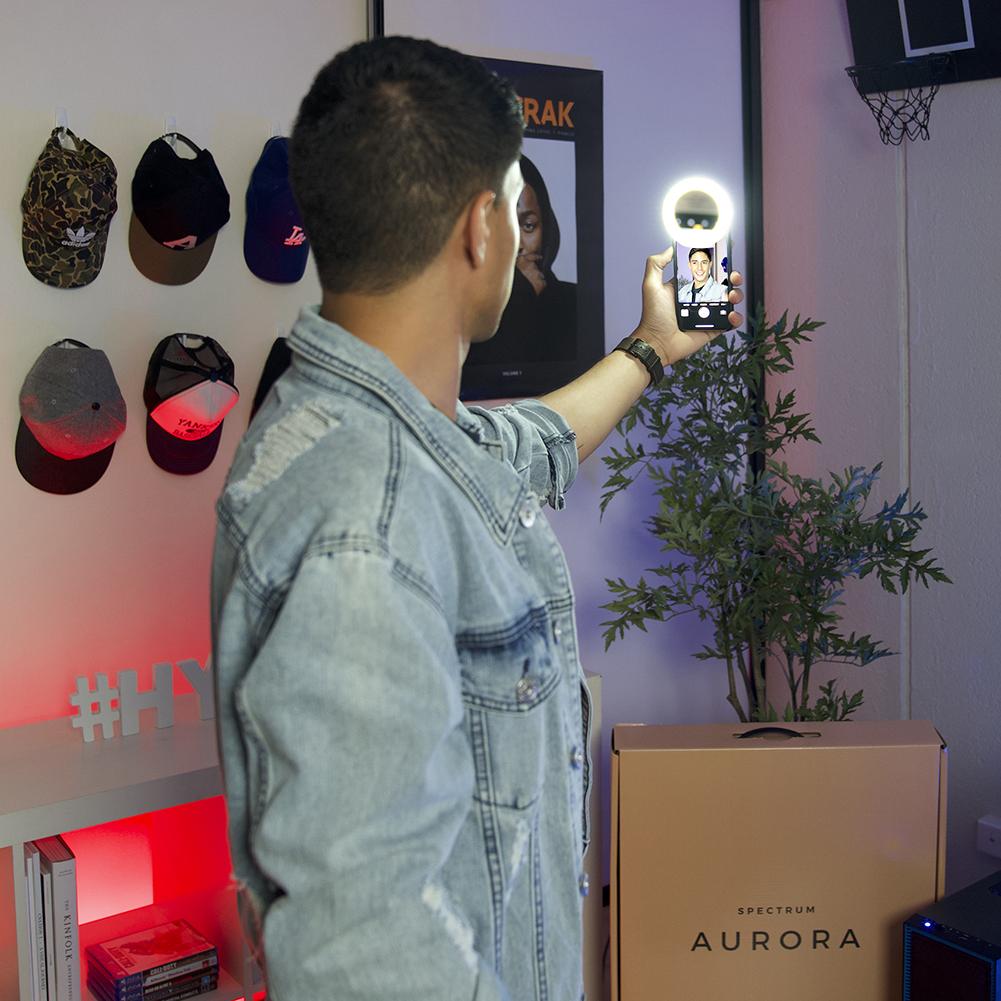
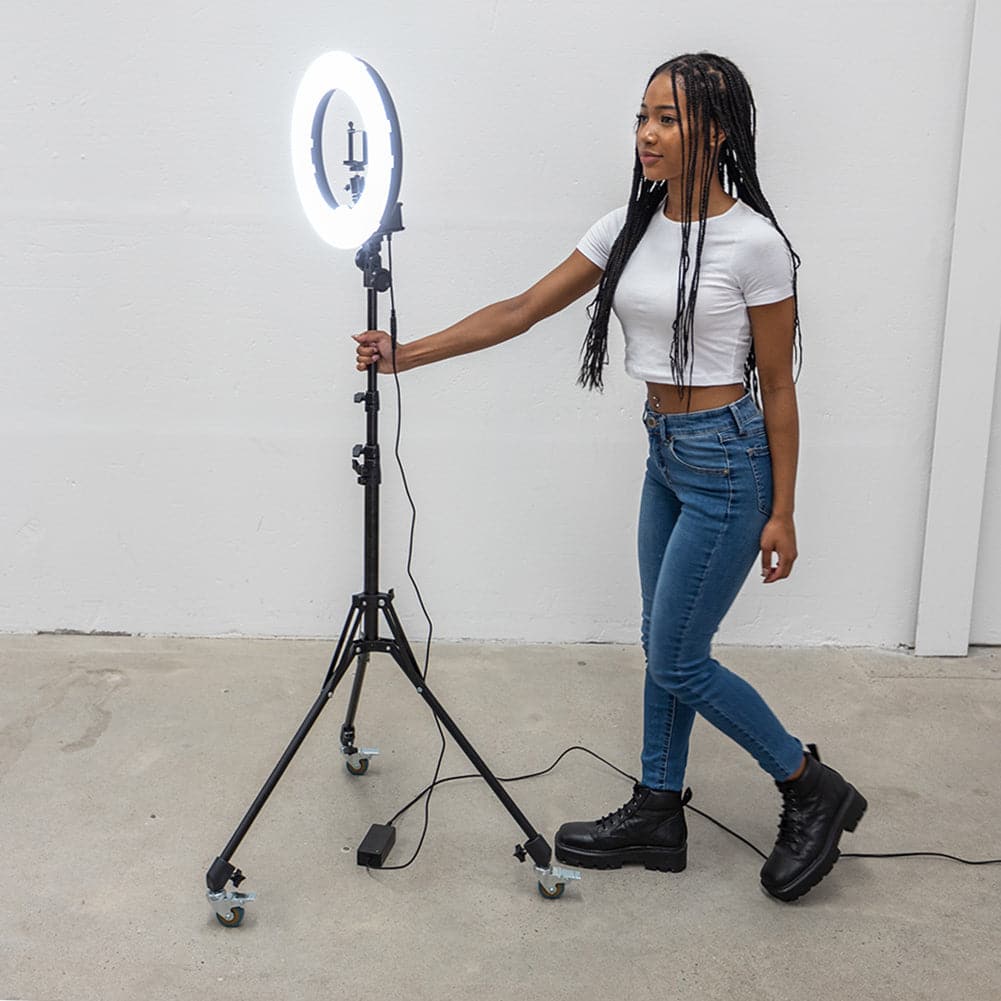
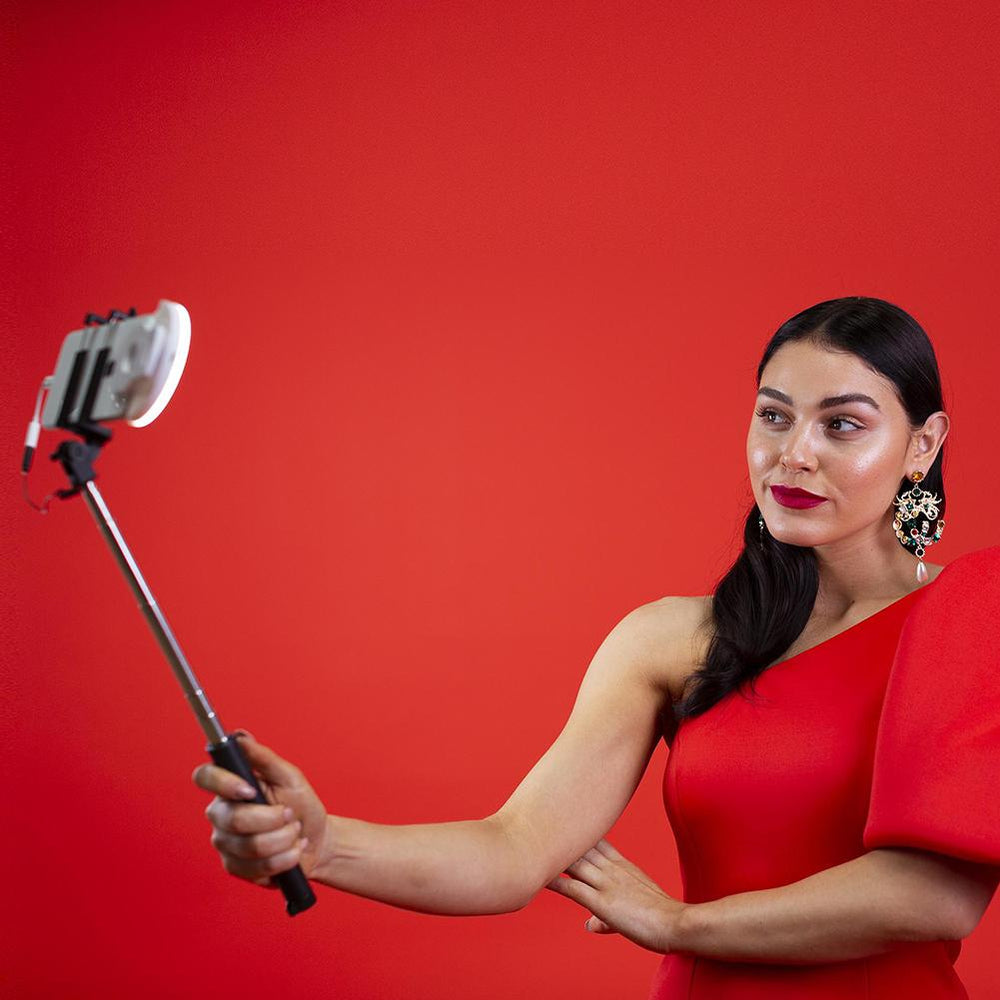
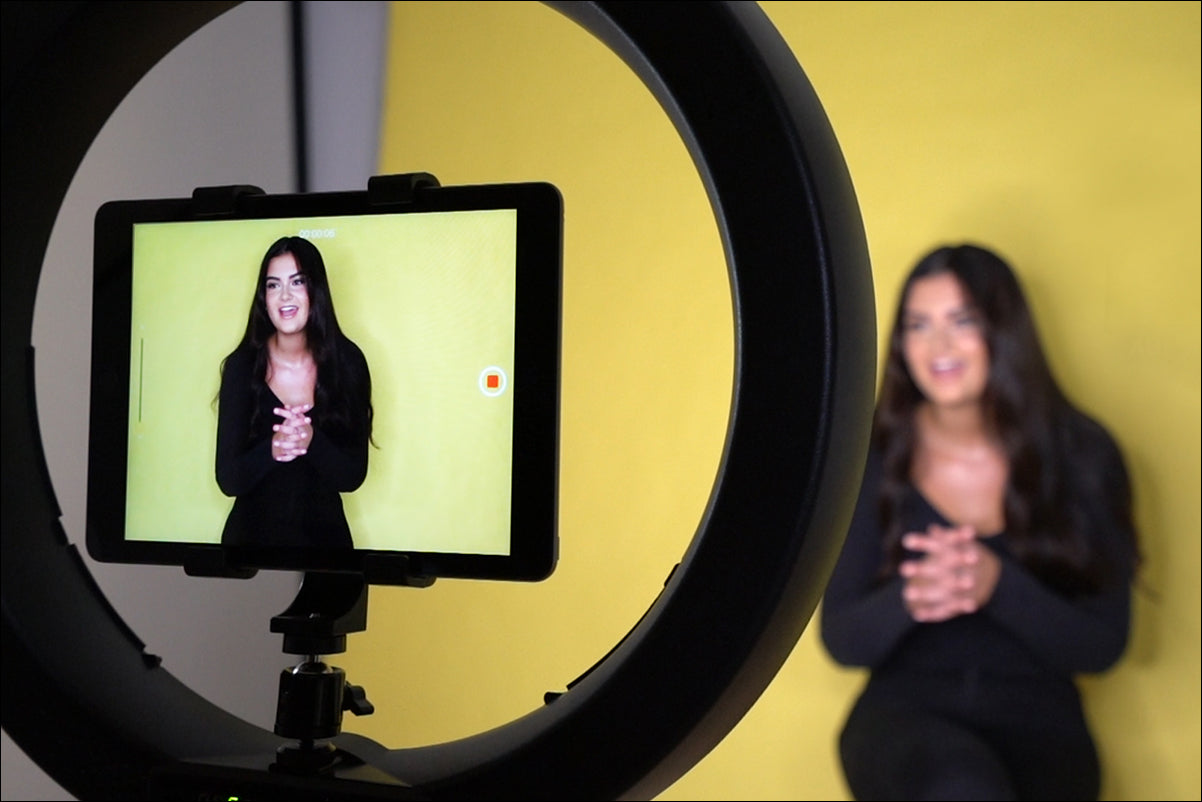
2. Ring Lighting
This style of YouTube lighting is the go-to setup for beauty and makeup vloggers. The ring light is a lightbulb or panel that is created in a ring shape, and it’s popular because it creates an even, flattering light all around your face. The shape of it also allows for you to point your camera directly through the centre of the ring to film.
Ring light kits such as the Complete Beauty Ring Light Studio Diamond Luxe 5.5 LED Crystal Duo Lighting Kit, the 18" LED Ring Light Diamond Luxe III, and the 22" LED Portable Ring Light Platinum Pro II contain all the lighting equipment you need to get started.
Lighting Equipment List
- A ring light (you can change the colour temperature with filters)
- A ring light stand, some with adjustable goose necks
- Softboxes or LED panels for extra lighting (optional)
How to Set Up Your Lighting Equipment
Place the ring light directly in front of your subject’s face, just above eye level. Don’t have the ring light too far away from your subject. For a ring light and softbox setup, have the ring light in front and add two softboxes or LED panels on each side for even, all-around lighting.
Approx. Cost
Ring light setups vary depending on size and features but remain a popular and affordable option for content creators.

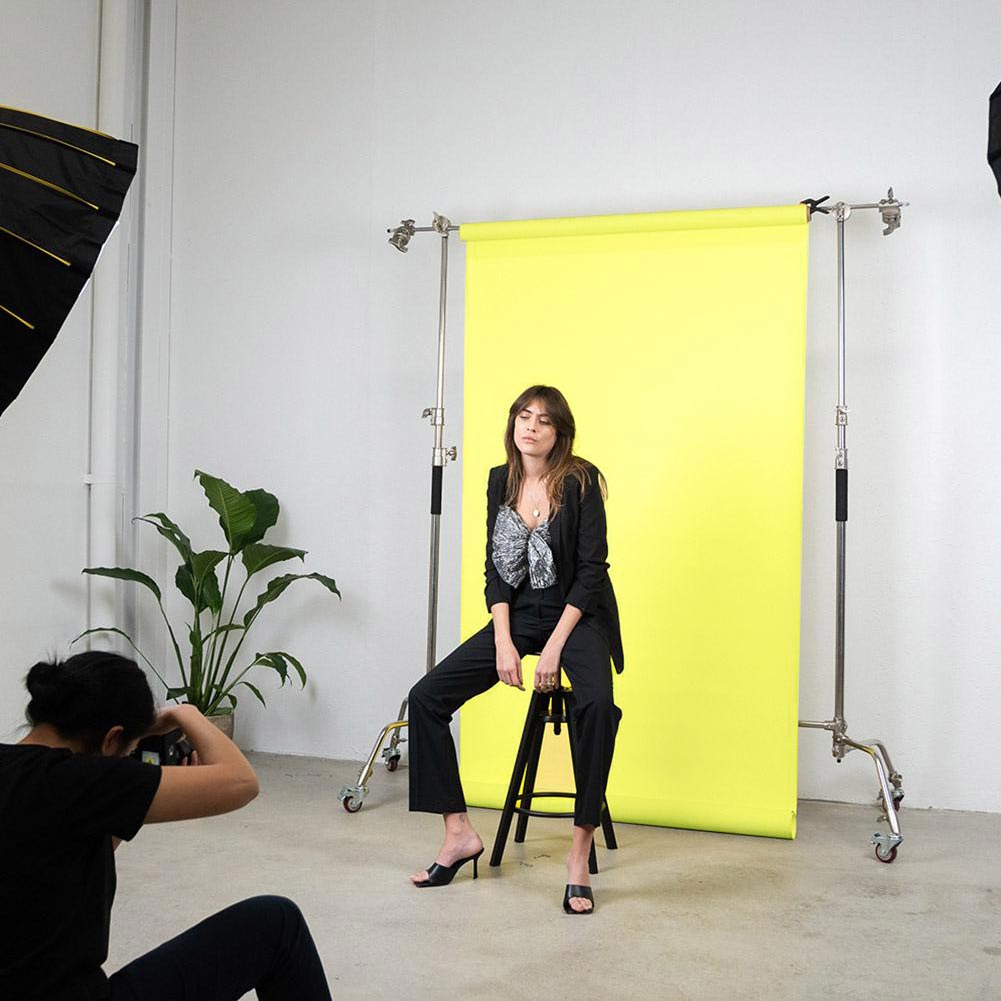
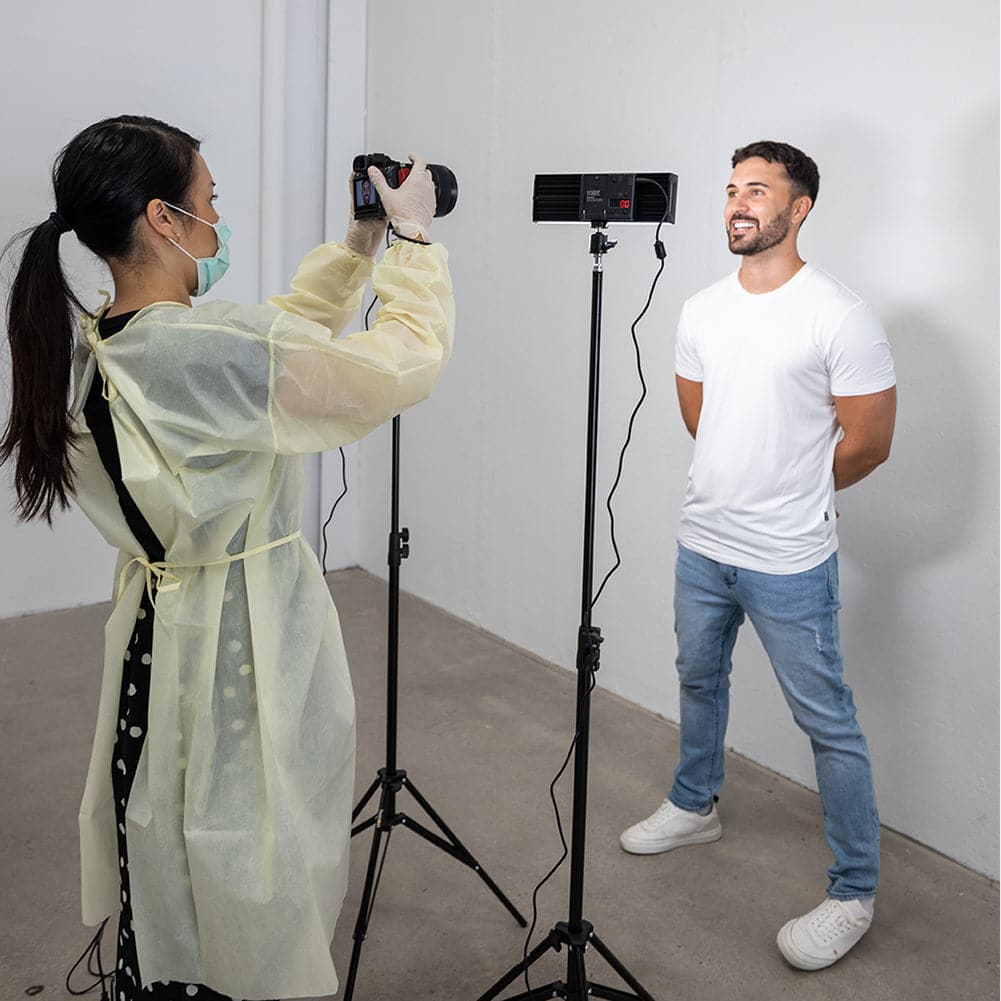
3. LED Lighting
LED panels are quickly becoming very popular for YouTube lighting setups because they are portable, stay cool, and offer adjustable brightness and colour temperature.
Popular LED options include:
- Crystal Air 5.5 LED Photography & Video Studio Desk Kit
- Dual Spectrum Lumidisc 200 Bi-Colour Round LED Light with Stand Bundle
- Spectrum Lumiwand 40 LED Beauty Light Panel Twin Kit Bundle
Lighting Equipment List
- Two LED light panels
- Modifiers such as softboxes (optional)
- Two light stands
How to Set Up Your Lighting Equipment
If you have a kit with two LED panels, the best way to light is to do the same setup as you would for a two-softbox kit: one panel on each side of your subject at a slight angle.

Approx. Cost
LED lighting kits range in price depending on size, brightness, and included accessories.

4. 3-Point Lighting (Ring Light and LED Lighting)
A professional YouTube lighting setup is often called 3-point lighting because it’s made up of three lights: the key light, the fill light, and the background light.
- Main (key) light: stronger light pointing at your subject
- Fill light: softens shadows left by the key light
- Background light: separates your subject from the background
The ring light would be your main light, and the LED panels or softboxes the fill and background light. The Complete Beauty Ring Light Studio Diamond Luxe 5.5 LED Crystal Duo Lighting Kit contains all the lights you need to create professional 3-point YouTube lighting.
How to Set Up Your Lighting Equipment
- Key light in front of your subject
- Fill light to the side to reduce shadows
- Background light behind the subject for separation

Approx. Cost
3-point lighting setups vary depending on the equipment used, but they offer one of the most professional results for regular creators.

5. Natural Lighting (With a Reflector)
Natural lighting is a simple and free way to get good video lighting.
Use a large window as your key light — ideally one that doesn’t get direct sunlight. This creates a beautiful light that wraps around your subject naturally.
A reflector helps bounce window light back onto your subject’s face:
Multi 110cm Collapsible Disc 7-in-1 Photography Studio Light Diffuser Reflector
Lighting Equipment List
- A window
- A reflector (optional stand makes positioning easier)
How to Set Up Your Lighting Equipment
Set up your camera close to the window and position the reflector to bounce light back onto the subject, filling shadows for a more balanced look.

Approx. Cost
Very low, making this a great option for beginners.

Conclusion
It’s not as hard as you think to create professional YouTube lighting for your high-quality videos. Here are a few extra tips:
- Get rid of shadows on your subject’s face
- Prepare your shoot and have all lighting set up before filming
- Watch out for glare on glasses! Move lights or subject to avoid reflections
Start simple with one ring light or softbox kit. Add LED panels and move toward a full 3-point lighting setup as your content grows. Even basic lighting upgrades can dramatically improve your video quality.

