What equipment do you need to create a professional studio lighting setup for filming YouTube videos? This article is going to give you tips and advice on choosing the correct lighting setup for you, as well as the accessories and other equipment you may need.
To create slick, professional videos that people will want to watch, you need to control two essentials – lighting and sound. We’re going to look at both, but let’s start with the lights.
1. Lighting (Ring Lights, Softboxes, LED Side Lights)
Ring Lighting

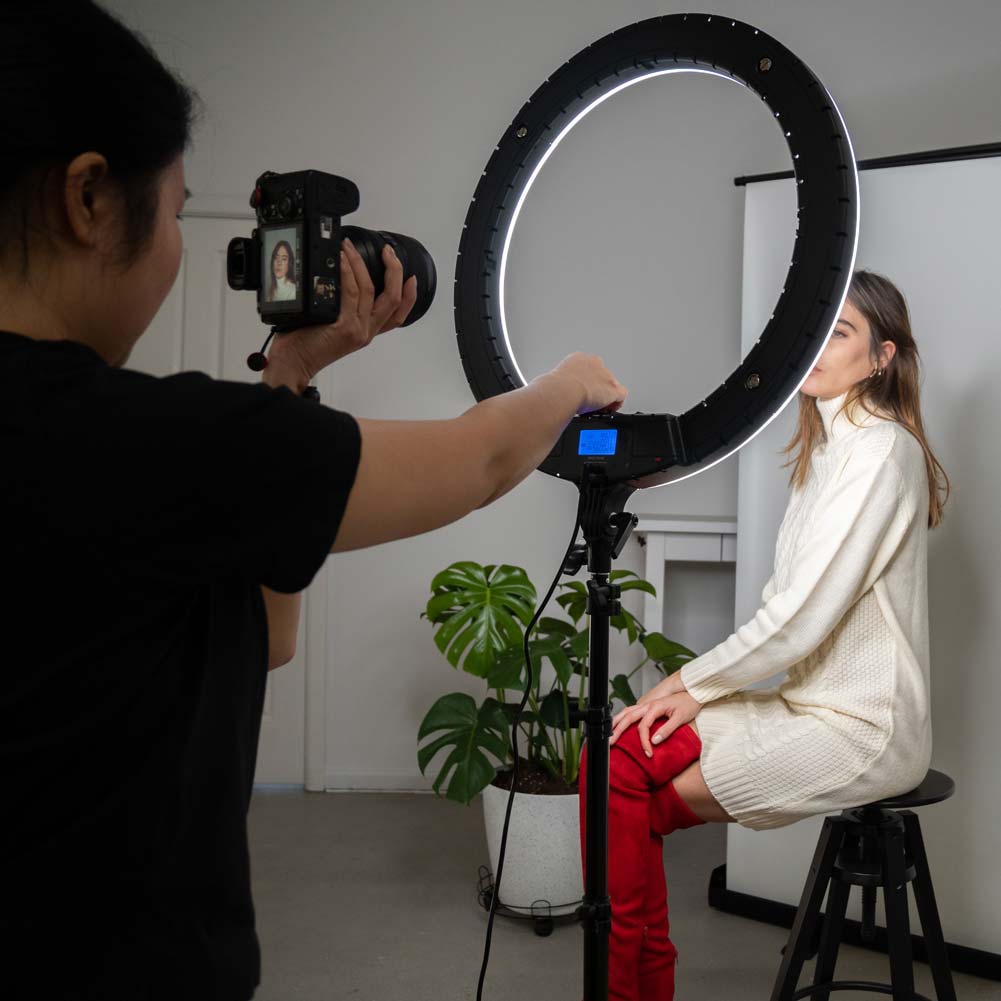
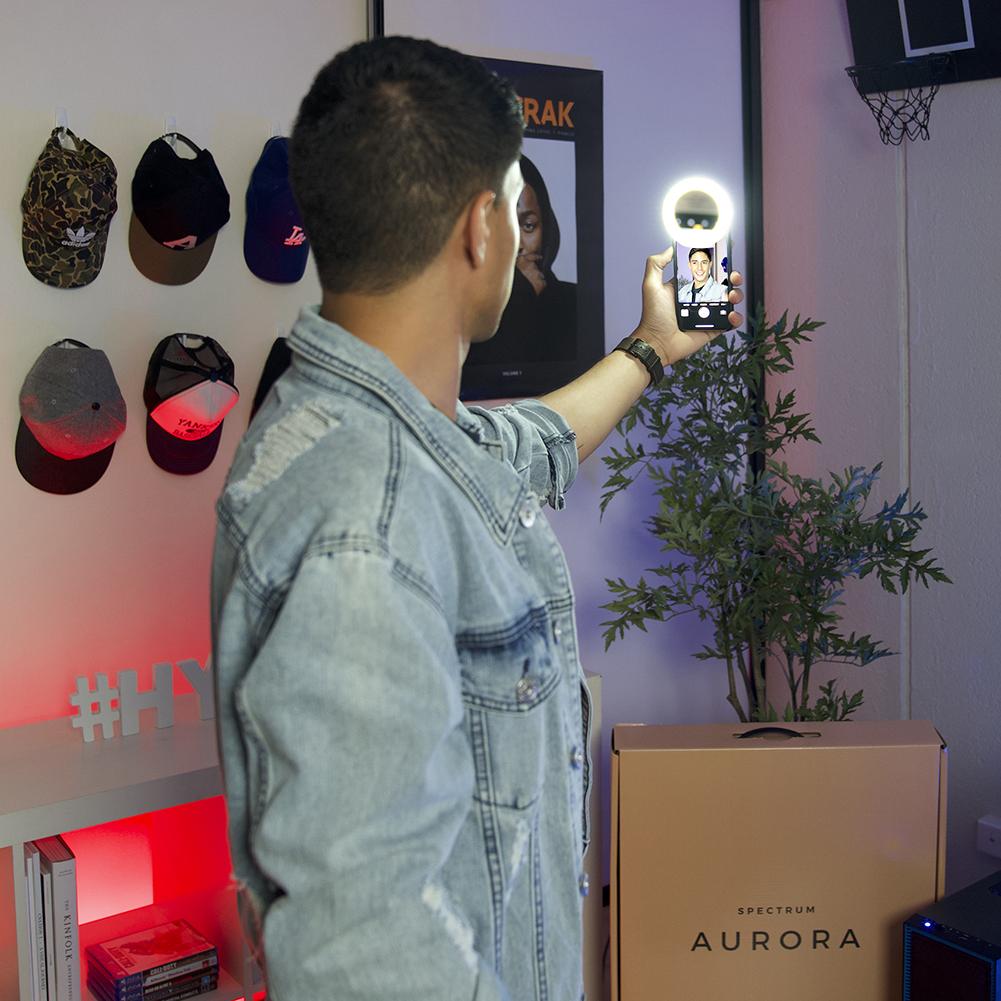
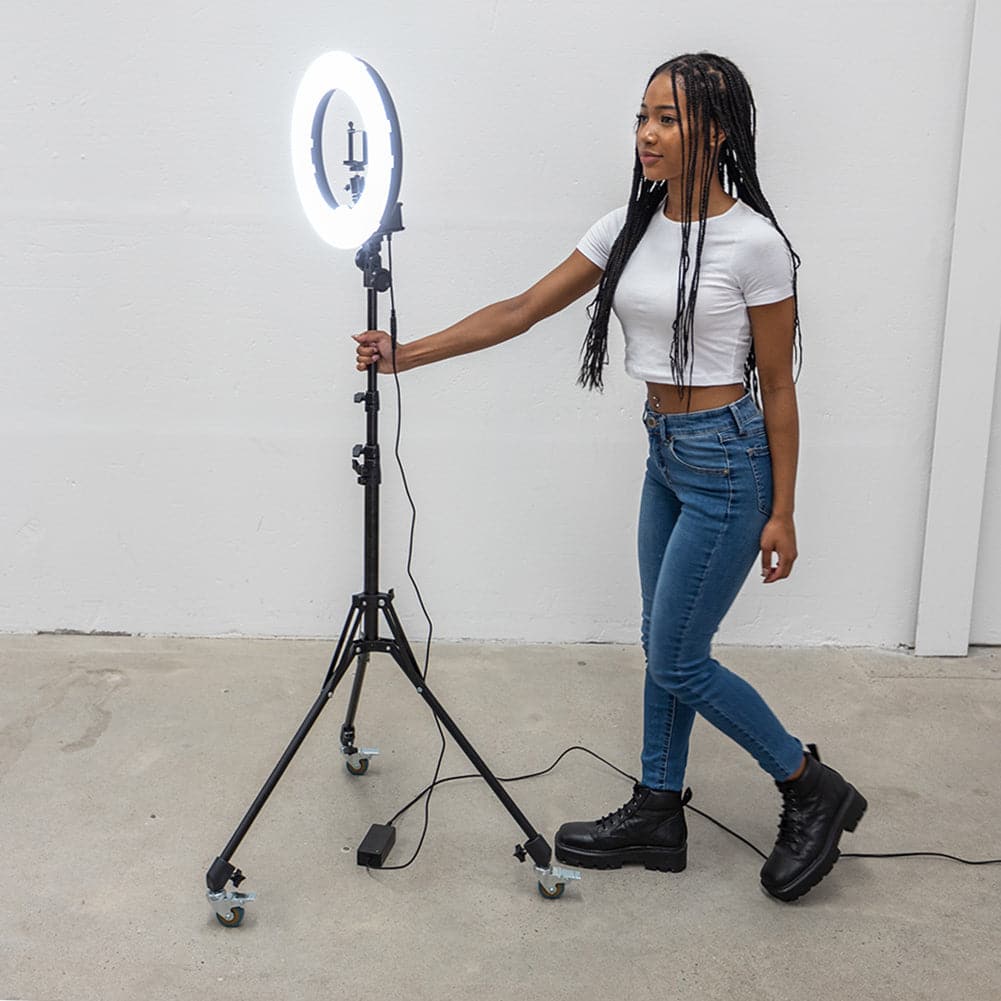
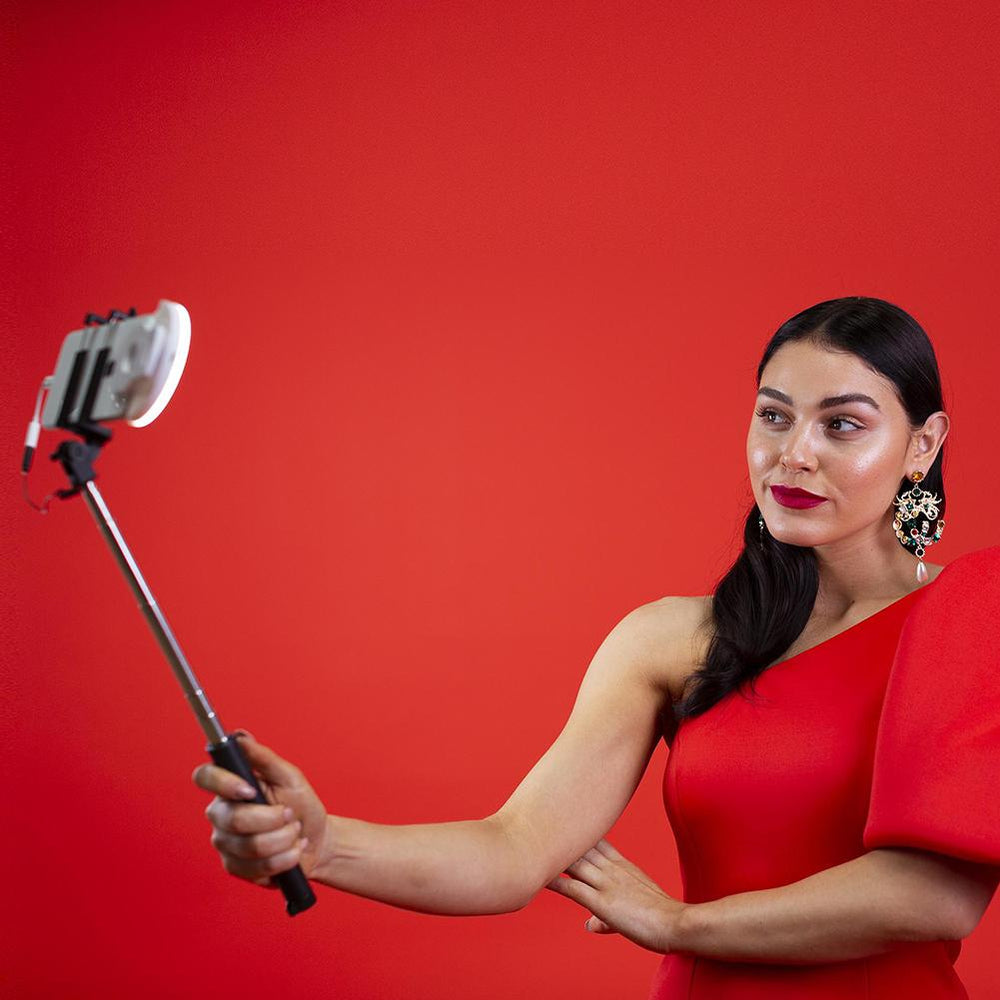
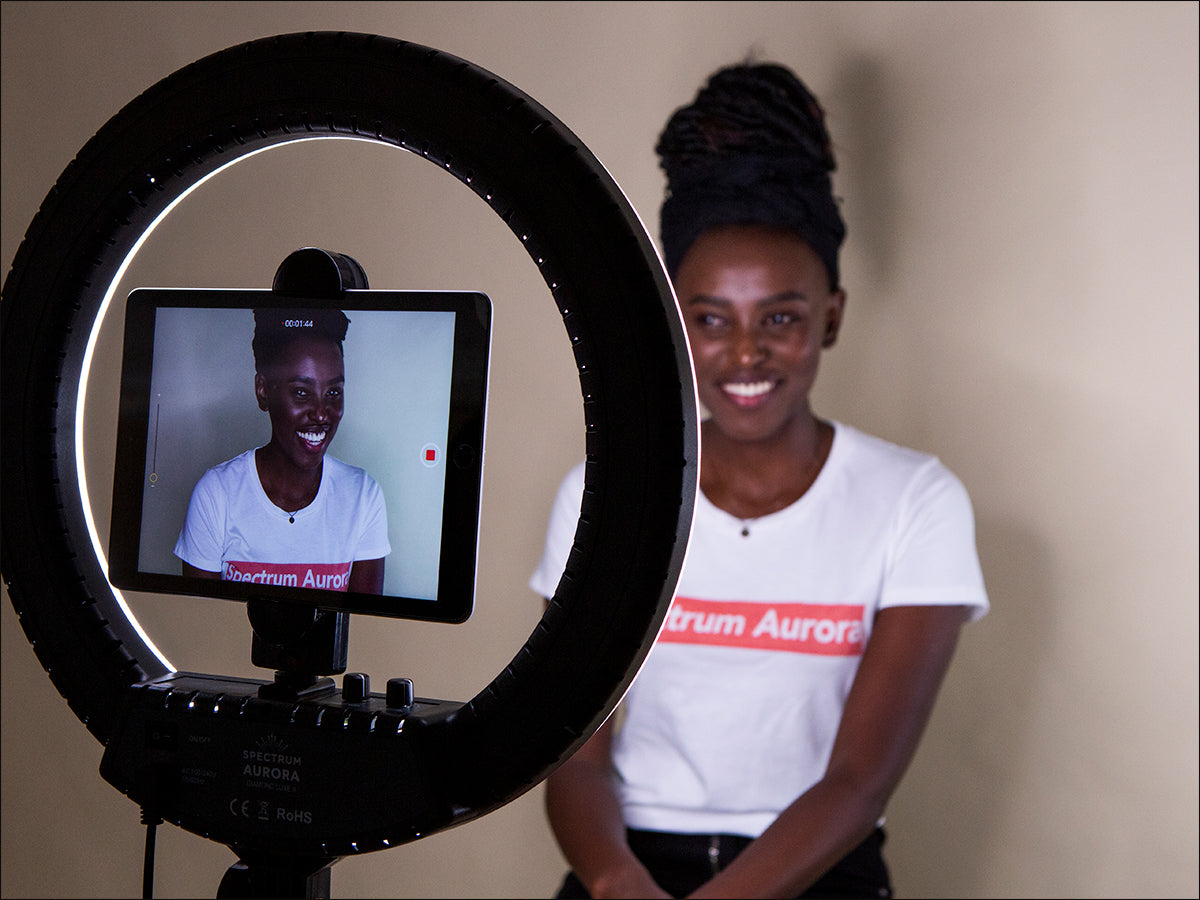
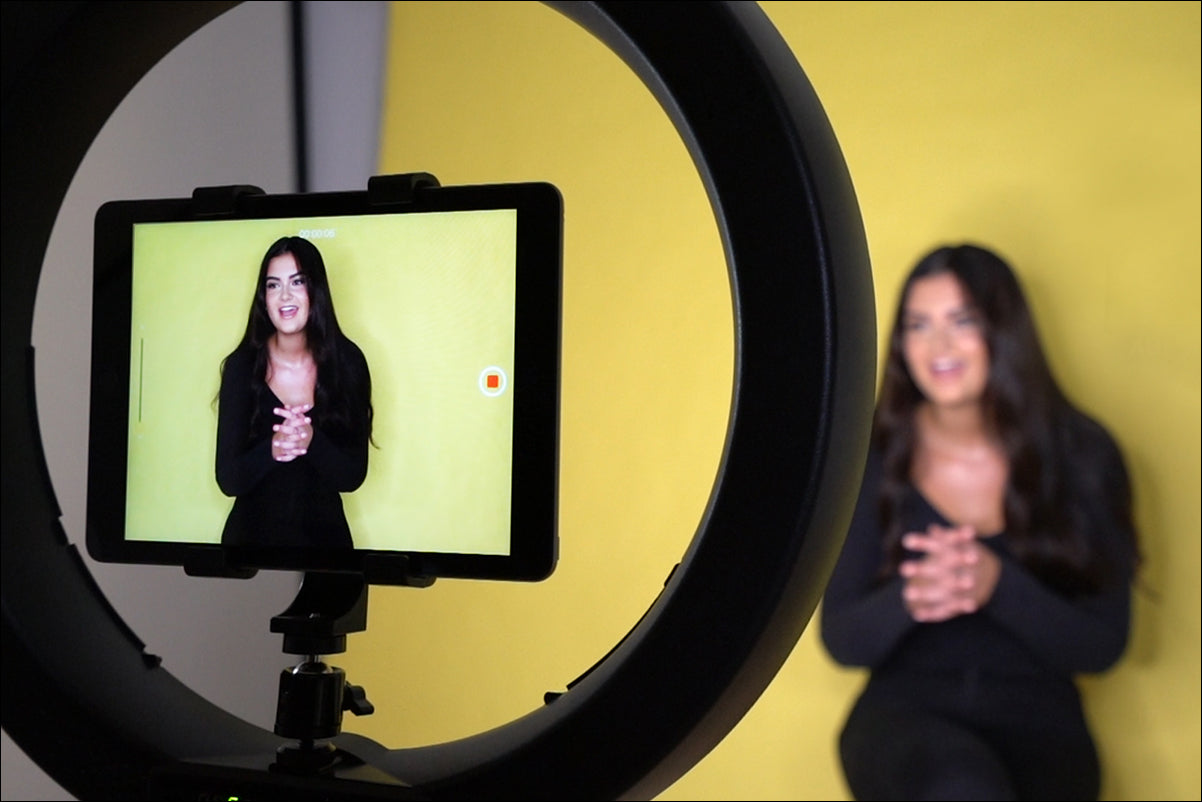
The first essential is your studio lighting setup. Ring lights like the Spectrum Aurora 13" Mini Pearl III LED Ring Light, Spectrum Aurora 18" Diamond Luxe III LED Ring Light and Spectrum Aurora 22" Platinum Pro II LED Ring Light are one of the most popular lighting choices for video, and they are regarded as essential for beauty and makeup vloggers.
Why?
The ring-shaped lights give a soft, even light all over the face, minimising shadows and helping colours to appear on screen as they truly are. Ring lights can be used alone, or in combination with softboxes (more on that below).
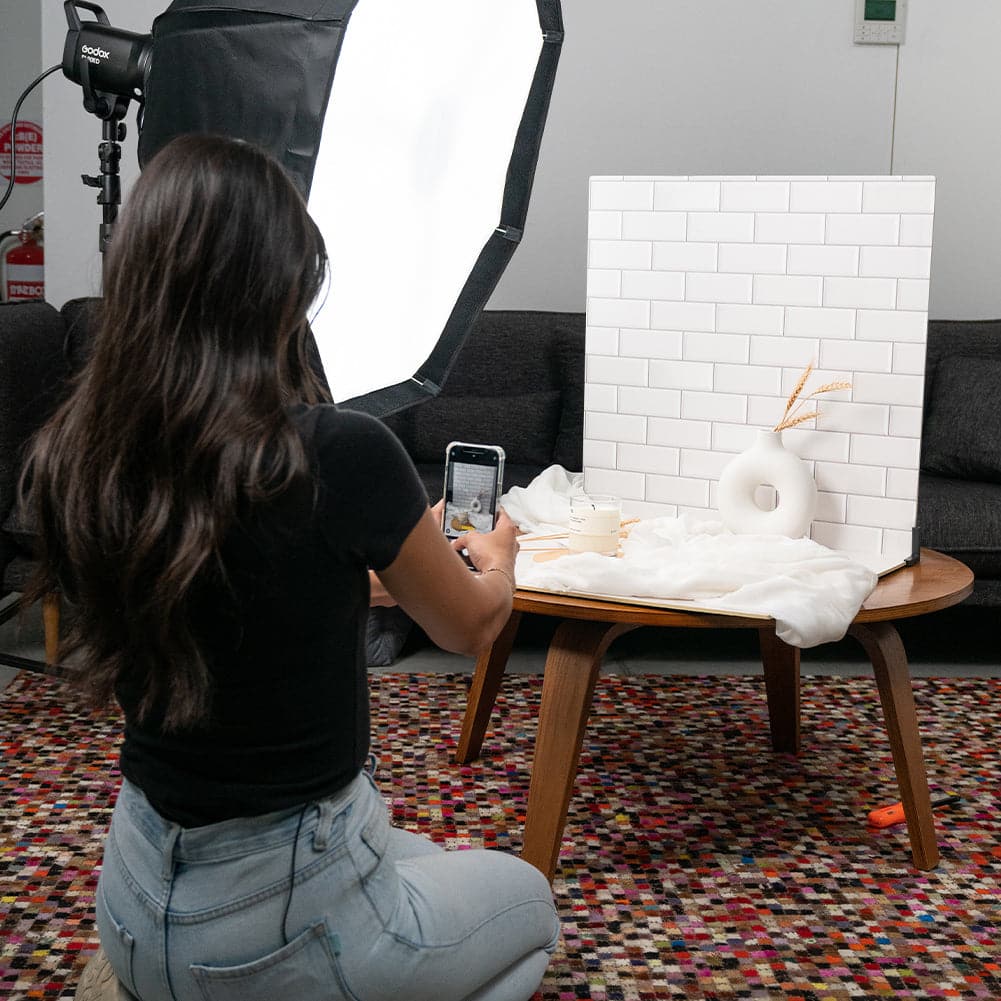
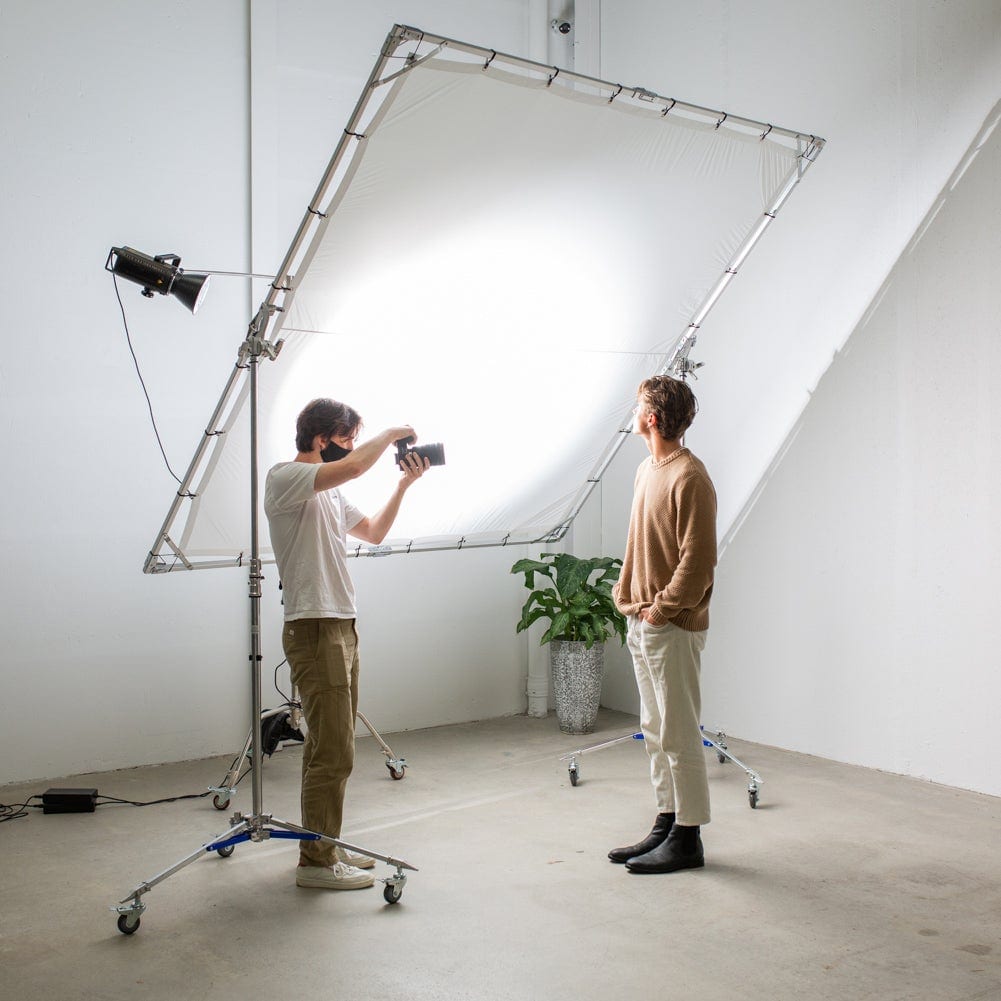
Softboxes

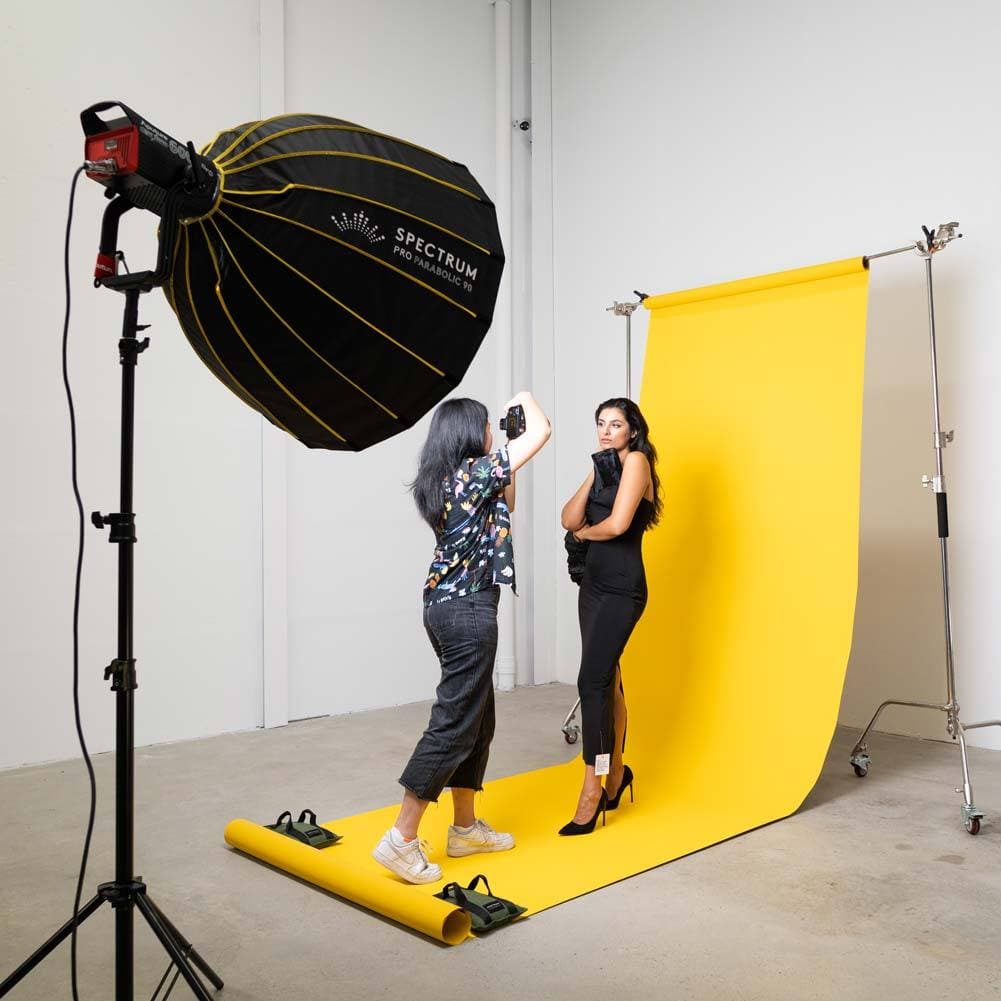
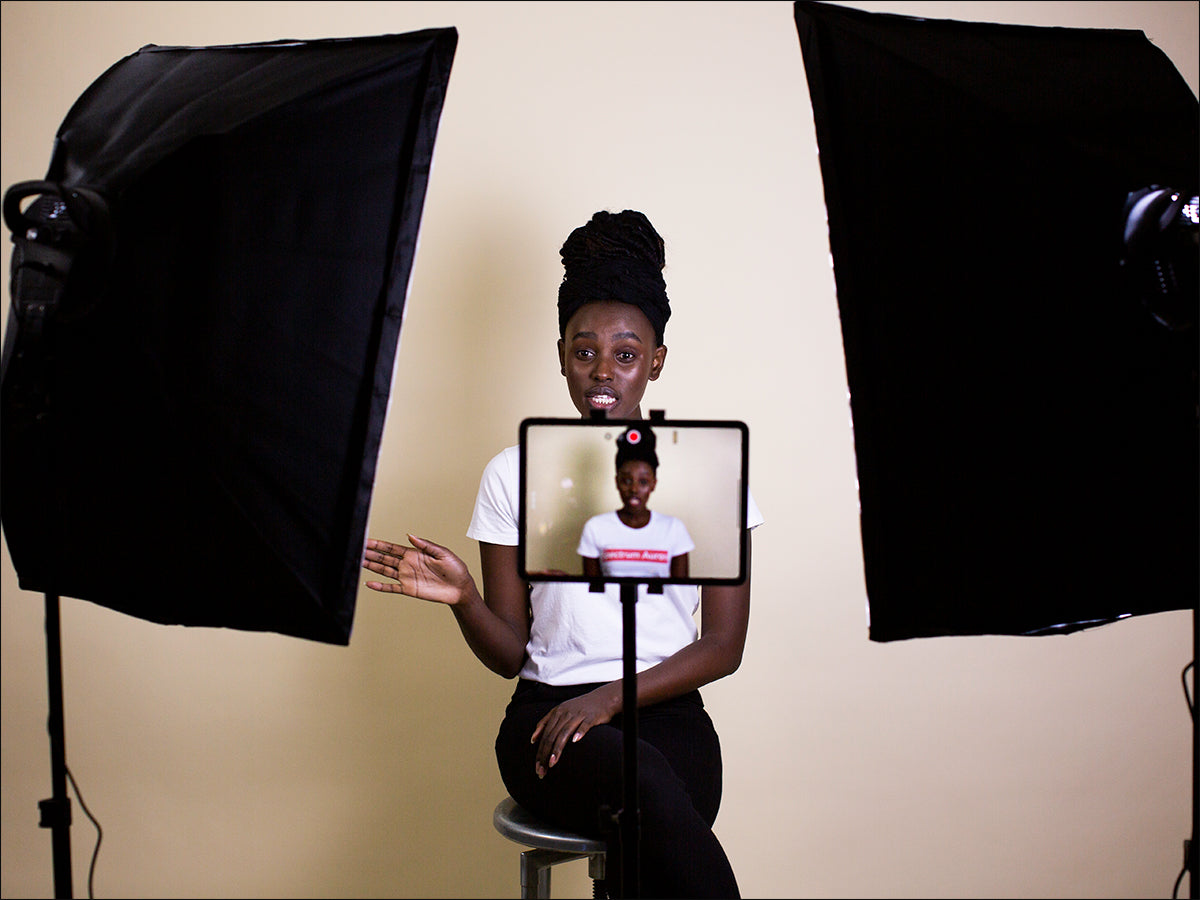
Another important part of your lighting setup are softboxes. These are lightweight modifiers that fit over a studio light like a box. They come in many different shapes and sizes, and are covered with a white, light diffusing material at the front. This diffusion helps to create soft light with minimal shadow.
Buying softboxes in a kit makes good sense, as they generally contain two lights and softboxes, along with adjustable light stands to hold your lights safely while you film.
You can use two softboxes to create an even light on your subject by placing them at a roughly 45 degree angle on each side of your subject. Make sure the lights are at around eye level to your subject, and adjust each one as needed until there are no shadows on the face.
For a full studio lighting setup, try a ring light and softbox combination like the Spectrum Aurora 18" Diamond Luxe III Complete Make Up and Beauty Studio Ring Light Softbox Lighting Kit.
This can take your lighting to a new creative level, as it means you can use the ring light as your main light, and the two softboxes can be used either side as fill light, or you can create three-point lighting with the ring light as your main, one softbox as the fill, and the other one as a background light.
LED Side Lights
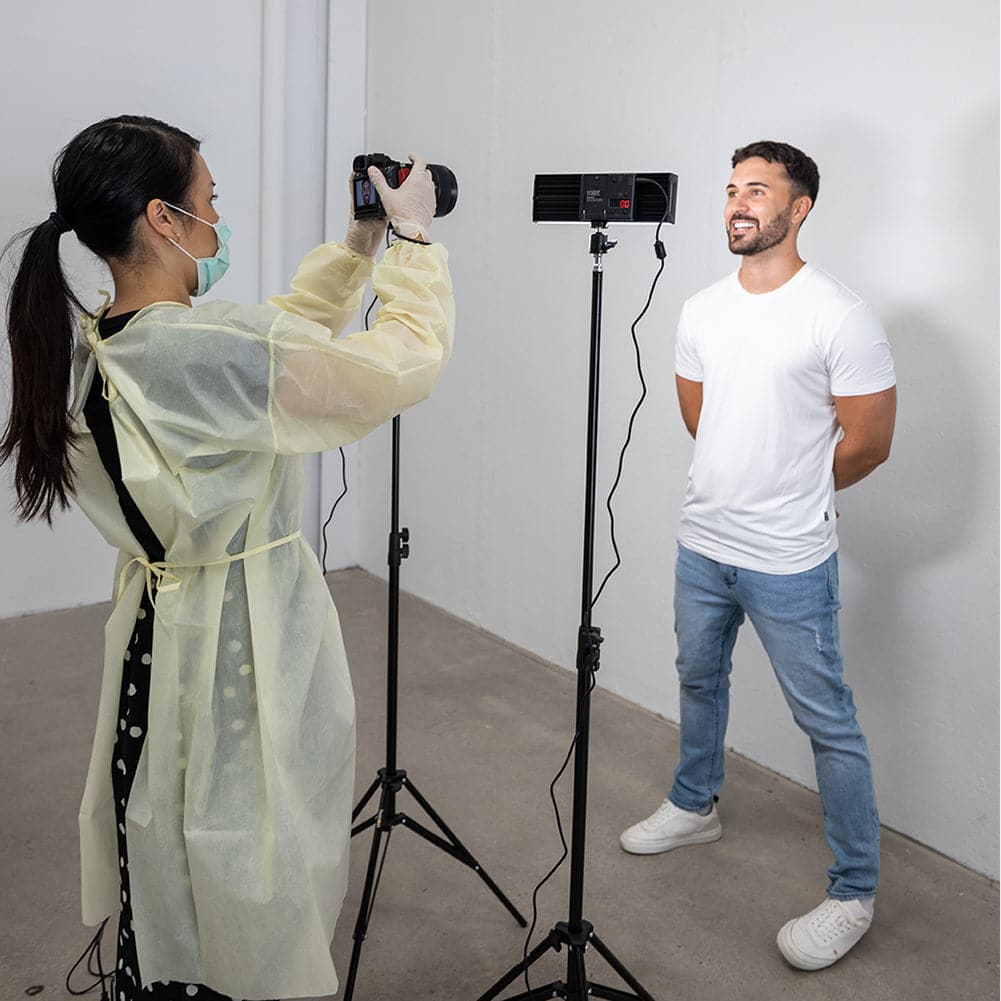
LED panels are small, easily transportable side lights for your lighting setup. LED panels are made up of many small bulbs on a panel, and are becoming more and more common in professional film setups. One big advantage LED has over tungsten is that it does not throw off heat while running, which is a big bonus on a hot day or in a warm studio!
Side lights provide you with fill lighting from the sides, with the main light at the front providing the most powerful light.
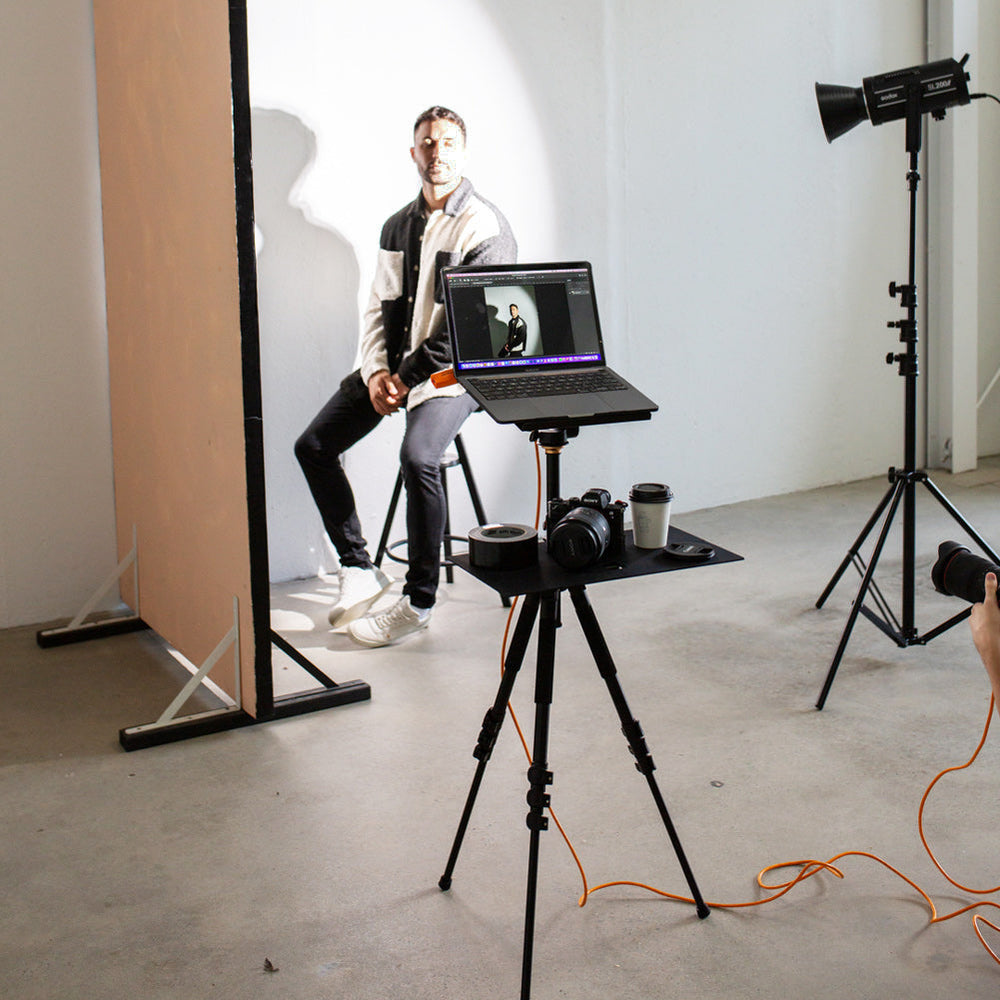
2. Recording Device
Of course, you wouldn’t be able to create a video without something to record it with. DSLR cameras have very high-quality video recording capabilities these days, but they are expensive.
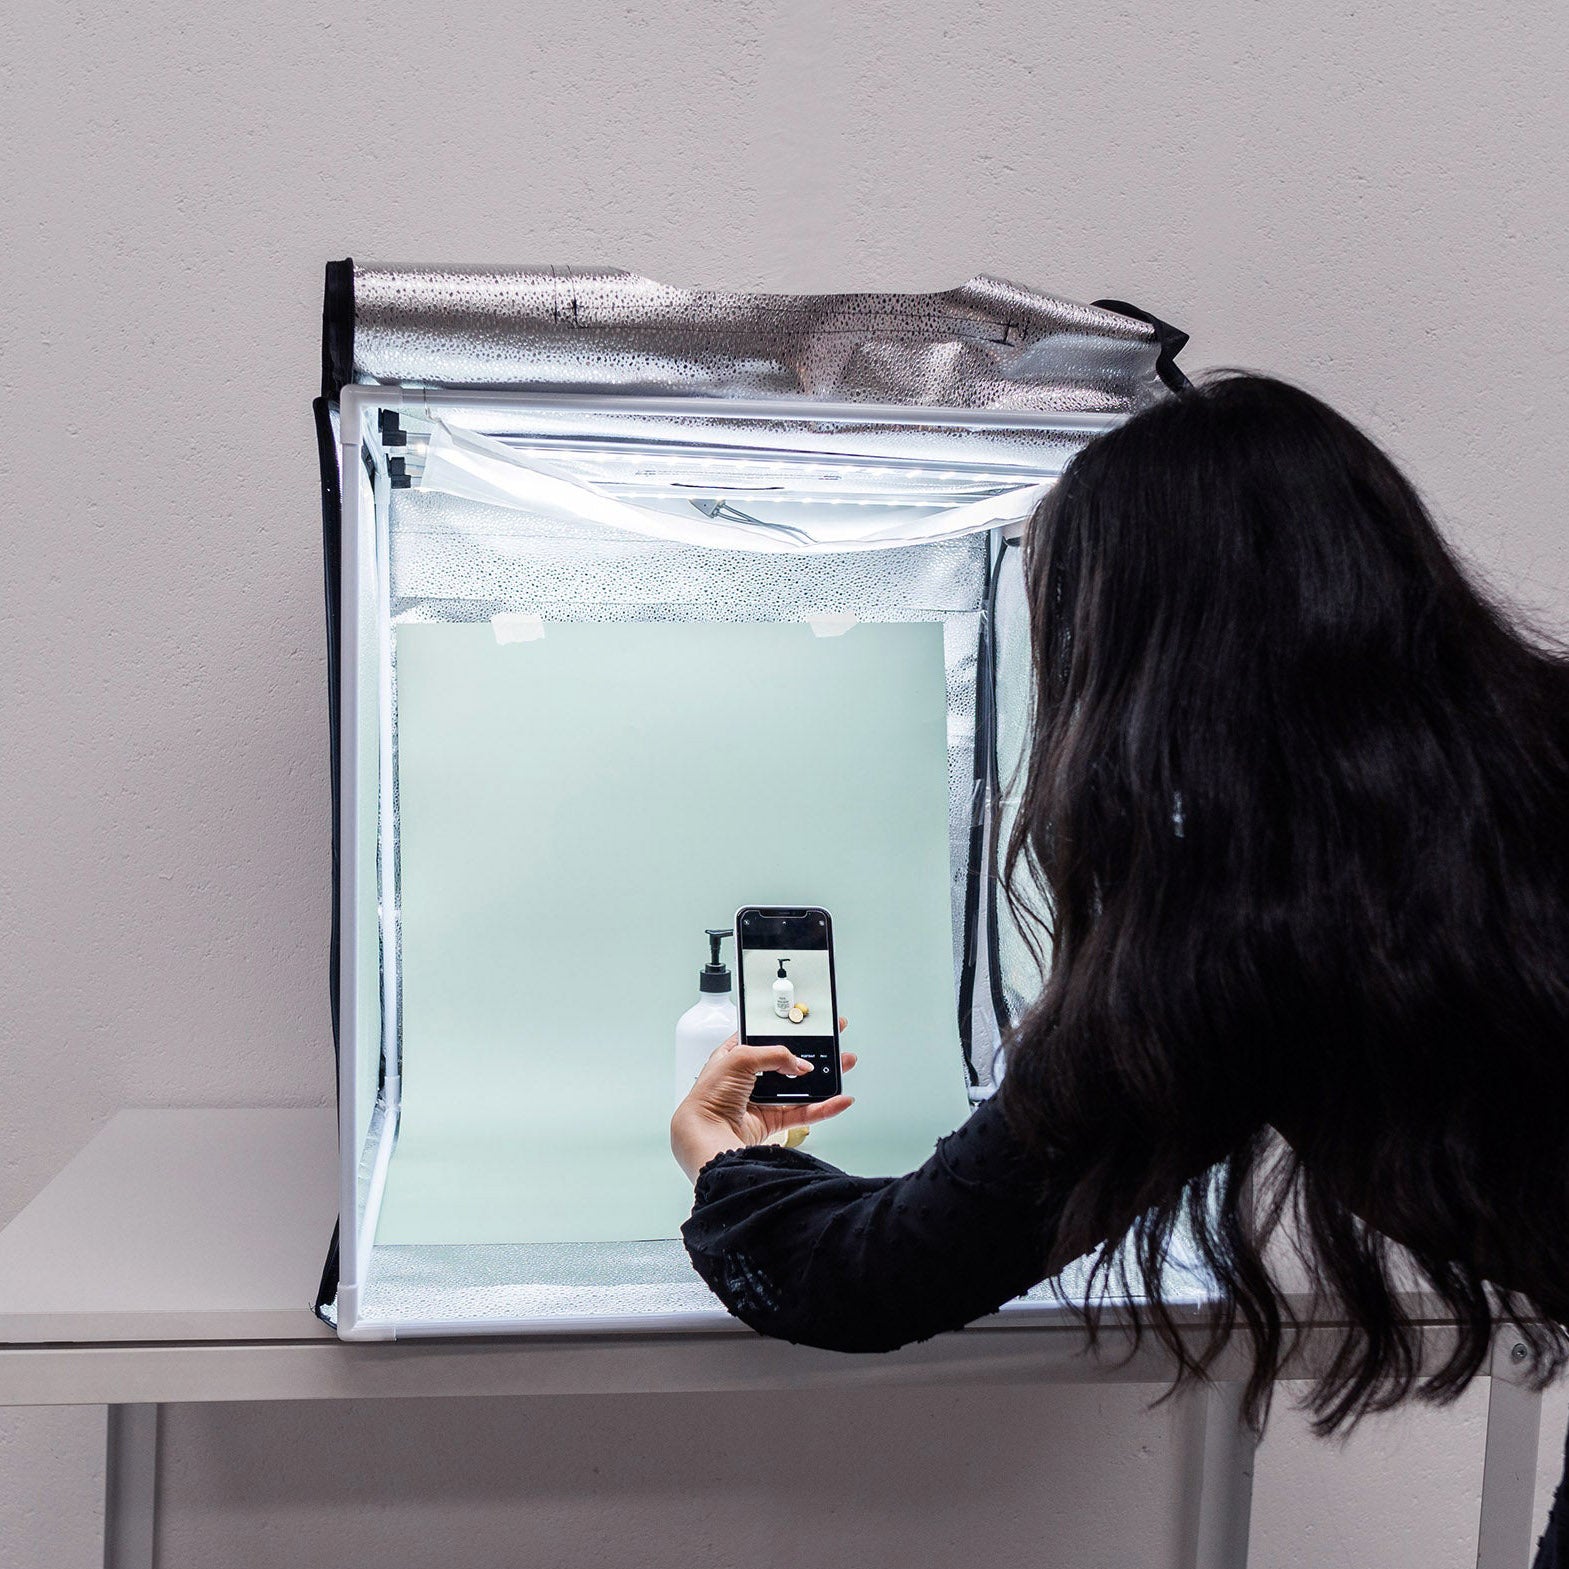
A smartphone can be used to record perfectly good video for YouTube if you’re just starting out.
3. Microphone

Don’t underestimate the importance of your microphone. After all, if you can’t hear anything clearly on a video, you’re not going to stick around and watch it, are you?
If you are using a smartphone or DSLR, the Boya By-MM1 Video Microphone for Smartphones and DSLR's is a good place to start. The Rode Wireless Go II Dual Channel Microphone System is a great choice to go wireless, and it works with Smartphones, iPad, Tablet, DSLR camera, Camcorder, Audio recorder, PC and other audio/video devices.
If you want to shoot more moving or outdoor shots, the Boya BY-WM4 PRO-K2 Dual Wireless Microphone System may be the one for you. This unobtrusive mic clips securely to your lapel, and is not reliant on directional sound.
4. Backdrops

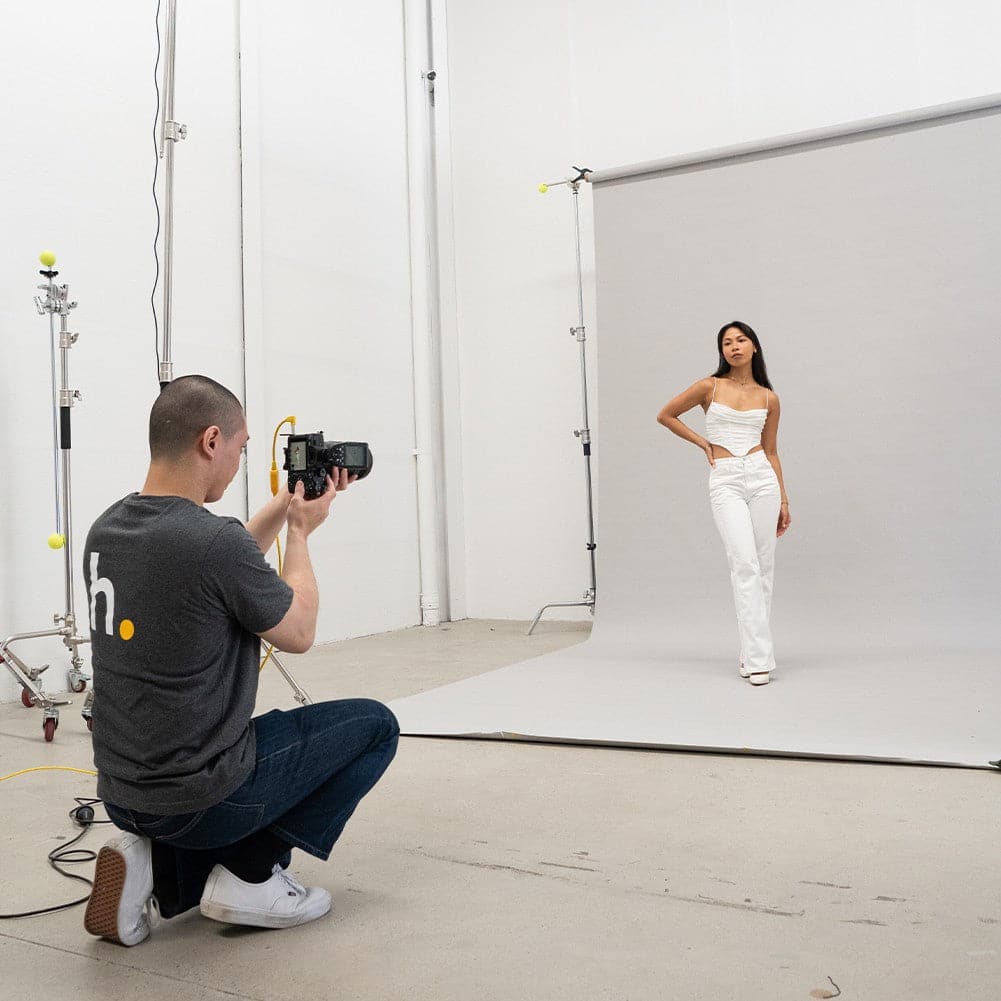
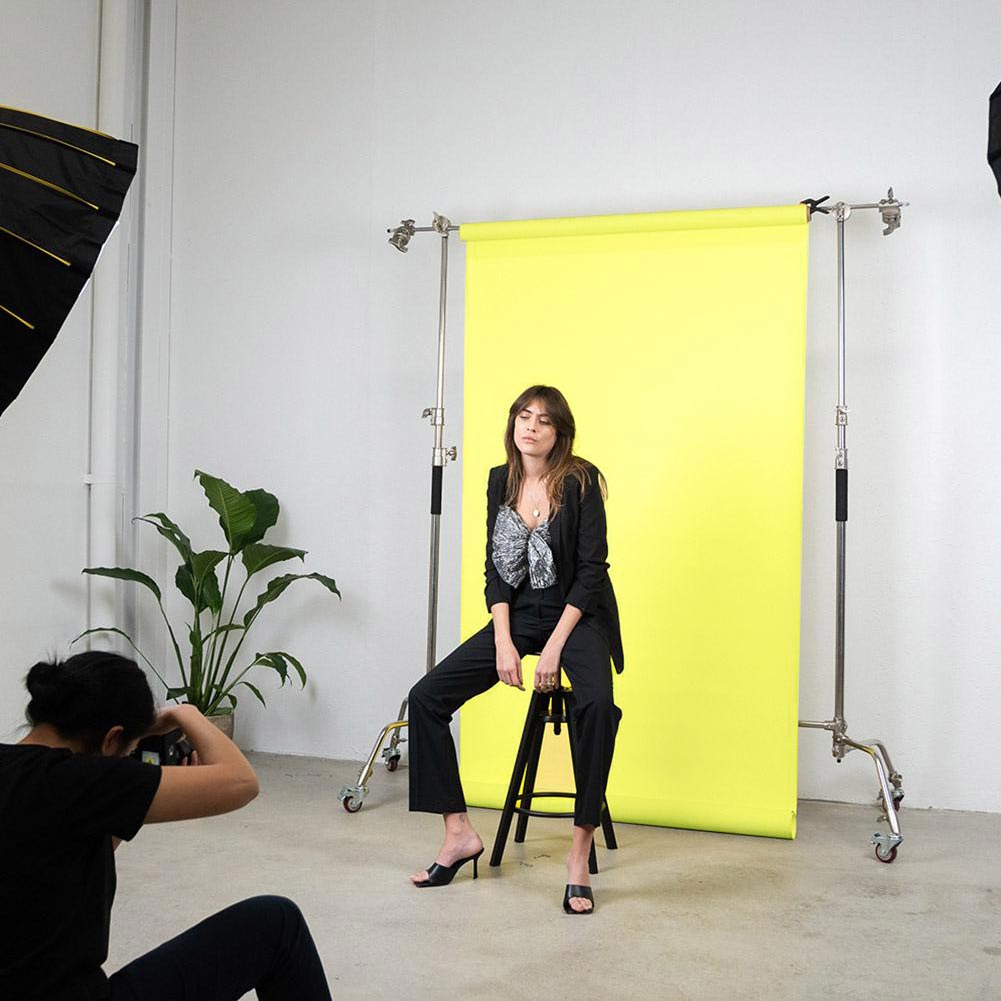
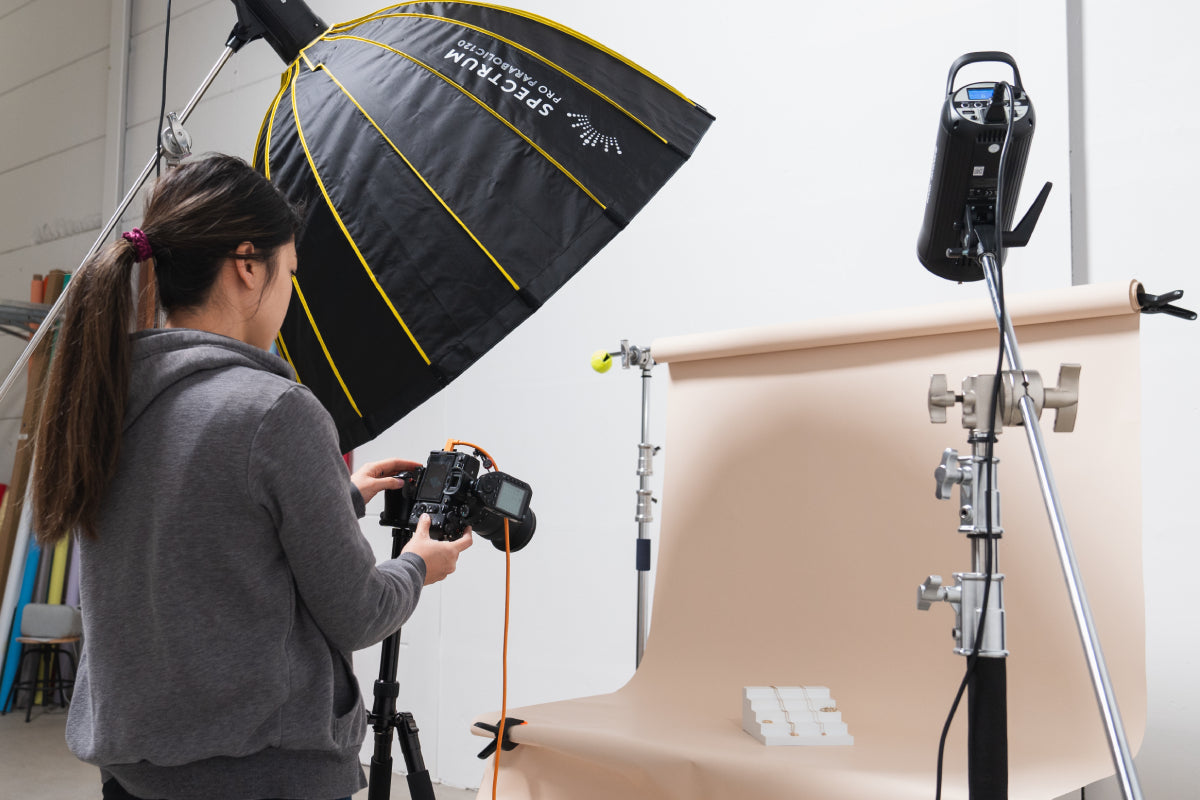
Backdrops like the Spectrum Full Paper Backdrops are a vital part of your studio setup, as they provide a smooth, uncluttered background to shoot your video against. They come in a huge variety of shades to suit the mood of the video you want to make. The Spectrum Half Paper Backdrops are smaller, which is great if you only have a small space to shoot in.

You’ll also need a stand to hold your paper rolls safely, like the Spectrum Backdrop Stand (3.1M x 3.0M) - Heavy Duty 8kg Load 4 Segment Crossbar, which, like the backdrops, can be used for shooting photos as well as video.
5. Editing Software

This is something all vloggers need to use, and it will enable you to put your video together seamlessly after you’ve finished shooting.
There are two types – free and premium editors, so you have to decide which is right for you.
Free Editors
These do the basics, like cut, paste clips and add basic texts. The two most popular are:
- Windows Movie Maker
- IMovie (comes ready installed in your Mac OS)
- InShot (Mobile App, Free version)
Premium Editors
The learning curve on these editors can be steep, but they are worth learning because they will give your video a much more professional polish than free editors. Top vloggers hire video editors, but if that’s out of your reach at the moment, here’s the DIY options:
- Adobe Premiere Pro - Very popular with YouTubers, and it has everything you need to edit. Downside is the monthly subscription payment if you don’t use it very often.
- Final Cut Pro – This is the alternative editor for Mac users, and is also professional standard. This is only available for a one off payment.
6. Tripod

If you want to hold your camera steady (or if you want to appear in your own video), you’ll need a sturdy tripod like the Beike Q999 Aluminium Tripod/Monopod with Ball Head. For a flexible, on-the-go alternative, try one of Hypop's range of Travel Tripods for video and photo.
Conclusion
Hopefully, this article will have given you some pointers on a studio lighting setup, as well as other equipment for your home studio.
Here are a few other tips for recording your videos:
- You’ve got 15 seconds to make an impression! Attention spans are growing shorter, and research in 2015 showed it was down to only 8.25 seconds even then! This means you must make the first 15 seconds of your video matter. Make people curious. Show a glimpse of what’s to come.
- Don’t try to be someone else – be yourself, and let your personality show.
- Look at the lens, not the screen – if your camera has a flip screen, you may be tempted to look at it while talking. Don’t. Look at the lens instead to create more of a connection with your viewers.
- Use social media – build your audience and promote your YouTube videos on your social media platforms.
