The traditional three-point lighting technique is considered to be one of the most reliable lighting arrangements in photography and video.
The approach and configuration are both relatively simple. By adding layers of light to your primary source at the right ratio and at the right angles, your subject (perhaps that’s you) will have much more depth, dimension, and clarity.
The three-point lighting technique is essential and dependable, having its debut in the theatre, which is why it’s one of the foundations of studio lighting.
Why Should I Use Three-Point Lighting?
Such a lighting scheme isn’t necessary for real life where natural sunlight and other artificial light sources around us adequately light up our lives. However, in photography and film, a single light source can only illuminate your subject from one side—whichever side it’s shining on.
With three-point lighting, you add life to your photos and videos with dynamic shadows. These shadows can be heavy or light, but your final product is guaranteed to have dimension and depth.
What are The Basics of Three-point Lighting?
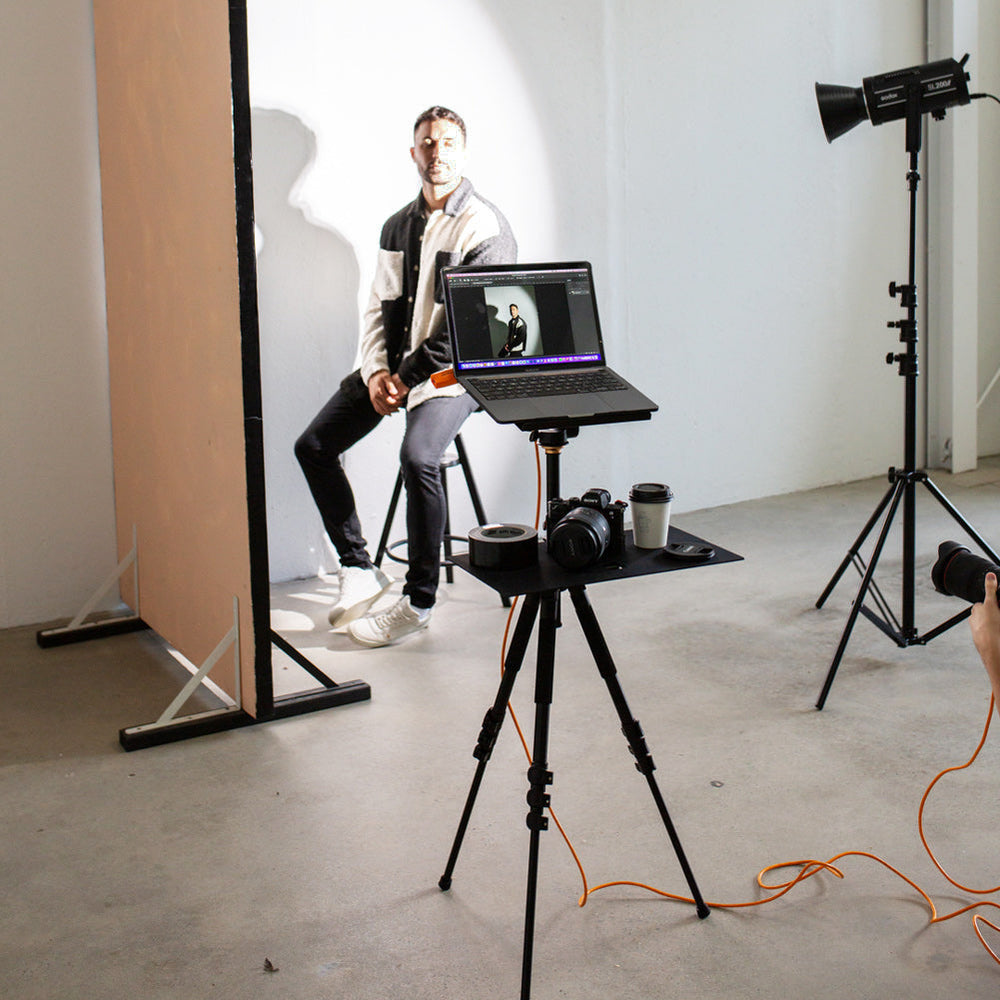
Obviously, in a three point lighting set up, you’ll have three main components—the key light, or main light, a fill light, and your backlight (also known as a rim light or hair light). What roles do each of them play and why are they individually significant? Let’s take a look.
Key Light

The key light is the most crucial element in any lighting configuration. This light is often the strongest light of the setup; it’s your exposure.
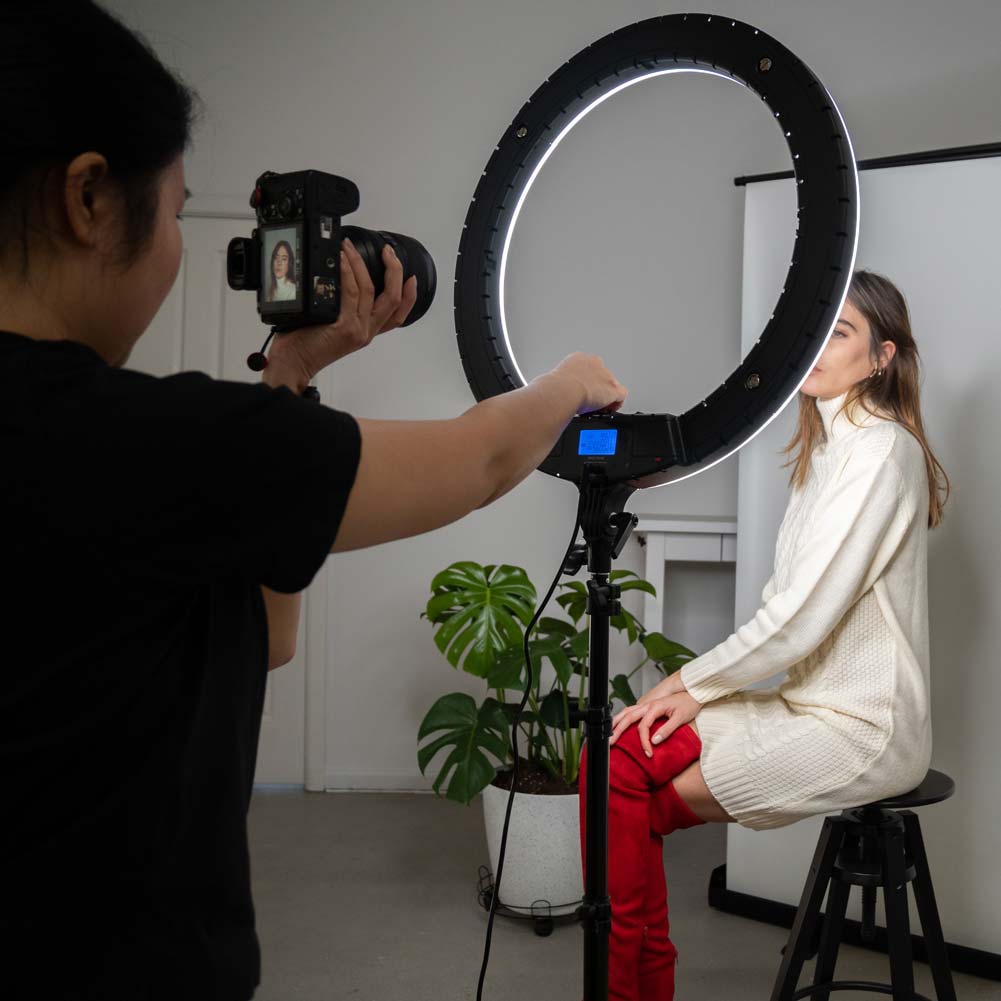
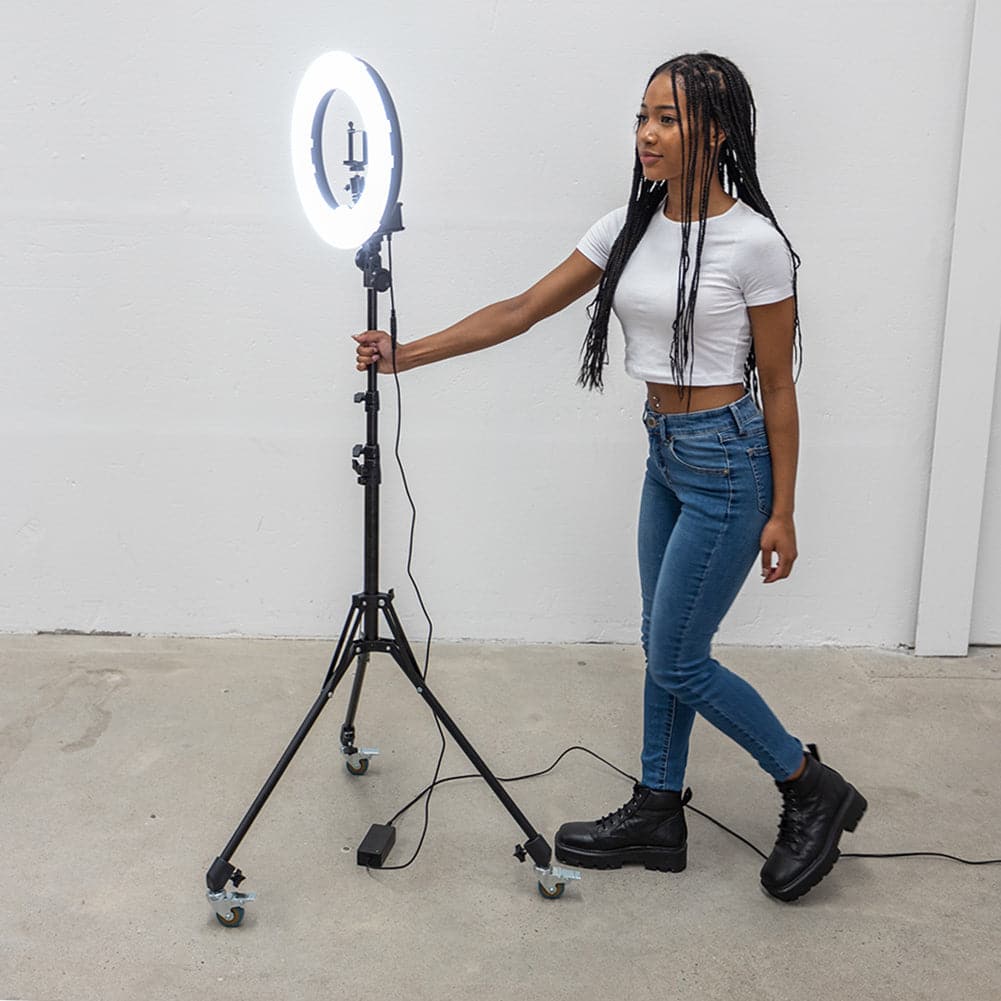
Depending on the desired style of the final product, it’s common to see the key light set just to the side of the subject, shining at an angle of about 45 degrees. On the other hand, vloggers and YouTubers will pretty much want the key light to be placed right in front and centred on the star of the show. The Spectrum Aurora 19" Gold Luxe ring light's high intensity LED lighting makes it a great key light to have under your toolbelt.
Backlight

A backlight’s purpose is to boost the dynamic depth of an image. By creating a kind of separation between your subject and your backdrop, you create dimension. Without a backlight, your subject can seem to almost blend into the background, and you don’t want your photographs or videos to appear dull and two-dimensional.
Fill Light

Your fill light is there to lessen the harsh shadows that your key light creates. You see, the key light will shine a beautiful, bright glow on your subject, but only coming from one direction. All the other parts of your subject that don’t get hit with your key light will have heavy shadows. With the fill light, you can control these shadows.
The fill light illuminates the parts of your subject that the key light misses. The most common placement of the fill light is directly opposite the main light, and it’s important to get this lighting ratio correct. Many photographers swear by the 3-to-1 ratio, which means that your key light should be approximately three times stronger than your fill light.
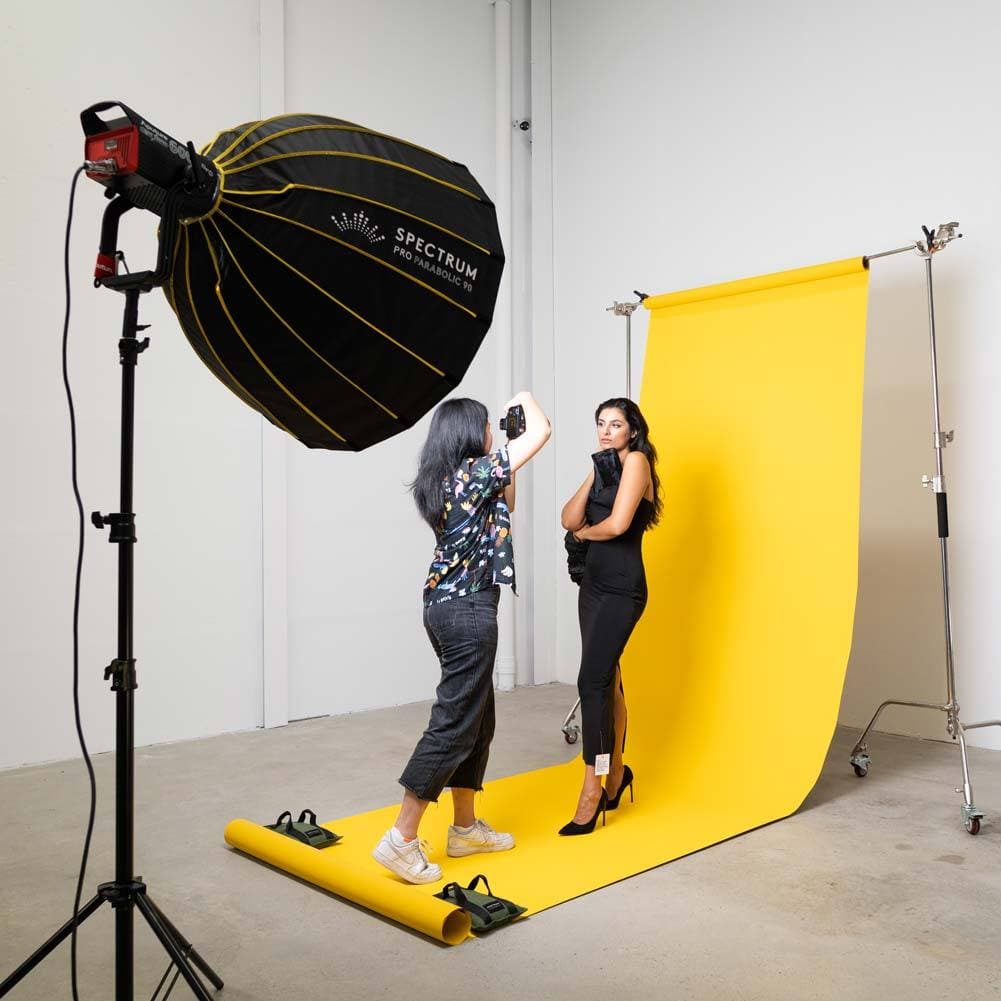
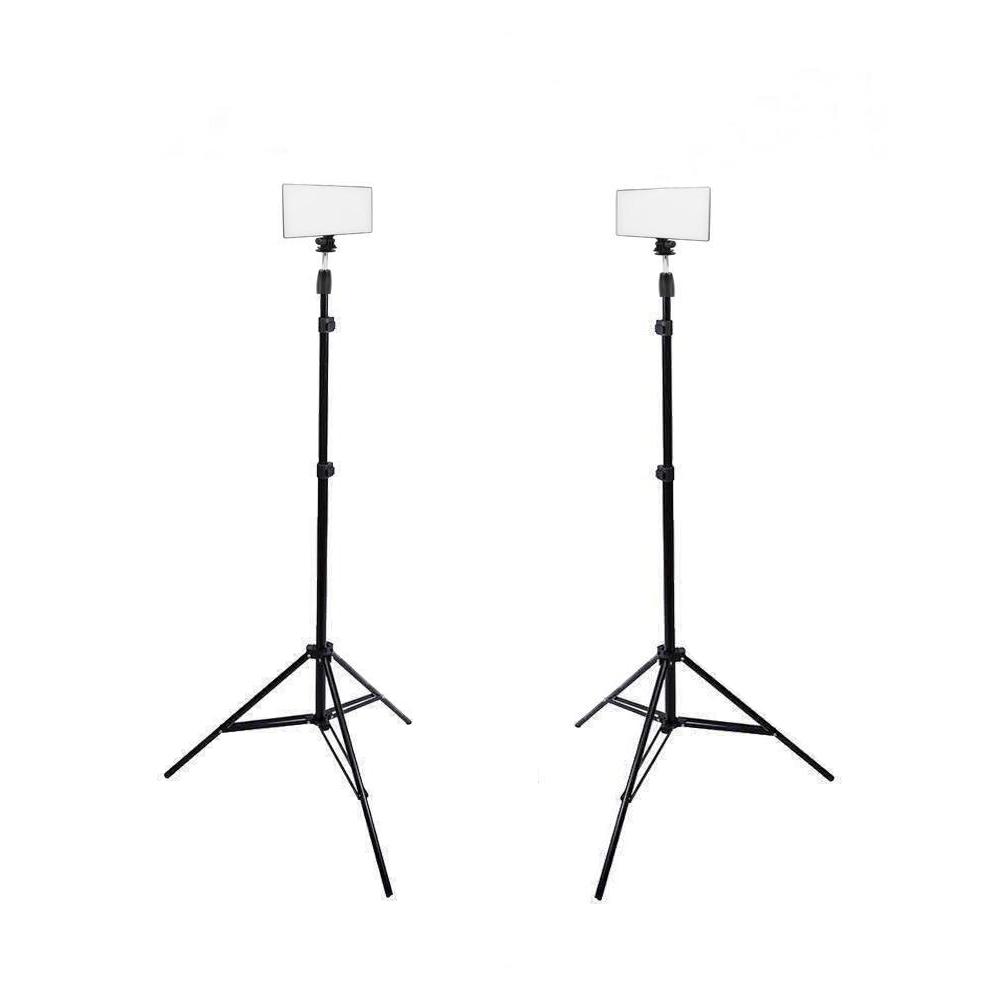
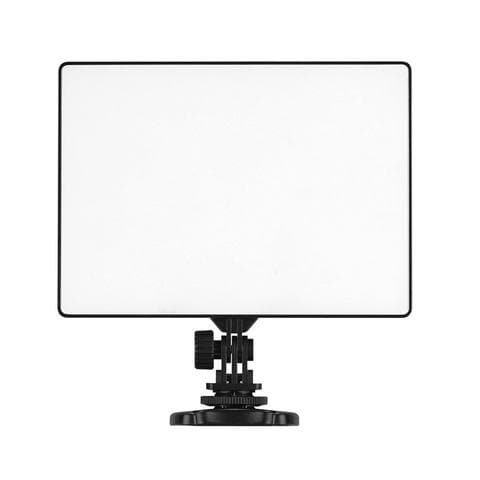
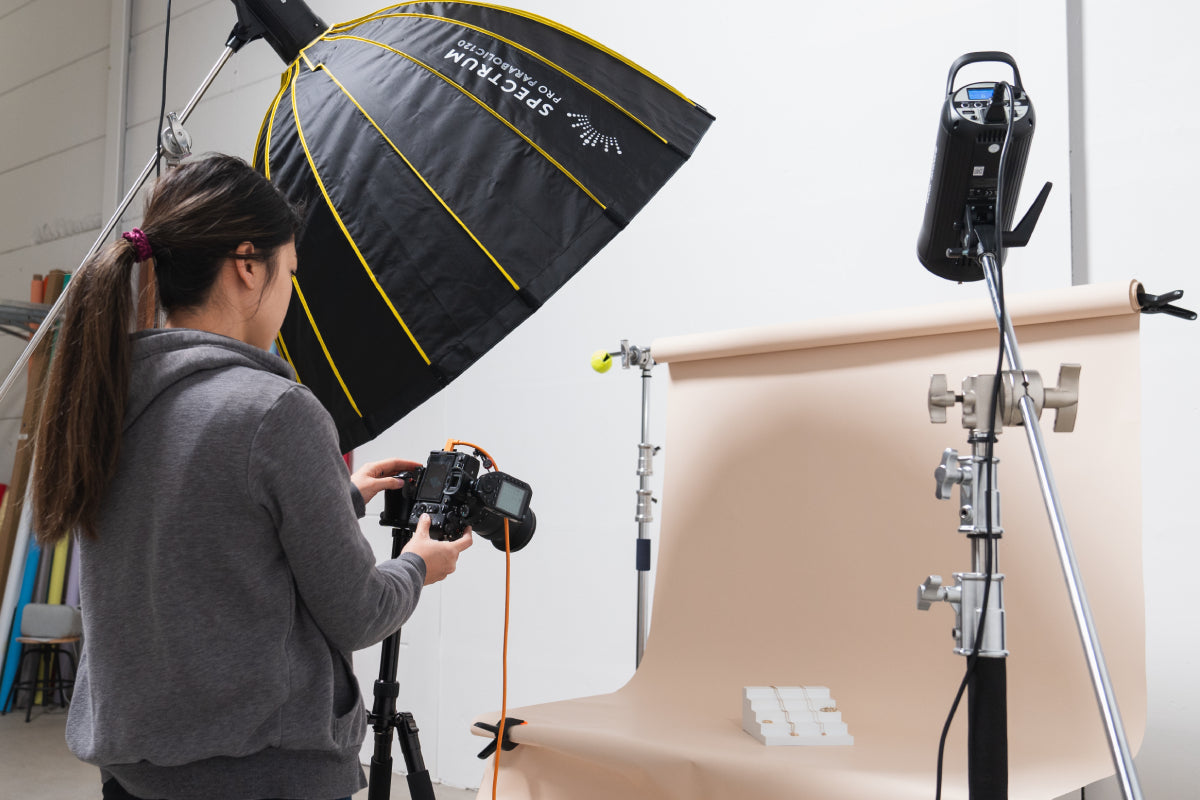
You can choose from a variety of lights to use for fill. It can be a softbox or side lights. The fill light does not necessarily need to be a light, actually, it can also be a reflector.
Where Should I Start?
Ready to get lit? These kits have everything you need for your three-point lighting configuration and your online presence is going to start shining much brighter. Shine on; you’re a star.

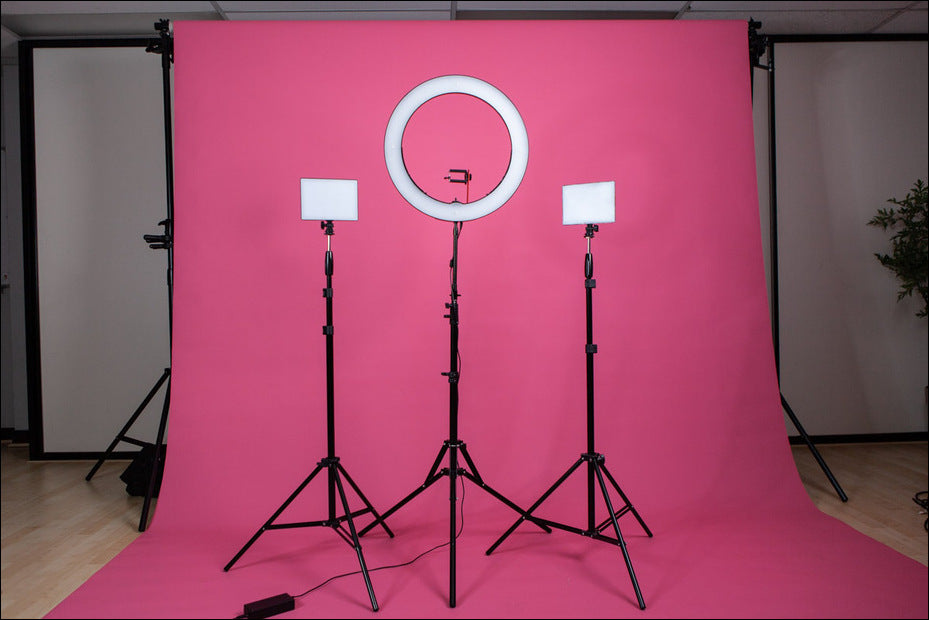
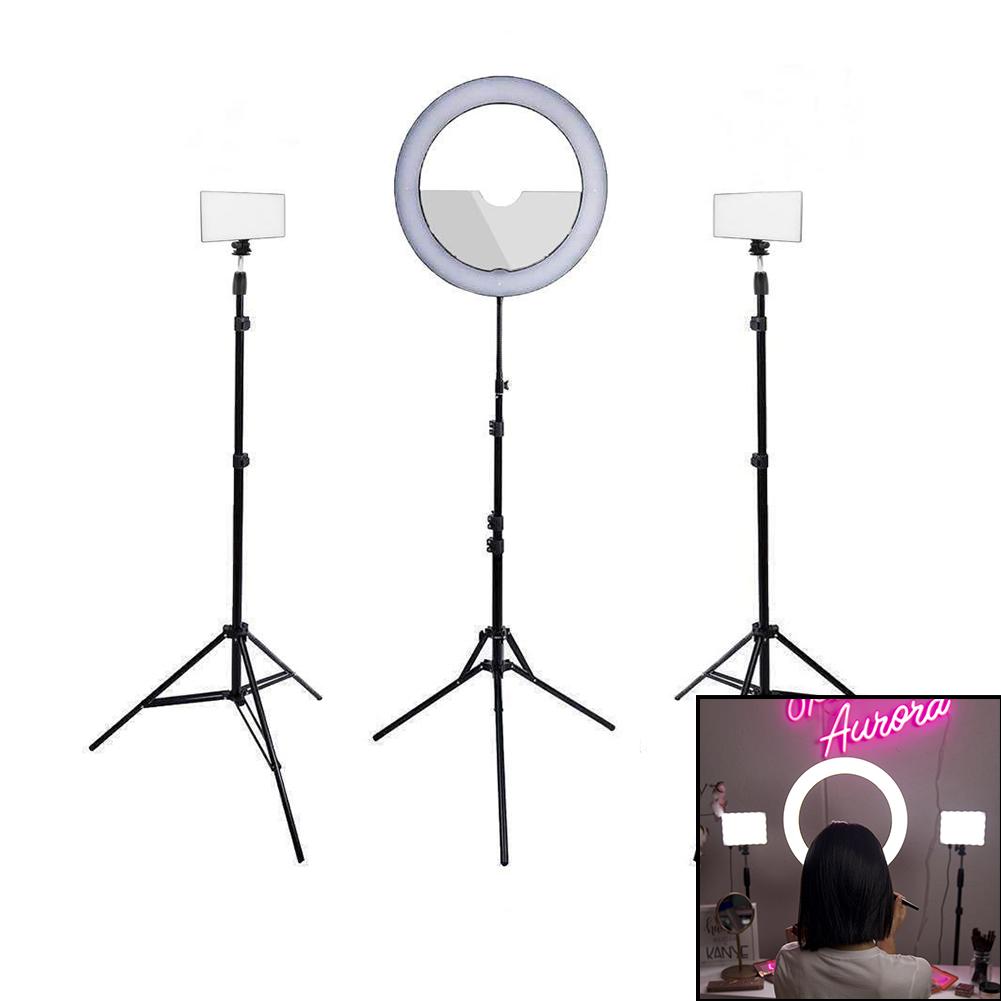
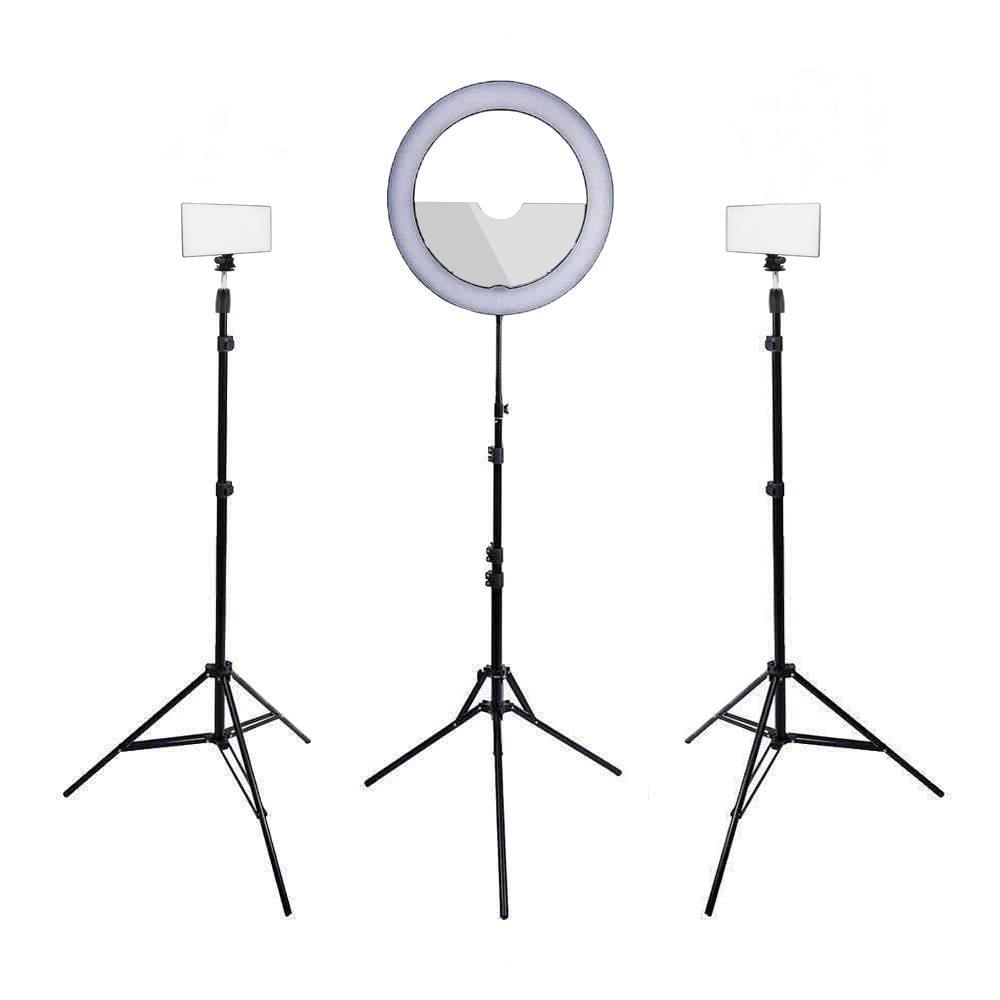
Popular among beauty and fashion influencers, as well as YouTubers, the Spectrum Aurora Gold Luxe 3-Point YouTube Kit comes complete with everything you need to get started with a three-point lighting arrangement. This professional lighting kit is useful for both photography and filming in half-body frames. The set includes a mirror, which comes in handy when you’re both the subject and the cameraman/camerawoman.

There’s also the Spectrum Aurora 19” Diamond Luxe Complete Makeup and Beauty Studio Ring Light Softbox Lighting Kit which is perfect for entry-level vlogging, helping to create high-quality content for those just starting. The key light in this kit is a gorgeous ring light, particularly useful for makeup and beauty shoots. It creates an even spread of bright light that never flickers.
Amateurs and professionals alike will see a significant improvement in the overall look of their content with these lighting schemes. Your Instagram followers are going to love it!
There You Glow

The three-point lighting set up is not a rigid rule, there’s plenty of room for artistic freedom and creativity. You can adjust the ratios and brightness of all three lights, and play around with the distance between them and your subject. You can also move your camera closer and further away as well, and test out different lenses.
Of course, there are also light filters and colour gels that you can incorporate too, which will undoubtedly add even more variation to the classic three-point lighting configuration. You’ll find that tweaking one or more settings on each light and their positions will render you entirely different results each time.
Remember that three-point lighting is a foundation, where you take it from there is up to you. Stay true to your style—or if you don’t quite know what it is yet, we hope these tips will help you find your groove!


