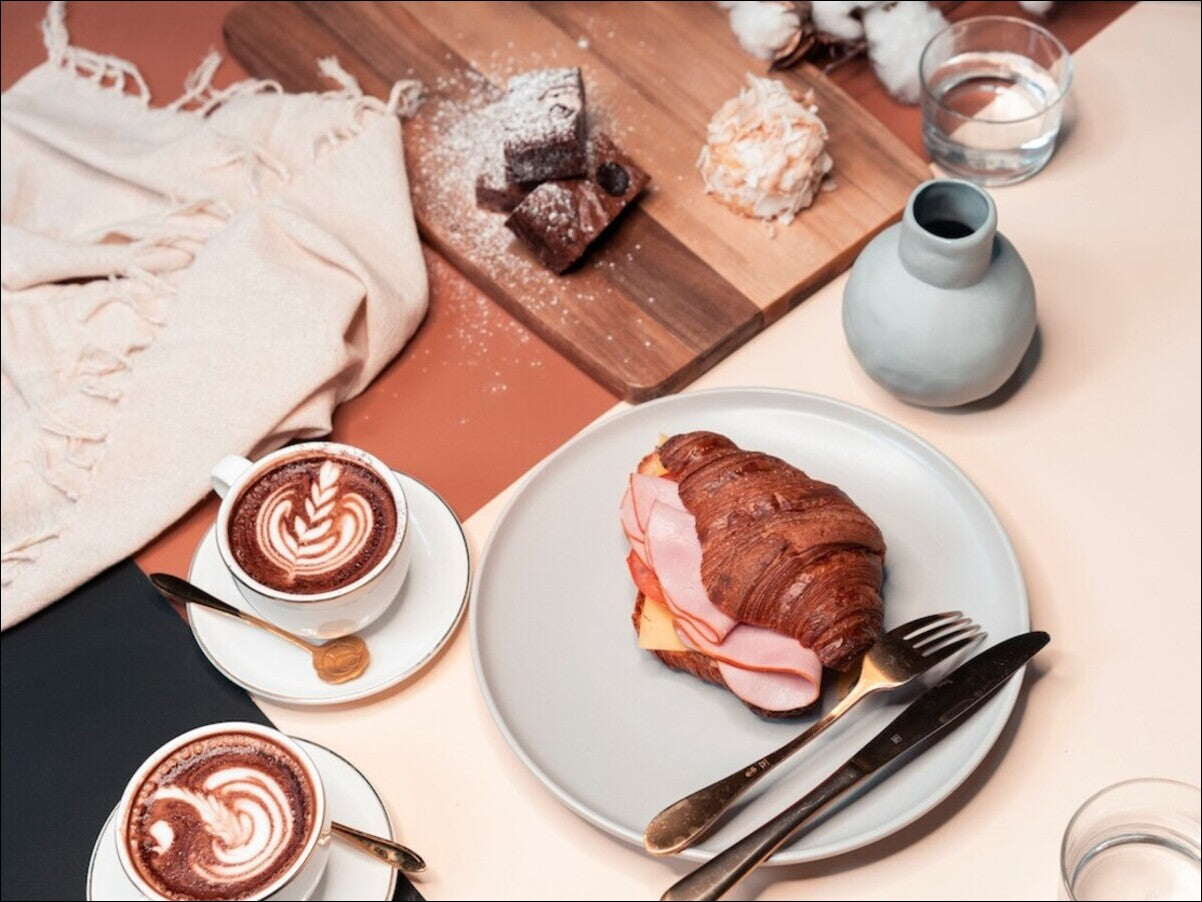
If you want to make your food and product photography stand out from the crowd, then you need to make your subject look amazing. The key to getting the right look comes from using styling props like greenery, mirrors, backdrops etc., and also using the right lighting.
If that sounds complicated, then don’t worry - we’re here with a whole list of ideas on how to use styling props and the right lighting to go with them.
Know the Brand, Know the Products!

Successful product and food photography comes from the photographer knowing how to create the right mood and choose appropriate props to compliment the product or dish you are shooting.
If you know your audience already, then you likely know what they want to see. What if you’re not sure, or if you’re just starting out? Try to pinpoint who your products or food will appeal to. For instance:
- Are you aiming for the luxury market or is your product more budget-friendly?
- Does your product appeal to millennials or an older demographic?
Asking yourself these questions will save you a lot of time and effort when it comes to styling and shooting your products.
Taking a bit of time and looking for inspiration from sites like Pinterest will help you target your audience and discover what looks are trending in food and product photography. It will also give you ideas on which backgrounds and props work well with your type of product or food.
Light it Up!

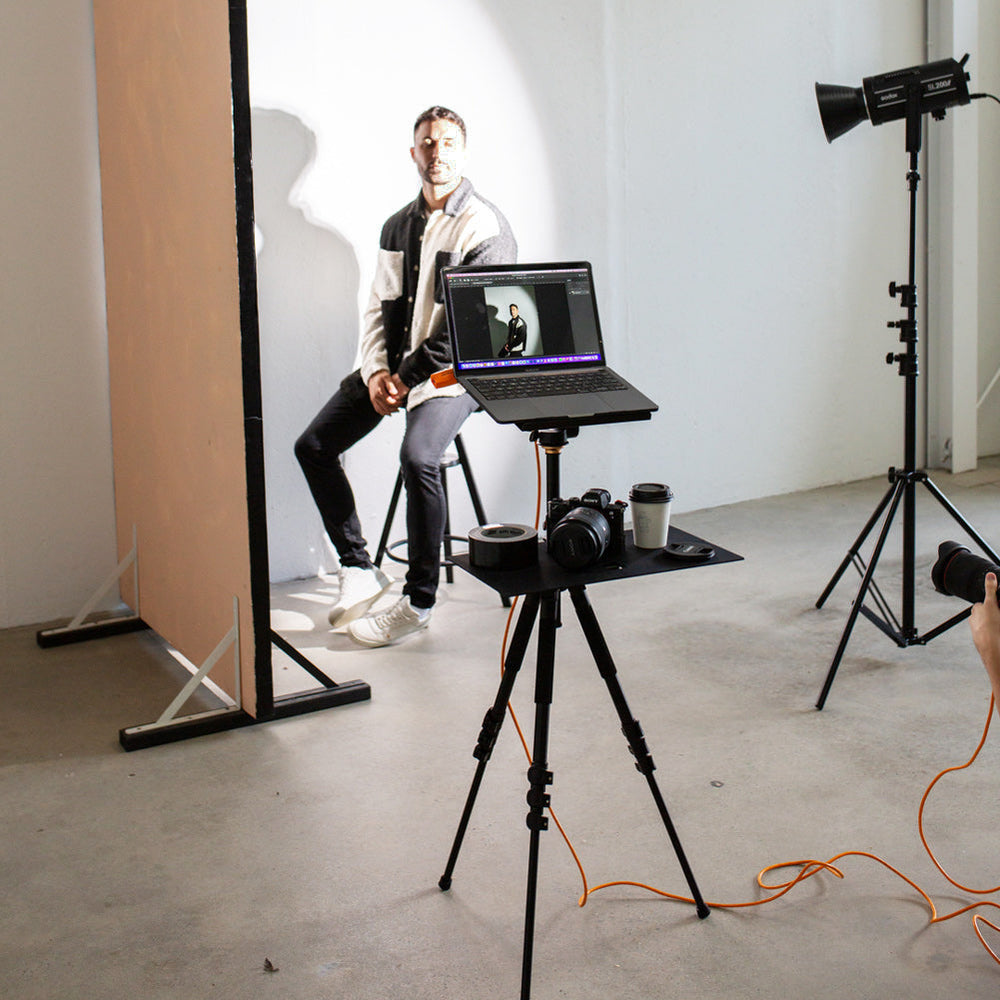
Getting the right lighting for your product or food photography is very important, but it’s not as hard as you might think.
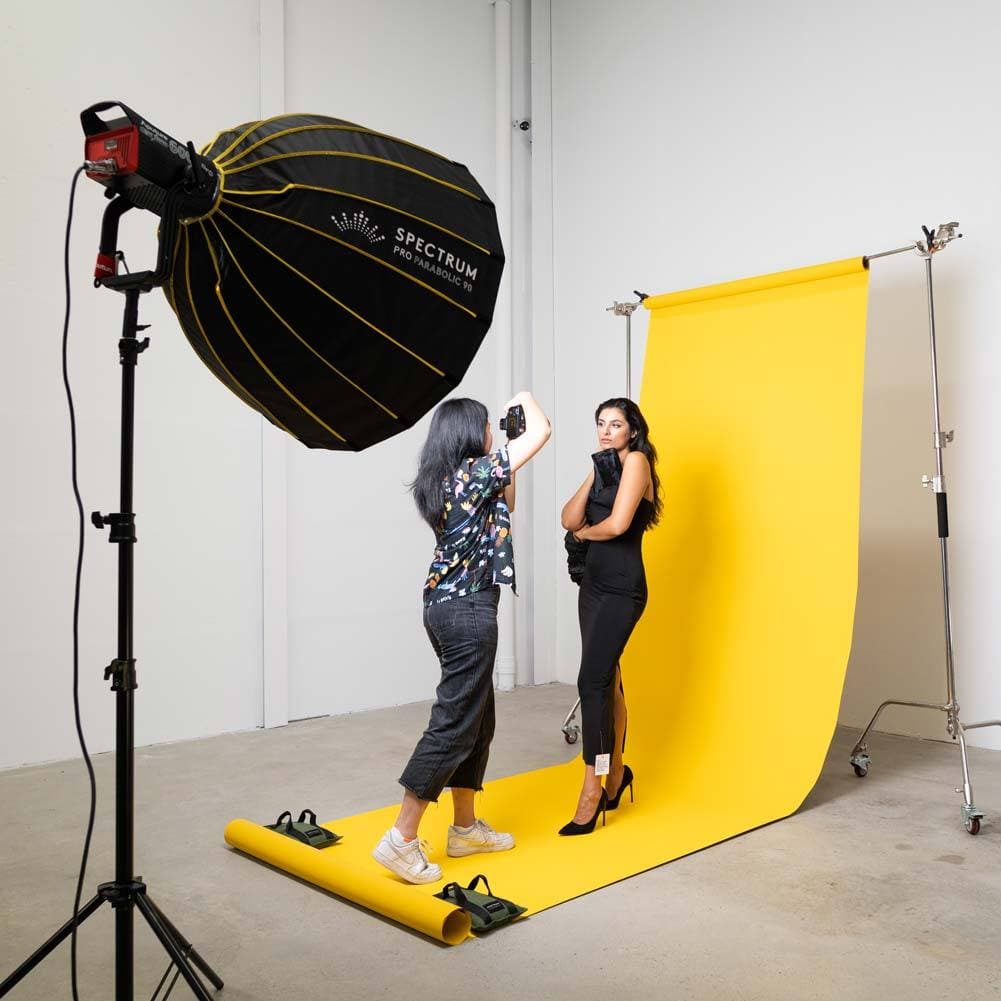
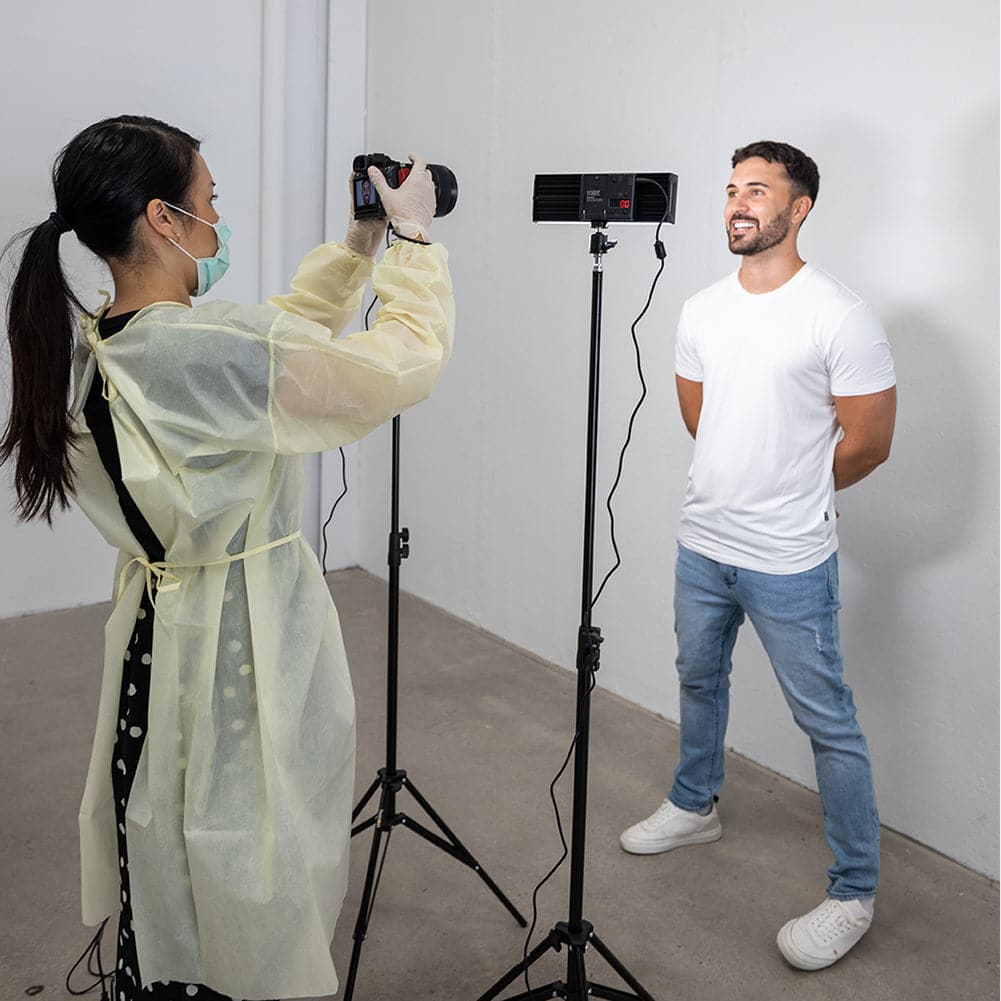
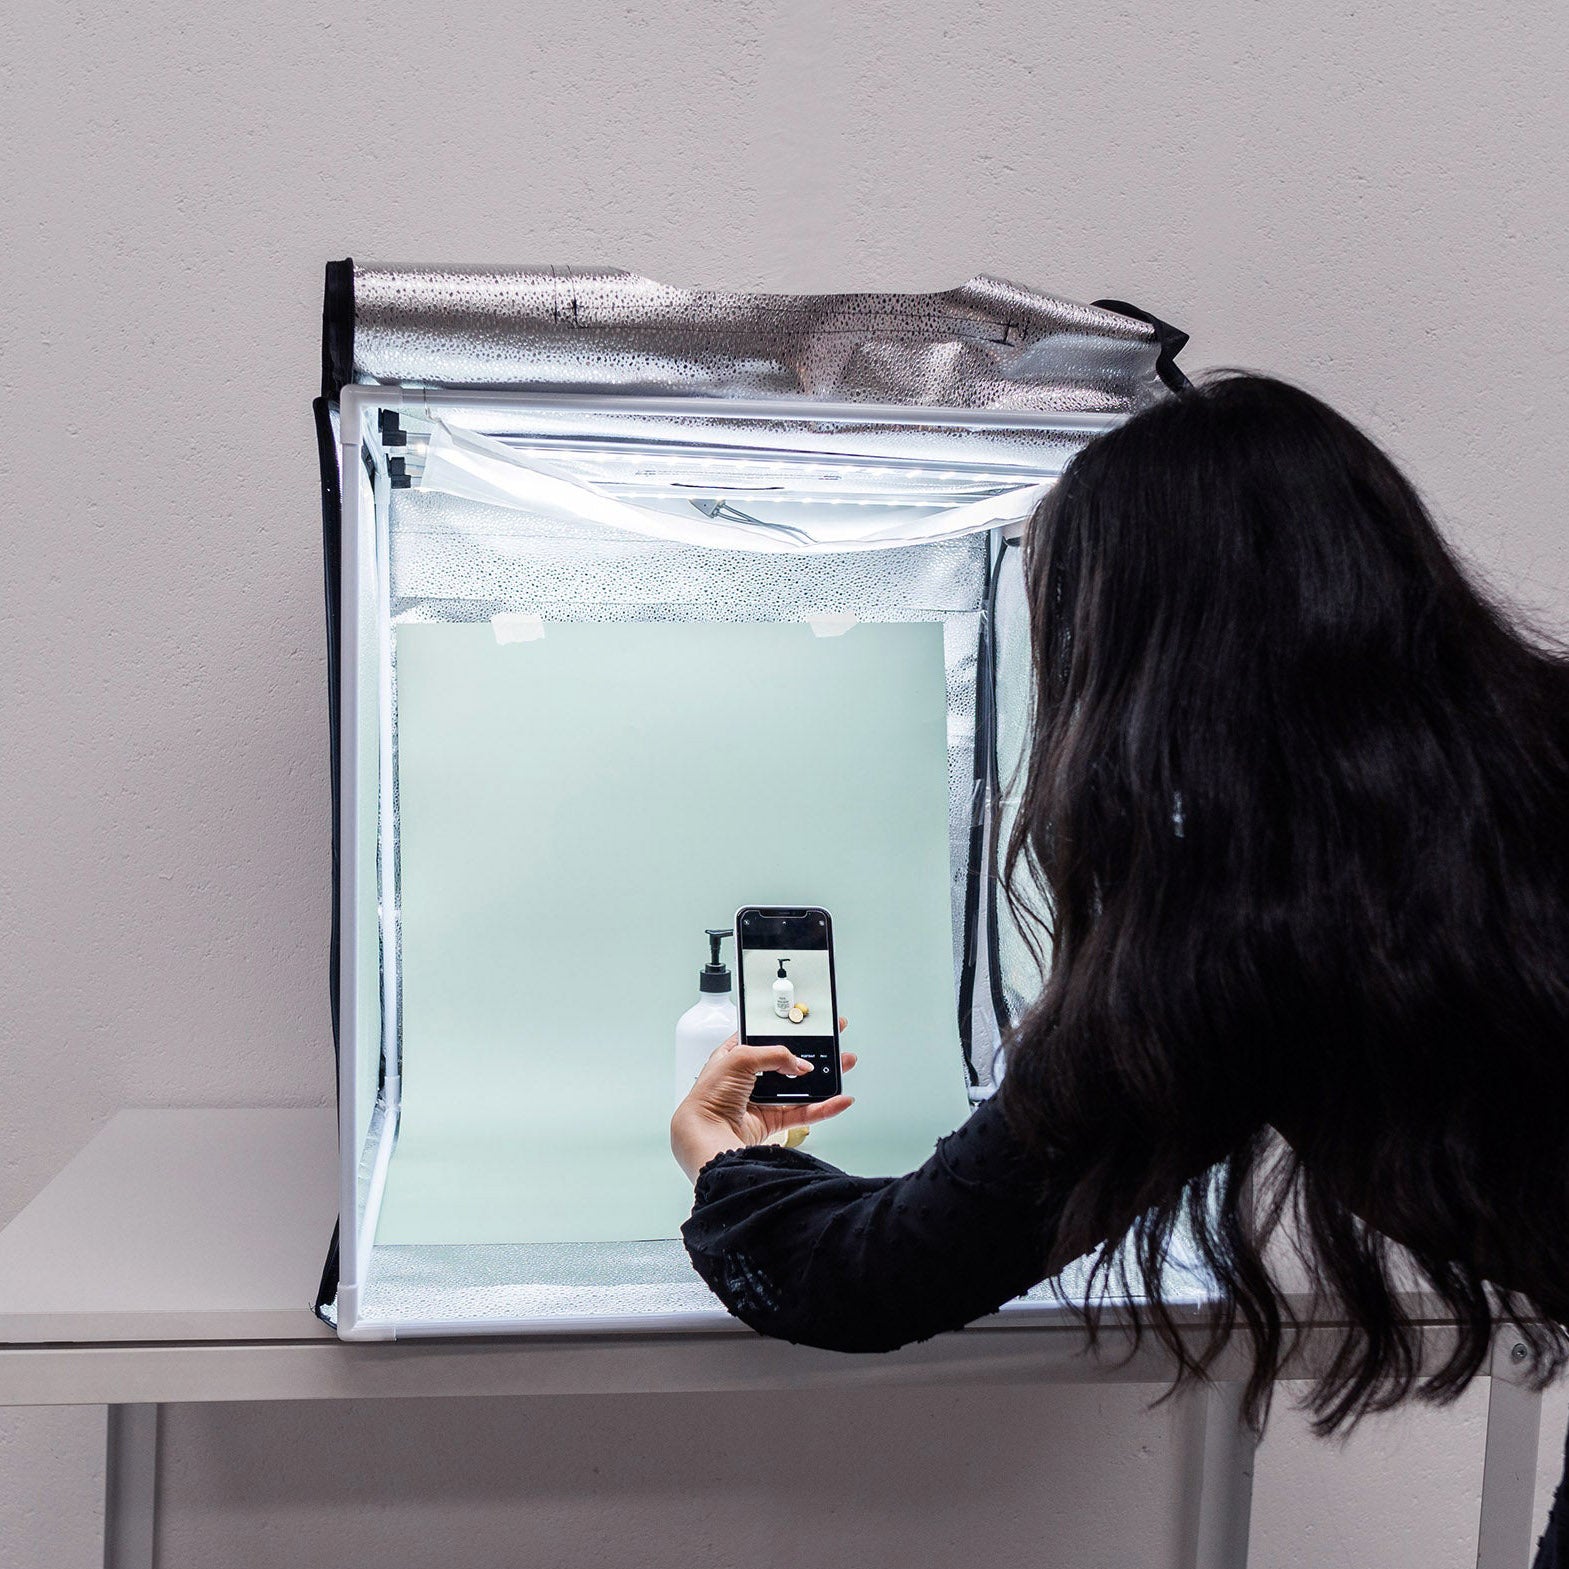
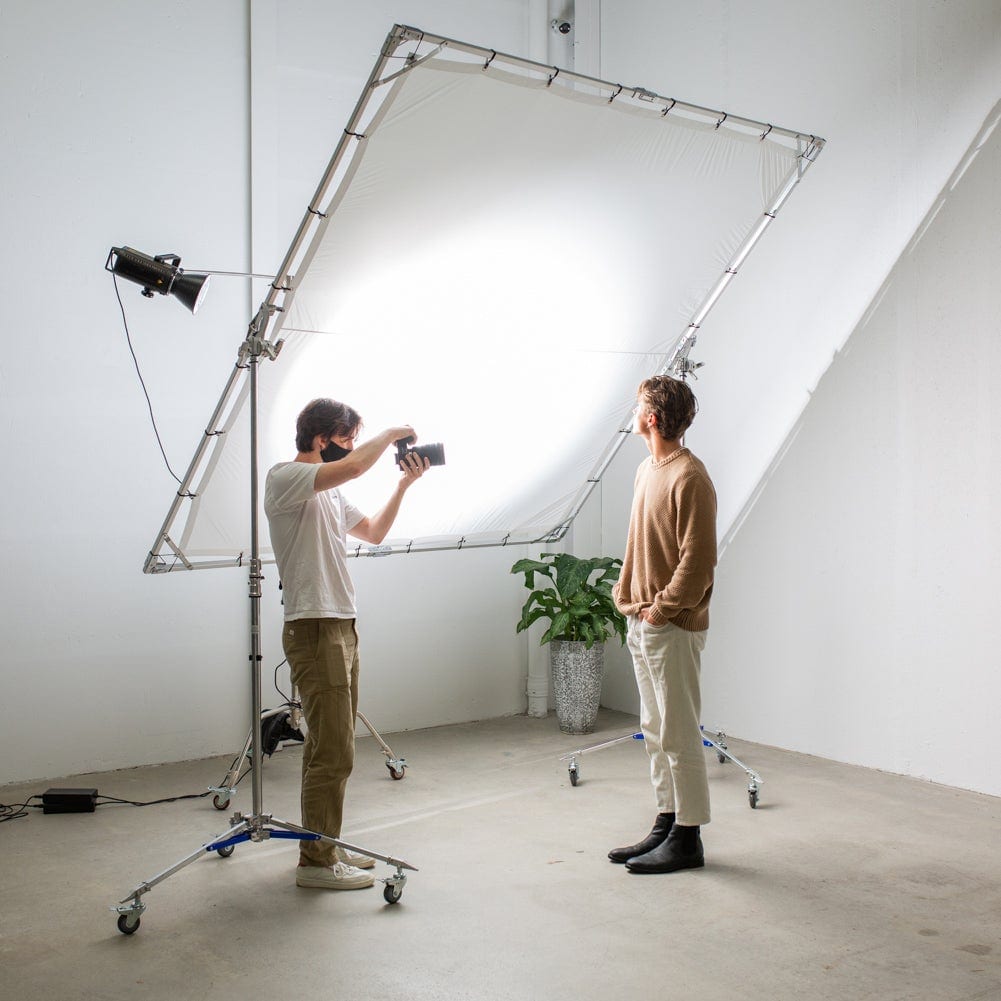
Because you will be shooting close-ups for product/food photography, you won’t need huge banks of complicated lighting. The best lighting is either natural light (not direct sunlight) or artificial light that throws a soft, even spread of light over your subject.
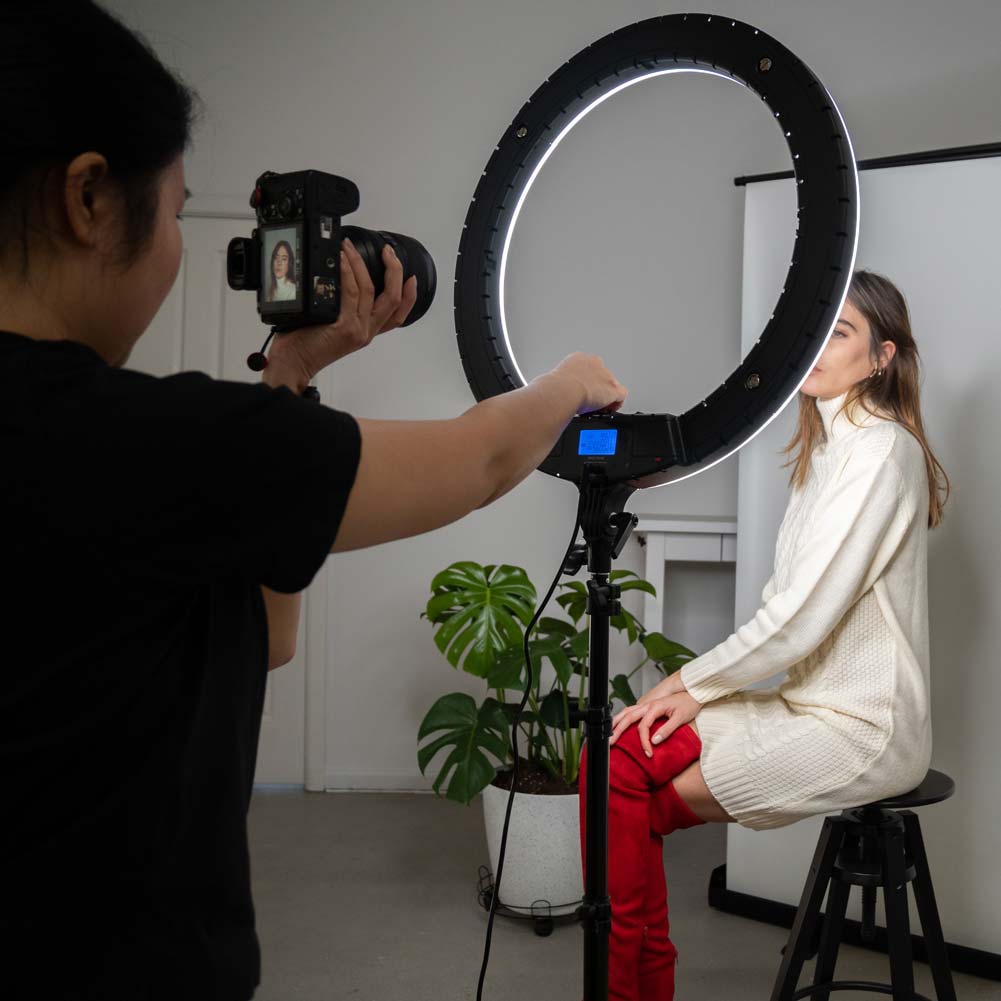
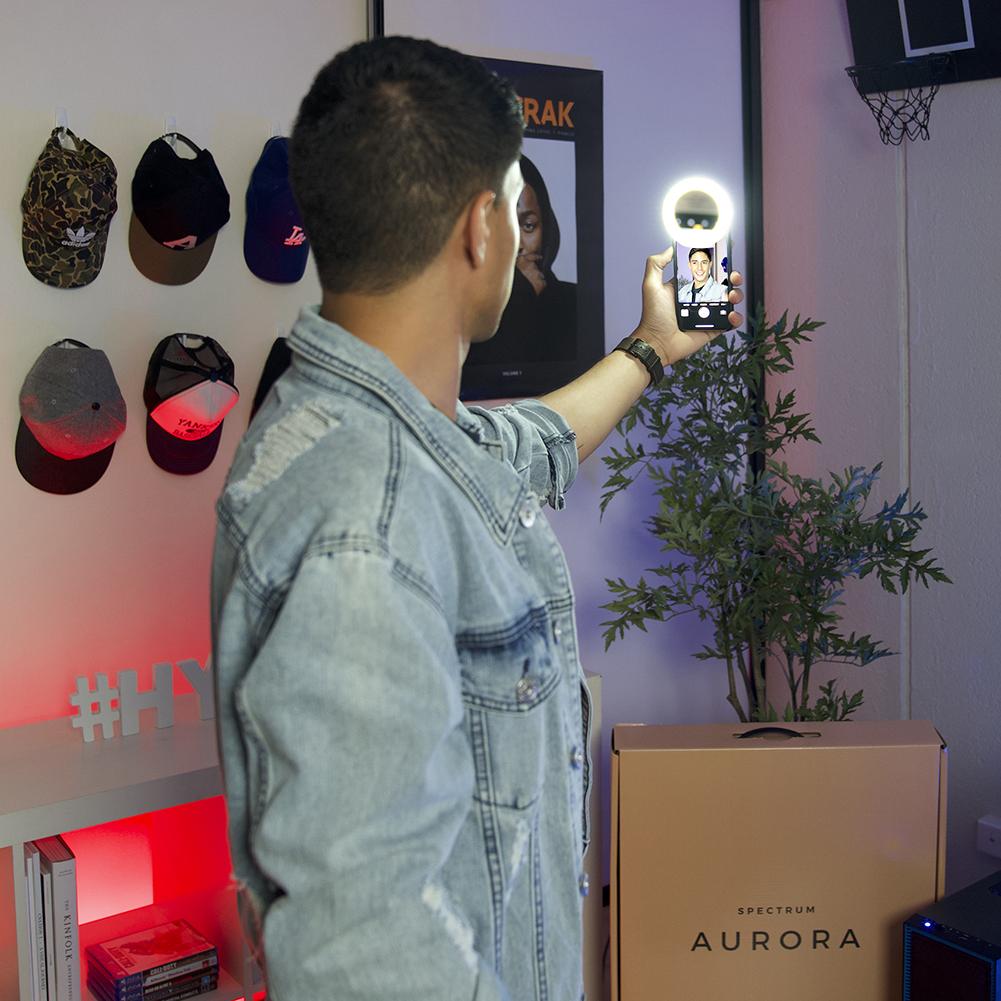
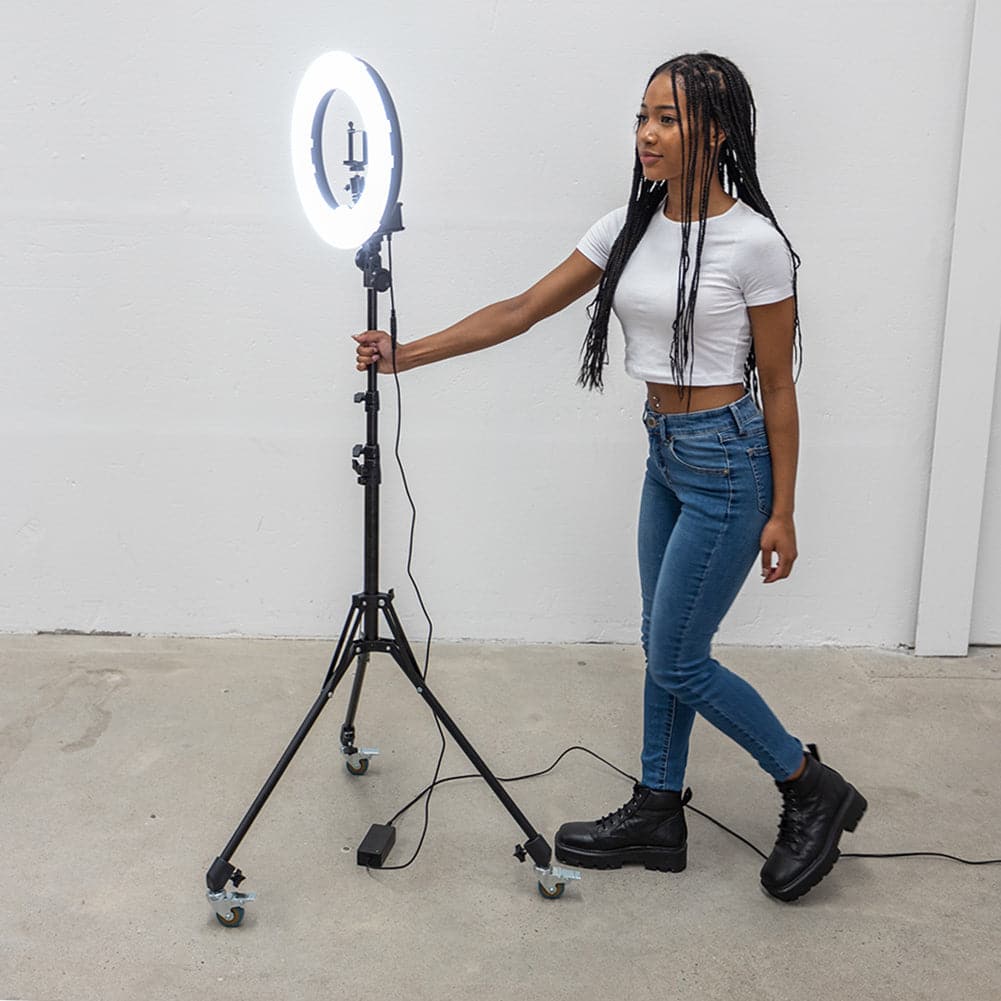
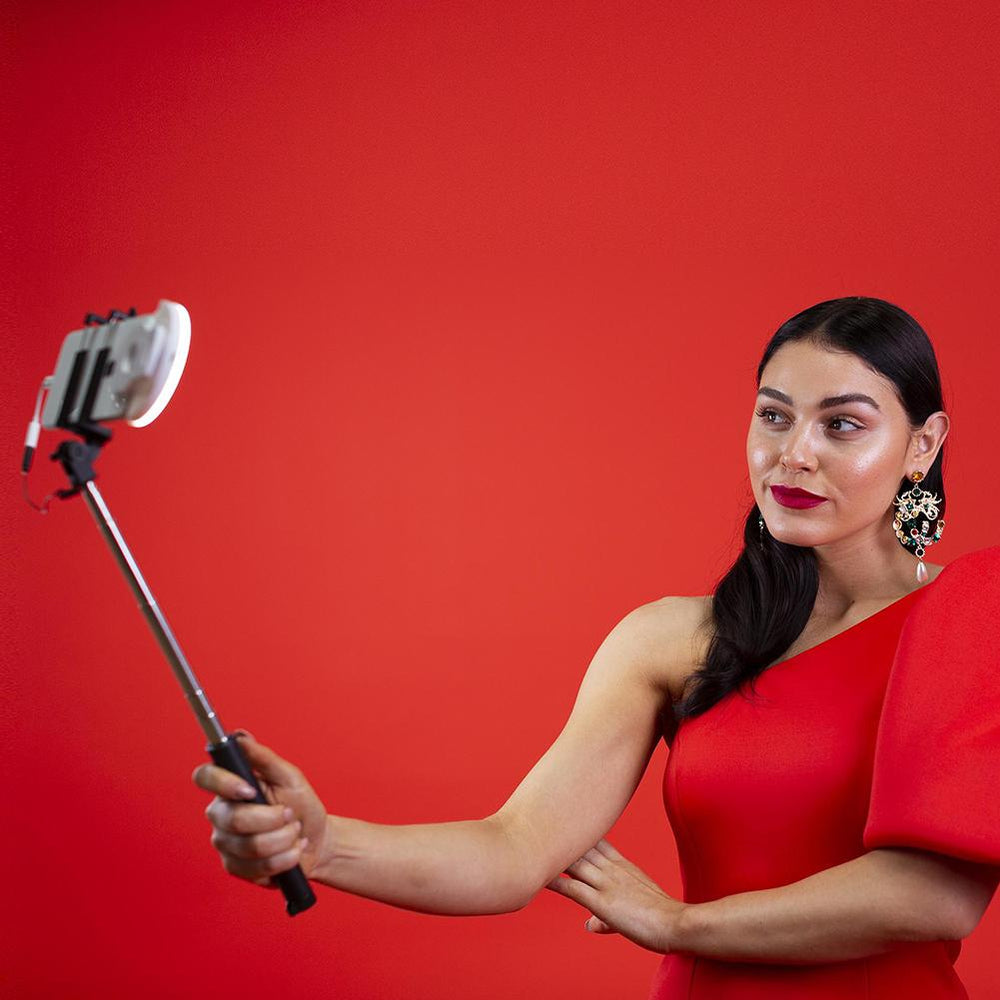
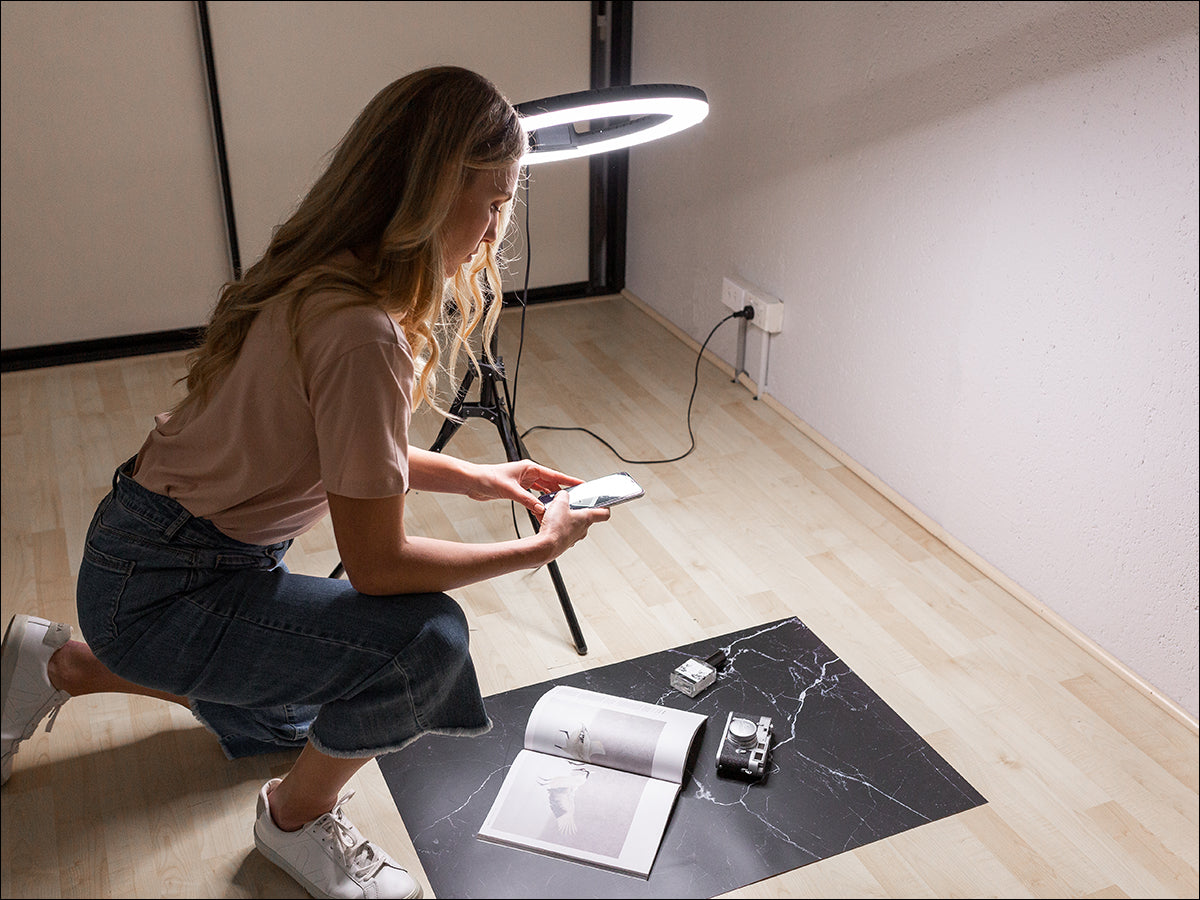
A ring light like the Diamond Luxe III will cast soft and shadowless light over your product, due to the circular nature of the light. This means an even spread of light with no harsh shadows.
The Diamond Luxe III also allows you to mimic natural daylight or a warmer tone due to the adjustable colour temperature between 3000-5500k. This gives you even more creative options to perfectly showcase your product or food.
Now Back(drop) it Up!

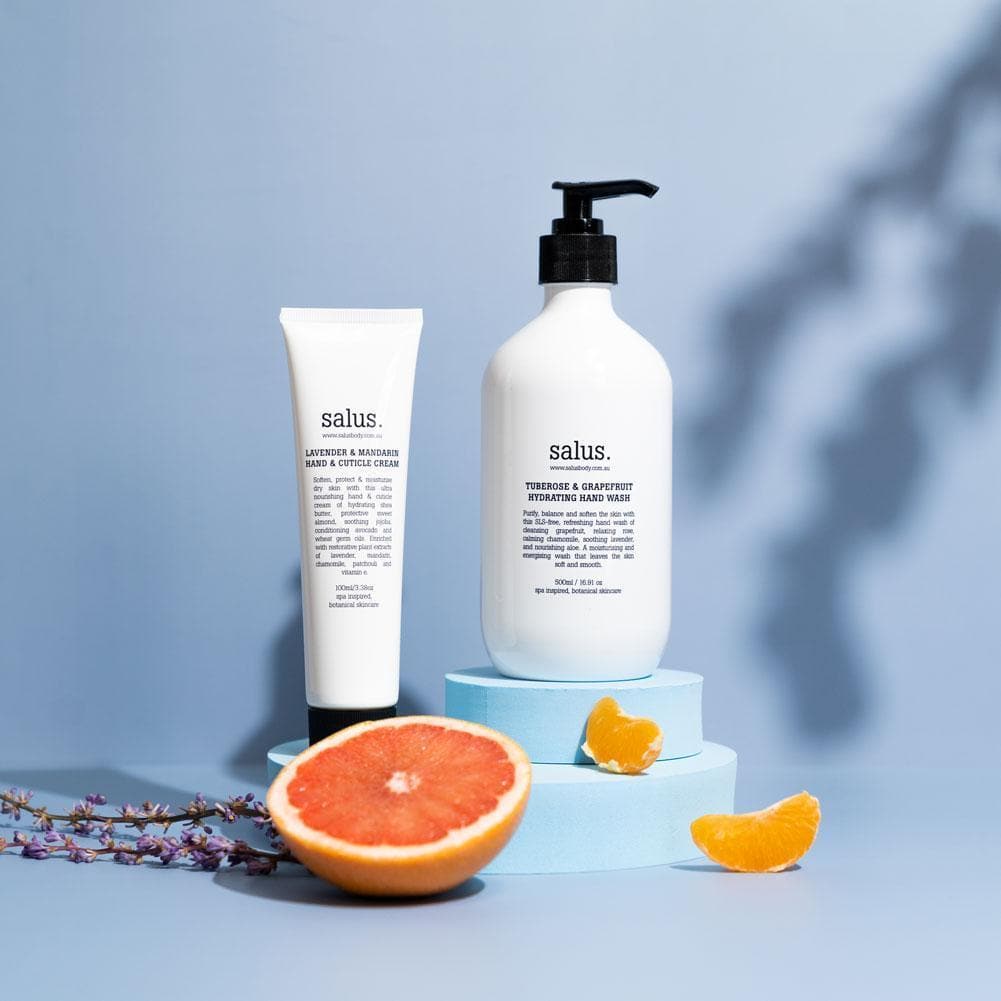
The right background for your images is so important to create and enhance the mood of your subject. The background you choose should have the same aesthetic as your product, or it won’t look right. For example, if you shoot an ultra-modern piece of tech and choose a rustic, country-style background, it will be jarring and distract from the product. Or putting a natural, botanical skincare product on an industrial metal-type background. It just wouldn’t look right - I’m sure you get the idea!
Sometimes the best backdrops are simple, single colour pieces of paper or cloth. Adding different textures like wood or metal (even wallpaper samples) can really enhance your food or product and help tell your story. Avoid clashing colours and distracting patterns, too.
One of the most economical ways to get great colours and textures on your backdrops is to invest in some flat lay backdrops that you can use again and again. The Spectrum Flat Lay Backdrops come in a range of looks, from beautiful marble to textured concrete. Each flat lay backdrop is reversible, so you get two backdrops for the price of one!
Figure Out Your Photo Composition

Once you have your lighting and background sorted, it’s time to grab some props and work out how to compose your photo for the best effect. Doing this ahead of the shoot will save you a lot of time and wasted photos.
Props should be used as a compliment to your subject - they shouldn’t distract from it. Don’t overcrowd the photos with props, because it will lessen the impact of the product or food. The viewer should immediately be able to tell that the focal point of your image is what you’re selling. Less is sometimes more, and that can be the case with props, too. Take a few away if your image feels crowded.
At the same time, you want to showcase your product, so a few well-chosen styling props can really enhance your photo composition. Nowadays you can get all sorts of props specifically designed for food and product photography - even styling sets! Here is our range of Photography Styling Props to help you take your images to the next level.
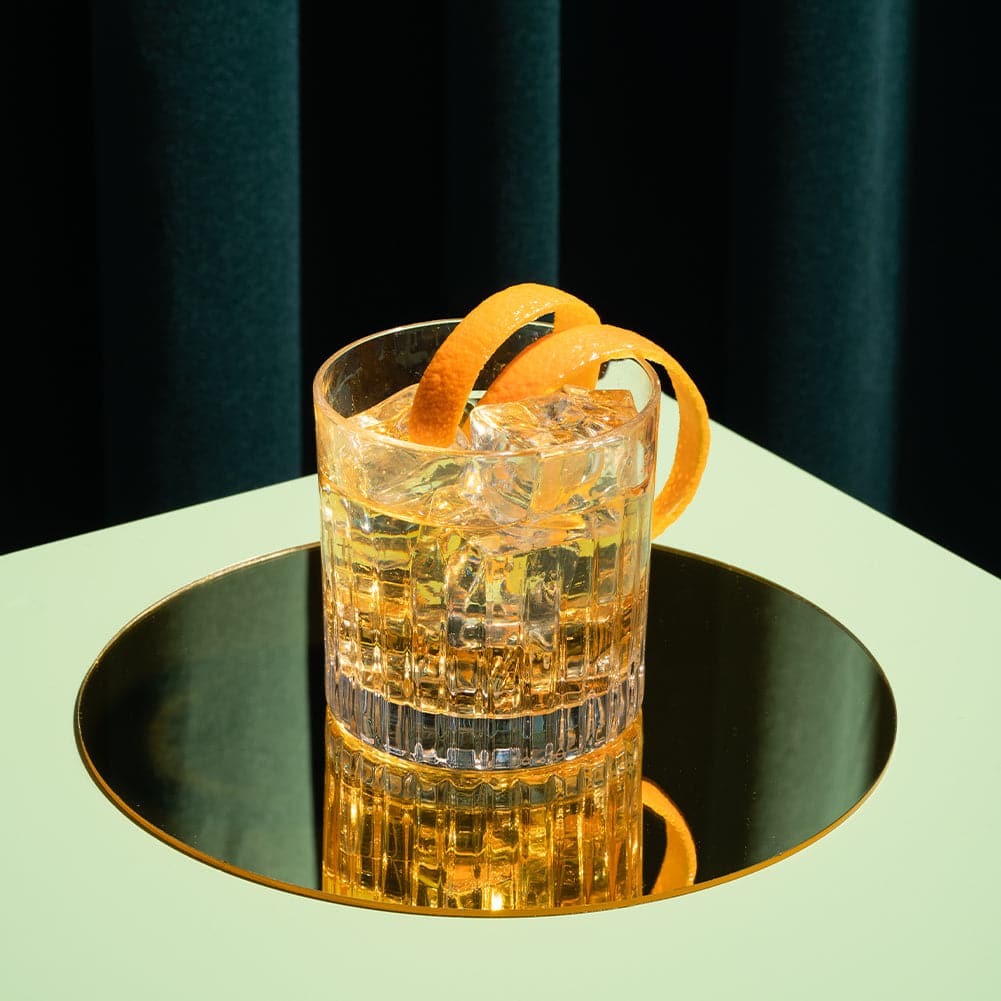
Round Acrylic Mirrors for Flat Lays are great for adding an extra point of interest to the shot as well as reflecting light on the subject.
Transparent Acrylic Props

These are great for adding layers of depth or using as risers to place your products on. They come in an 8cm Circle, 8cm Square, or a 21cm Wave.
Geometric Foam Props

These Geometric Props come in white, green, blue, purple, and pink in the following sizes: Short Square 10cm, Tall Square 10cm, Small Circle 10cm, and Large Circle 18cm.
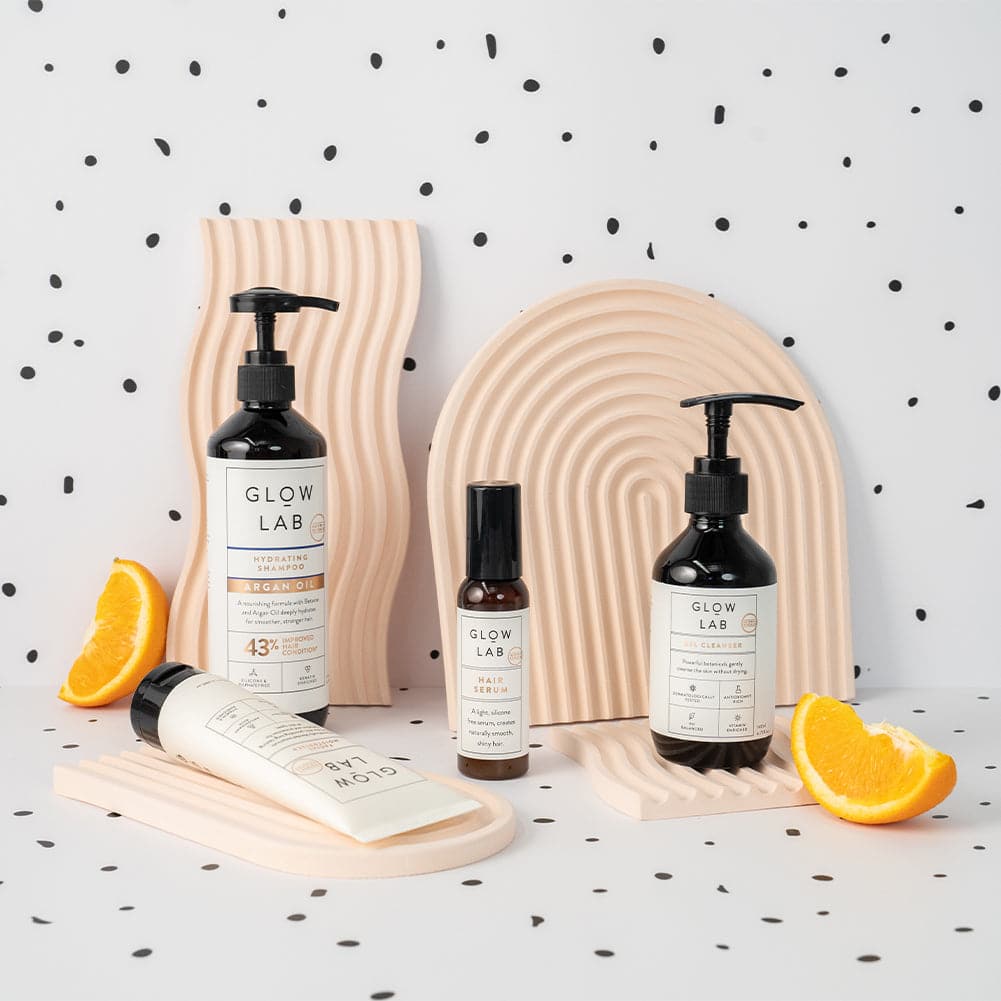
Our geometric Foam Prop Sets are the perfect combination of props to help you style any product to perfection. The 4 Piece Styling Set is available in white and peach (orange), featuring two archways, an arched staircase, and a plain staircase. The 5 Piece Styling Set is available in white and pink. It features 4 stackable rectangular and square foam pieces, and a small stair riser for you to create unique looks for your images.
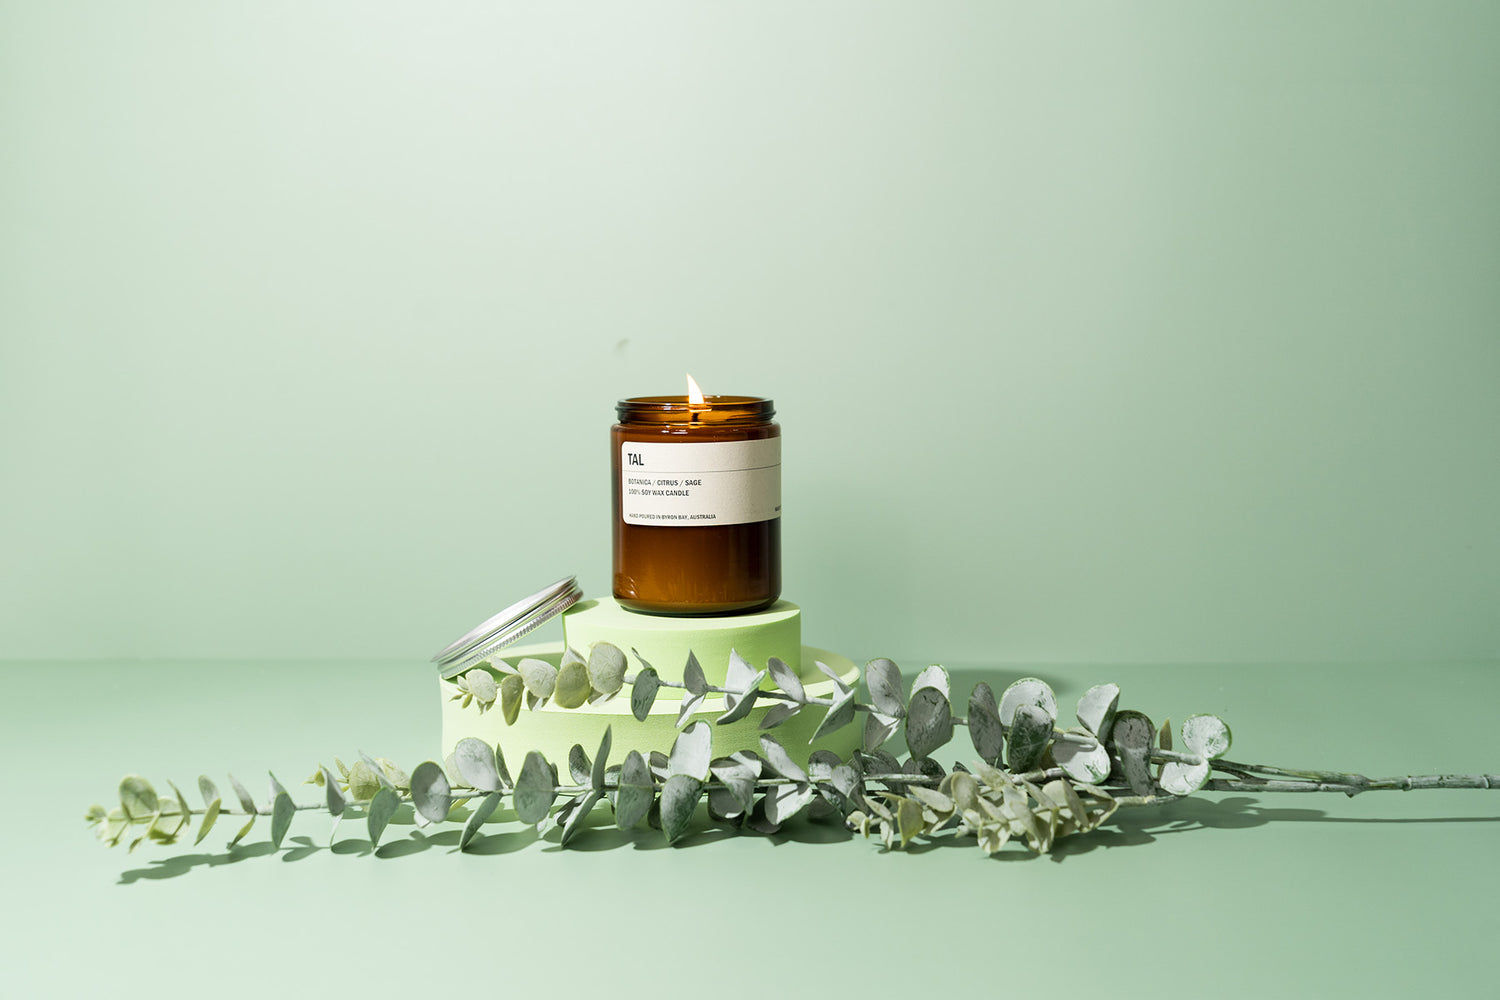
Greenery Leaf Props

To add that natural, botanical look to your shots, there are the Spectrum Greenery/Leaf Props: Palm Leaf, Monstera Leaf, and Eucalyptus Leaf.
Use Your Props in Different Ways

Some props are versatile, allowing you to use them to give different effects. For instance, the Spectrum Greenery/Leaf Props: Palm Leaf, Monstera Leaf, and Eucalyptus Leaf mentioned above can be used as part of the photo, or to cast shaped shadows when you put them in front of a light source.
You can also use the Shadow Creator Faux Venetian Blind to get that ideal Venetian blind shadow look for your product photography.
Final Thoughts

We hope you found this guide to styling props, backdrops, and lighting for your food and product photography useful. With a bit of planning and some helpful props, there’s no reason why your images won’t make it to the A-list. Before we go, here’s a few other tips on styling, just for you!
- Choose a colour scheme that suits the mood of your product. Light and airy can mean pastels and white. Bold statements can be made with bright colours in your props and a mid-tone background like grey. A hint of mystery and drama can be created with black or dark grey textured backgrounds.
- Try to show scale, and make the size of your product clear. Large props can dwarf your product, so going for smaller props for smaller products is a good idea.
- Most images will require a bit of editing before you upload them, even if it’s only to adjust contrast and brightness. You want to have clear, well-exposed images where all the colours and textures are easily seen. If you don’t have image editing software already, then you can find some good free ones on the internet if you don’t want to buy one.
- Keep at it. Practice, practice, and practice some more! Improving your photography and styling will take time and a bit of effort, but the more you do it, the better you will get at it, and you will have learned some valuable skills.
